Einleitung

This guide will walk you through how to remove the Fan in your Dell Inspiron 15-7548.

  1. knLVFeuIYeP2ABLa
    knLVFeuIYeP2ABLa
    YLShUY4tnrdyWVtM
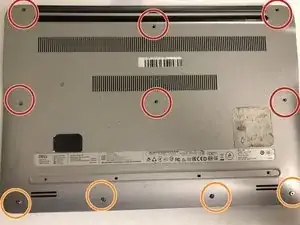
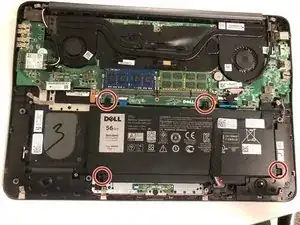
    • Remove the six 6 mm screws from the back panel with a Phillips #1 screwdriver.

    • Loosen the four captive screws at the bottom using a Phillips #1 screwdriver.

    • The four screws on the bottom are captive screws and cannot be removed.

  2. PAVmaqoSkSONEdWP
    PAVmaqoSkSONEdWP
    cJuFK4B4gT5MdqFY
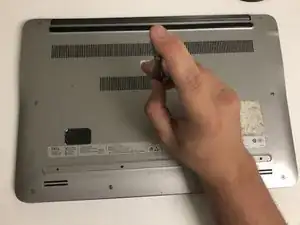
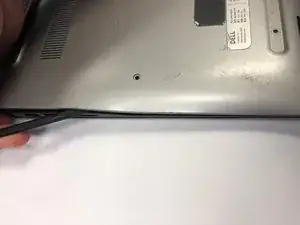
    • Pry out the back panel using the flat head side of the spudger.

    • Do not insert the spudger more than half an inch when separating the bottom and right side of the back panel.

  3. 6nBKjSecHLKFqmG4
    6nBKjSecHLKFqmG4
    RGPwW1rL1njaWSHS
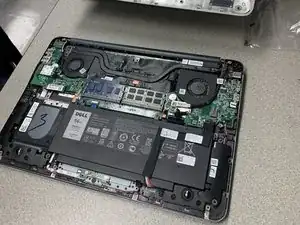
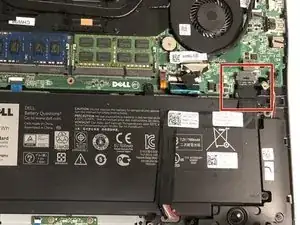
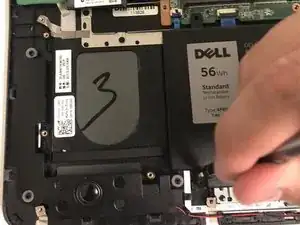
    • Disconnect the battery from the motherboard by pulling the black tab attached to the cable.

  4. XWK2RcBBIAViiwXo
    XWK2RcBBIAViiwXo
    nUus4DNGDF3TwJkU
    • Remove the four 2.5x6mm screws using a Phillips #1 screwdriver.

  5. 4HMTHgQG2ufkOBLI
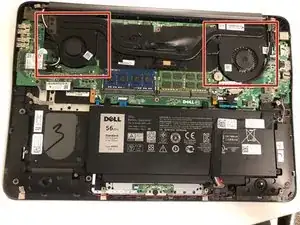
    • The two fans are located at the top of the computer.

    • The fan on the left is for the GPU (Graphics processing unit) and the right fan is for the CPU (Central processing unit).

  6. Ys1JeWfsukL6SaSh
    Ys1JeWfsukL6SaSh
    HRHU3kL1m2HFaNn2
    koWEU1TPqFELvVag
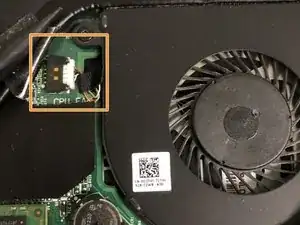
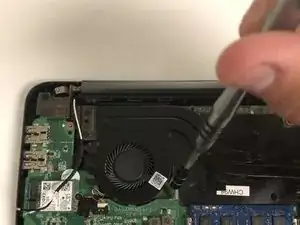
    • To unplug the CPU fan lift the black plastic cutout next to the fan.

    • The connection can be removed by hand or with the plastic spudger.

  7. yuyqHQk4hjk6xdL1
    yuyqHQk4hjk6xdL1
    V23ABTWCoYFxhj3D
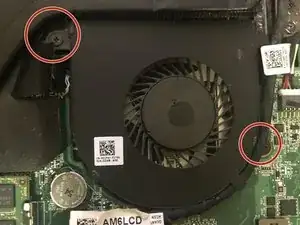
    • Remove the two 2x3mm screws from the fan using the Phillips #1 screwdriver.

    • The unit may now be removed from the board.

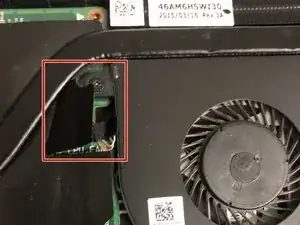
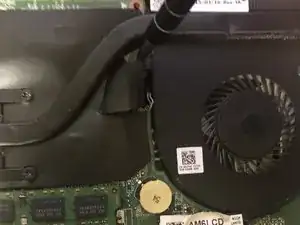
    • The black cord running alongside the fan is for the display. Push it aside if it stops you from removing the fan.

  8. IspjOOTPNvDx51OS
    IspjOOTPNvDx51OS
    aKkWjnqqOtE5URhU
    ItDgOFjo5PKdWEjG
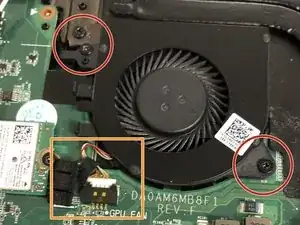
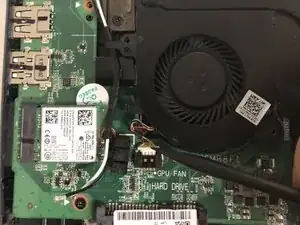
    • Remove the two 2x3mm screws from the fan using the Phillips #1 screwdriver.

    • Disconnect the unit from the motherboard.

    • It may be easier to disconnect with the spudger tool but it can also be done by hand.

  9. 1DqTcOrXNSSSRx2Z
    1DqTcOrXNSSSRx2Z
    Iagia3khb2rDKnNh
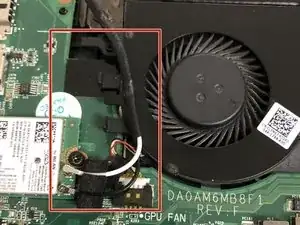
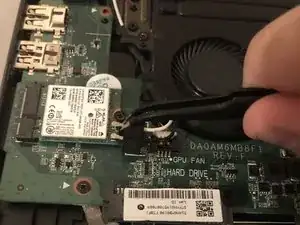
    • The black and white wires need to be unplugged and removed from the tabs on the fan.

    • Use a pair of tweezers to unplug the wires.

    • When reconnecting the wires connect the white to the top plug and the black to the bottom.

    • The unit may now be removed from the board.

Abschluss

To reassemble your device, follow these instructions in reverse order.
Christopher Fisher

Mitglied seit: 26/09/18

379 Reputation

0 Kommentare