Einleitung
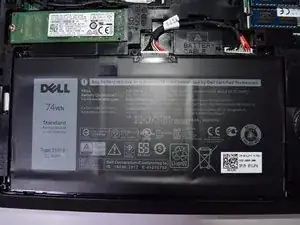
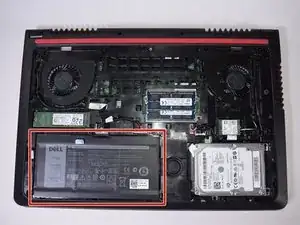
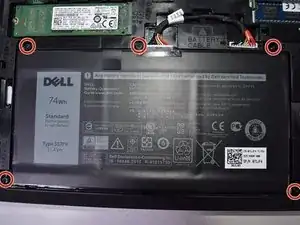
This guide will demonstrate how to replace the battery for the Dell Inspiron 15-7559. This may be necessary if you have issues charging or turning on the device.
For your safety, discharge your battery below 25% before disassembling your device. This reduces the risk of a dangerous thermal event if the battery is accidentally damaged during the repair. If your battery is swollen, take appropriate precautions.
Werkzeuge
Ersatzteile
-
-
Turn off the computer.
-
Disconnect the charging cable from the computer.
-
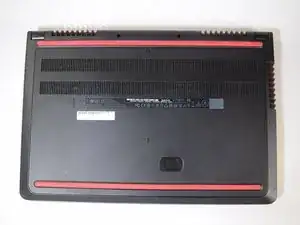
Flip the computer upside down.
-
-
-
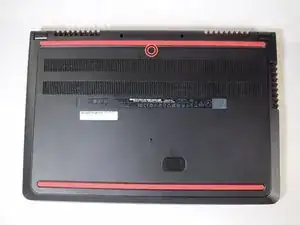
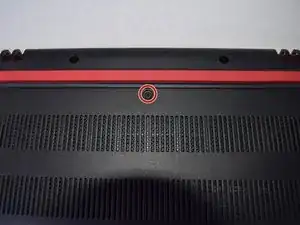
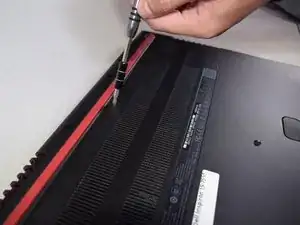
Remove the captive screw located on the top section of the back panel, using a Philips #1 screwdriver.
-
-
-
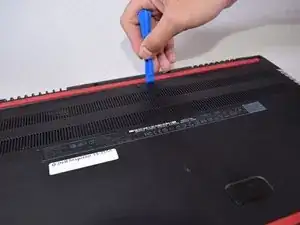
Use the blue, plastic opening tool to gently pry a section of the back panel open.
-
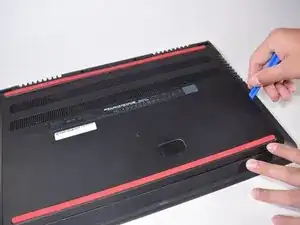
Next slide the opening tool around the back panel to disconnect the clips holding the panel in place.
-
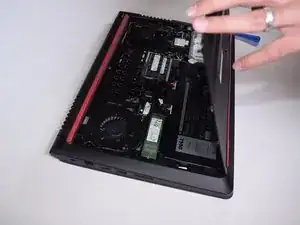
After the clips have been disconnected, the back panel can then be easily lifted off the computer.
-
-
-
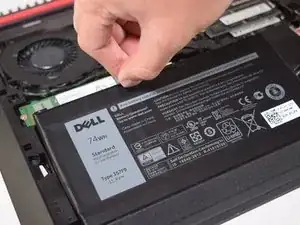
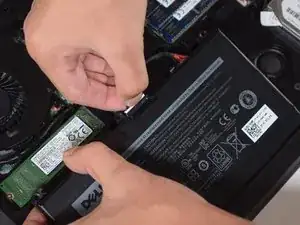
Using the tab above the battery, raise the battery far enough to disconnect the cables attached to it.
-
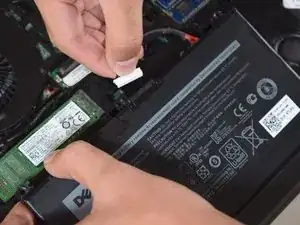
Using your hand grab the white portion connecting the cables to the battery and disconnect it.
-
To reassemble your device, follow these instructions in reverse order.
Take your e-waste to an R2 or e-Stewards certified recycler.
Repair didn’t go as planned? Try some basic troubleshooting, or ask our Answers community for help.
Ein Kommentar
Cool, that’s the easy part. How do you tell the UEFI that it’s okay to charge the new battery?
