Einleitung
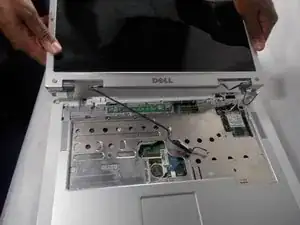
This guide will show you how to remove the display from your Dell Inspiron 1501.
Werkzeuge
-
-
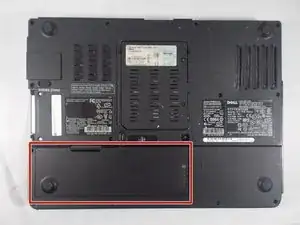
Place the laptop facedown with the battery facing you.
-
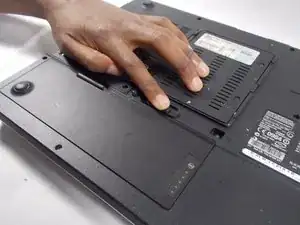
Push the switch above the battery to the right and hold it in that position.
-
Lift the battery using the grip on the top and remove it from its socket.
-
-
-
Open the laptop all the way, rotating the display so that it is level with the surface that you are working on.
-
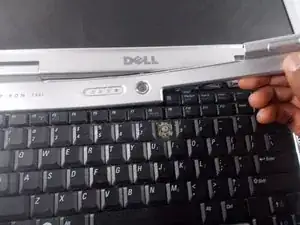
Insert the spudger underneath the groove on the right side of the hinge cover.
-
Push up to pry the edge of the hinge cover out.
-
Lift up to release the hinge cover from the laptop, working from right to left.
-
-
-
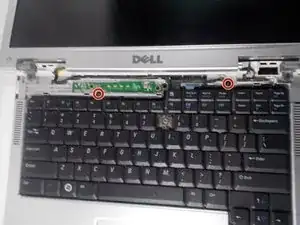
Remove the two 5mm JIS #1 screws from the top of the keyboard.
-
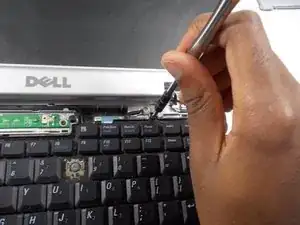
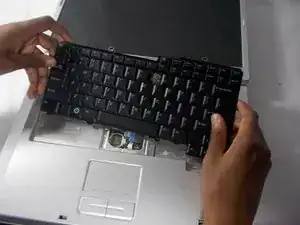
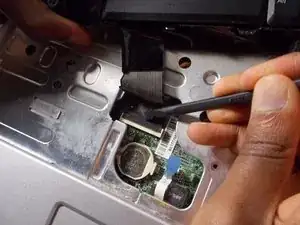
Lift the top of the keyboard up and pull the keyboard away from the laptop.
-
-
-
Close display and flip the laptop upside down.
-
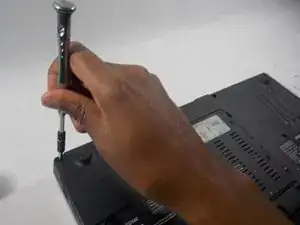
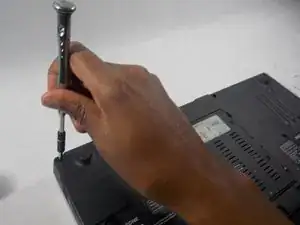
Remove the two 8mm JIS #1 screws on the backplate that hold the display.
-
-
-
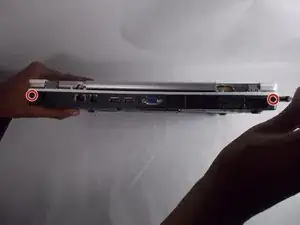
From the back of the computer, remove the two screw covers.
-
Remove the two 8mm JIS #1 screws.
-
-
-
Turn the laptop over and open the display.
-
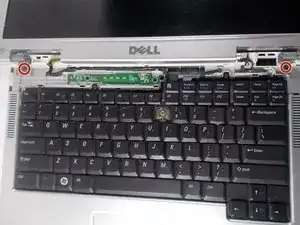
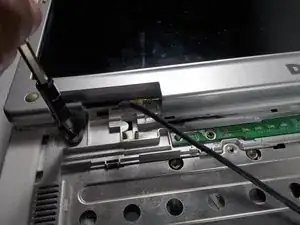
Remove the two 5mm JIS #1 screws on the display hinge.
-
-
-
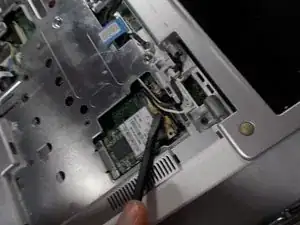
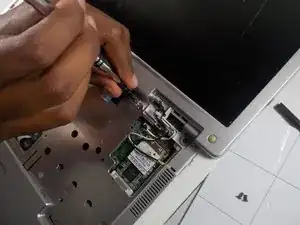
Disconnect the antenna cables from the Mini-Card.
-
Loosen the JIS #1 screw on the display cable.
-
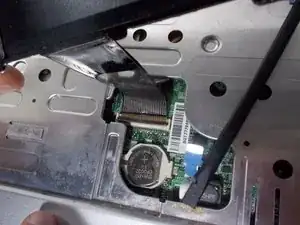
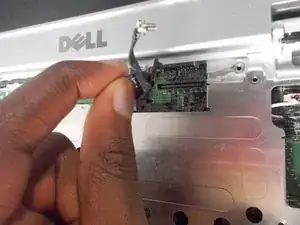
Pull the pull-tab straight up to disconnect the display cable from the laptop.
-
To reassemble your device, follow these instructions in reverse order.
