Einleitung
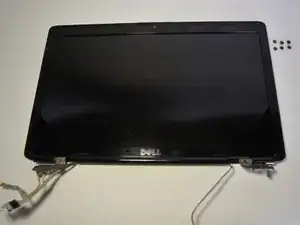
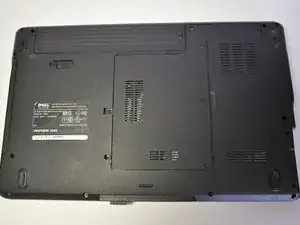
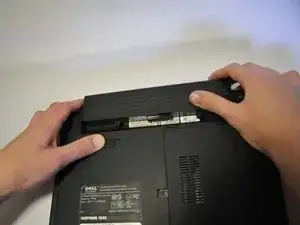
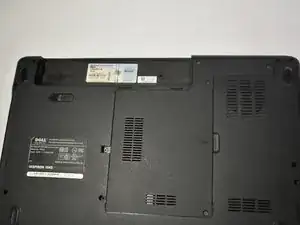
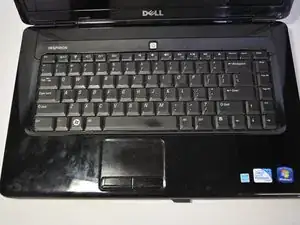
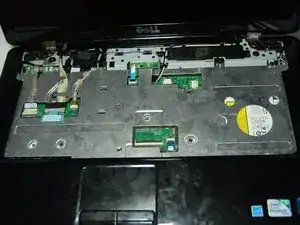
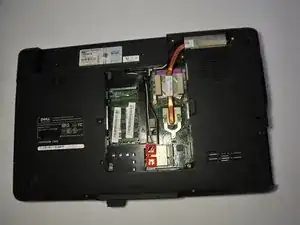
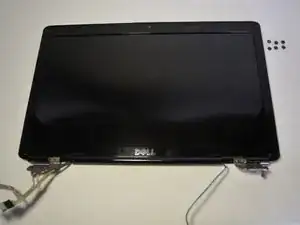
There are many parts that can go bad within a display. This guide does not necessarily cover the replacement of all the smaller pieces, but it does allow you to access those parts.
Werkzeuge
Ersatzteile
-
-
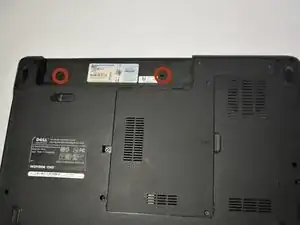
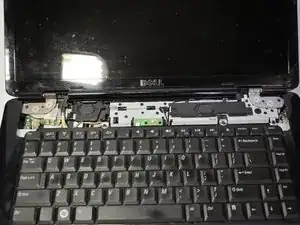
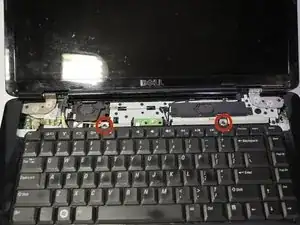
After removing the battery, remove the two screws (3mm Phillips #1) beneath it. These screws hold the Center Control Cover in place.
-
-
-
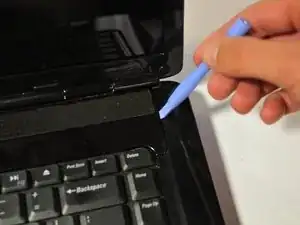
Pry the Center Control Cover from the laptop. On the right there is a small divot, it is advised that you start removing the panel from here.
-
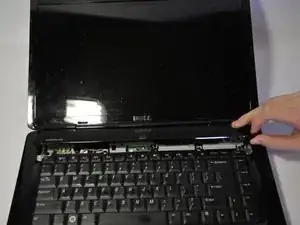
Carefully lift the Center Control Cover away from the laptop.
-
-
-
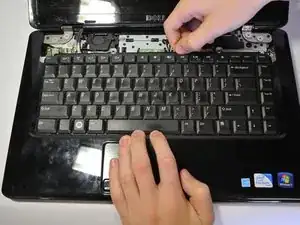
Slide the keyboard out and away from the laptop and lift it up to access the keyboard connector.
-
-
-
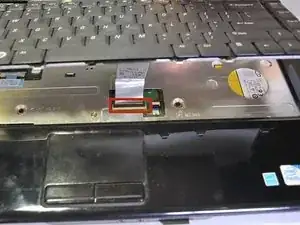
Lift the connector latch that secures the keyboard cable to the connector on the motherboard and remove the cable.
-
-
-
Remove black and white wires from the WLAN that lead to the display by pulling straight up.
-
Unwind the wires so they can be freely pulled through in the next step.
-
-
-
Turn the laptop over to its standard position.
-
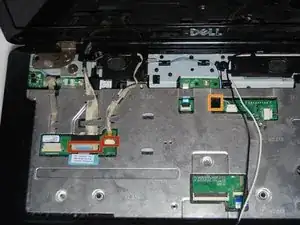
Disconnect the Wed cable and Camera1 cable from the respective Motherboard connectors as marked. Unsecure the wires so they are loose.
-
Pull the black and white wires previously connected to the WLAN through the hole.
-
-
-
Remove the Camera1 cable, the Wed cable, and the black and white wires from the routing guides.
-
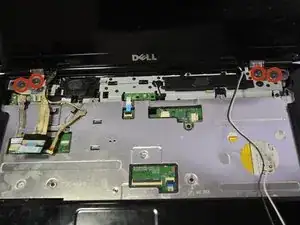
Remove the four screws (5mm Phillips #1) (two on either side) that secure the display assembly.
-
To reassemble your device, follow these instructions in reverse order.
3 Kommentare
wow that is really good
AWESOME, but how to know if display is faulty or some issue in the other device causing blank screen
put it back toghther, then plug in a external monitor
Feyrowan -
