Einleitung

Replacing or upgrading your laptop’s hard drive is a great way to get some extra life out of your device.

  1. K2RWPVQK6sWyHp1P
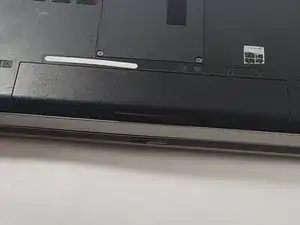
    • We are removing the battery to avoid the possibility of an electrical discharge when working with this system.

    • Flip device on its back displaying the battery.

  2. joLOS4ExOfLtgrYj
    joLOS4ExOfLtgrYj
    WJANG6mDaPCfgMPG
    hjokApjbsiAWlqvu
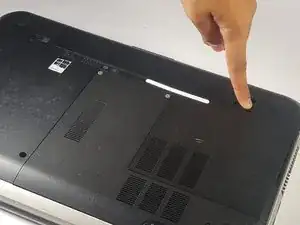
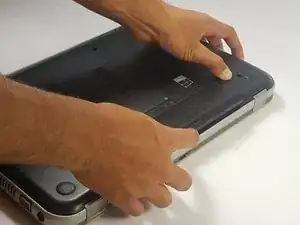
    • Place a finger on both latches and push outwards.

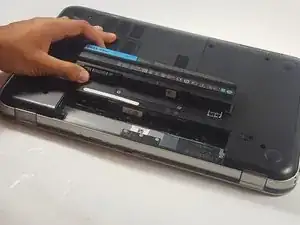
    • Grab by the lip and pull upwards to remove battery.

  3. gAfYIP6ErJhA1sh2
    gAfYIP6ErJhA1sh2
    PCoFwnARPdFFLDFX
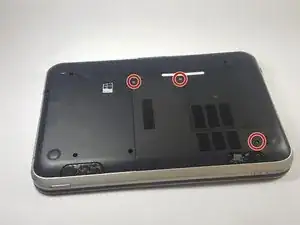
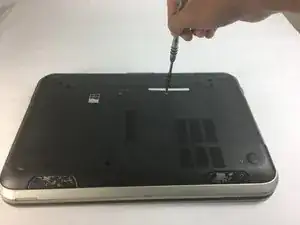
    • Locate and loosen the three 3 mm screws.

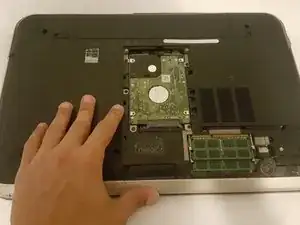
    • Remove the plastic casing with the screws attached.

  4. 5QImU1uduUSZfDj5
    5QImU1uduUSZfDj5
    wotly1L44f3NHwGG
    gmhScXbVPIbSv2rT
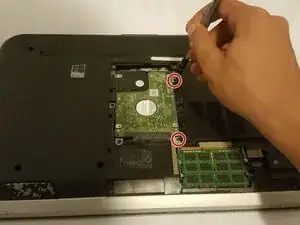
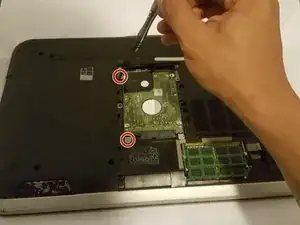
    • Locate and remove the four 4mm screws holding the hard drive in place.

  5. ov2GtUTaYu1rWr3O
    ov2GtUTaYu1rWr3O
    Hwq1sOXWpLcGc2W4
    mFSMxUQR1AmTa1EM
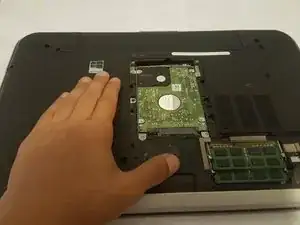
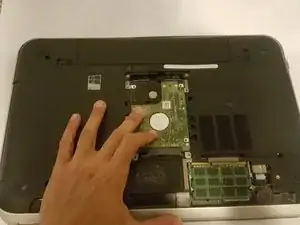
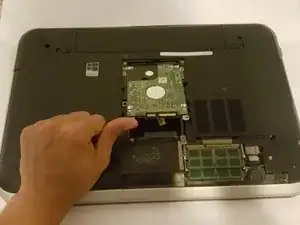
    • Push the hard drive horizontally and away from yourself.

  6. cE4HxWB1lkMNCuVC
    cE4HxWB1lkMNCuVC
    xnytUKvLCSK1GCqY
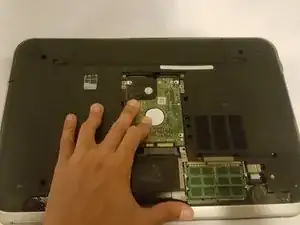
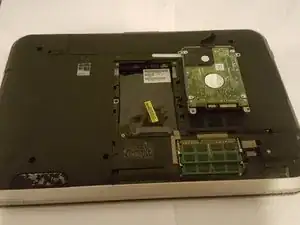
    • Lift the hard drive up and out of the bay.

Abschluss

To reassemble your device, follow these instructions in reverse order.

zAj

Mitglied seit: 15/09/16

484 Reputation

2 Kommentare

I have a Dell 15R 5537. The drive removal is about the same. There are only two screws holding the drive, though. They’re located at the back of the drive. Push the drive back to clear the connector and pull up aided by a clear plastic pull tab on the drive.

Adrian Kocurek -

It worked and was well worth installing an SSD.
Adrian Kocurek -