Einleitung

It is possible for the cooling fan inside a laptop to become very noisy due to dust, die out, or break all together. This guide will show how to remove and replace the fan of the device.

  1. jemgXSk2x2getKr1
    jemgXSk2x2getKr1
    5dg3SpPjKJ3dpSgQ
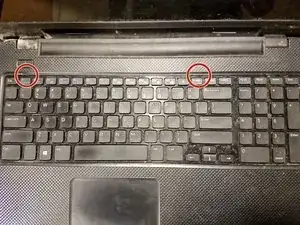
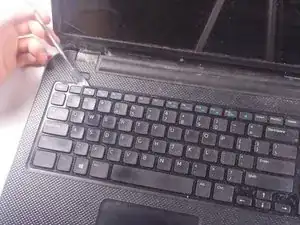
    • Use a plastic opening tool or a metal spudger to pry out the tabs on top of the keyboard.

    • After prying the tabs up, carefully pull the keyboard out of the laptop.

    • Use caution when prying the tabs up or lifting the keyboard up, as the plastic material and the strip on the keyboard can easily break.

    Remove all screws on the underside, remove the RAM and Hard Drive, and all case screws around the Hard Drive bay

    Richard Holmes -

  2. b2eA2ZJRDalBDdx3
    b2eA2ZJRDalBDdx3
    CNcuVaIUhYVBtLa2
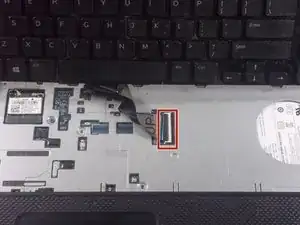
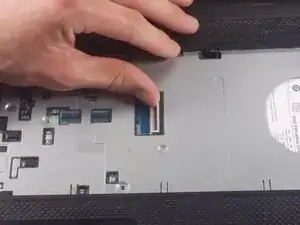
    • Once the keyboard is lifted, locate the release tab.

    • Using a plastic opening tool or your finger, lift the tab so that it opens .

    • Once the tab is open, the strip on the keyboard can be removed.

  3. tHbpFAQJi6KXZavV
    tHbpFAQJi6KXZavV
    4EEUxiUgGDiMmicS
    dkeOmY2SDq1J3QgX
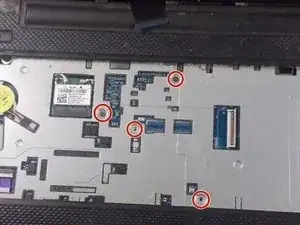
    • Remove the four 6 mm PH1 Philips head screws under the keyboard.

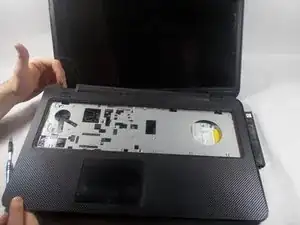
    • Carefully pop off the cover using the plastic opening tools and your hands.

    If this does not come away - verify all screws on the underside have been removed

    Richard Holmes -

    Also, take care with the trackpad cable, as this is short and can be damaged if not released carefully.

    Richard Holmes -

  4. fuHWD1DLqfPCjtcJ
    fuHWD1DLqfPCjtcJ
    NPsCRWDluABcCXkV
    hkVPNIVEmo3Yjqqr
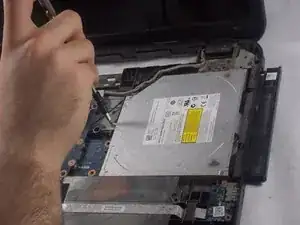
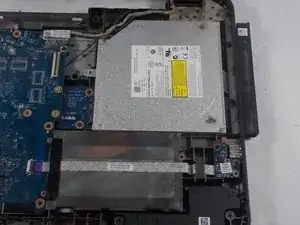
    • Remove the 4 mm PH1 Philips head screw holding down the optical drive.

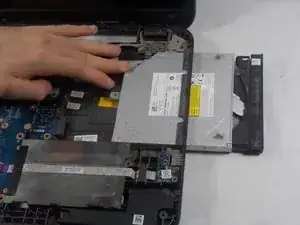
    • Use your hand to slide the drive out of the device.

  5. 6DsyXyMFExlpDhuQ
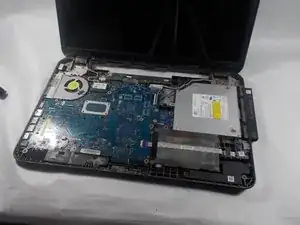
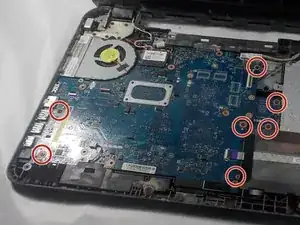
    • Remove the seven 6mm PH1 Philips head screws from the motherboard.

    • There may be more or less screws in your motherboard as the laptops do vary.

    Remove the screws securing the WIFI card and disconnect the WIFI card from the mainboard

    Richard Holmes -

  6. gbL1WJuQ2bjacaW4
    gbL1WJuQ2bjacaW4
    JdWBSKcTpJZlA3pv
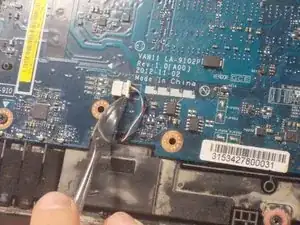
    • Located on the lower left of the motherboard, disconnect the wire that connects the speaker by pushing it or pulling it away from the white box.

  7. nobpZnkExFvujTJc
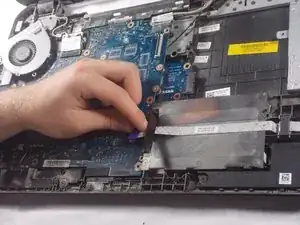
    • Located on the lower right of the motherboard, flip up the black hatch and remove the ribbon cable by gently tugging it outwards.

    • Ribbon cables are very fragile and can tear easily. Handle with care.

  8. TZbj5ASkIqSSS4Fi
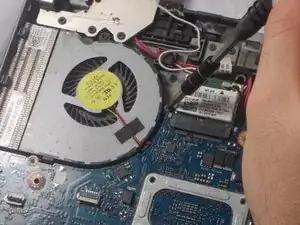
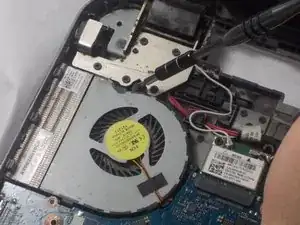
    • Remove the 4mm PH1 Philips screw to the right of the fan.

  9. SiTjLXCGakaUKY1S
    • Remove the 4mm PH1 Philips screw to the top of the fan.

  10. PlVW1PUnjWQOxvrQ
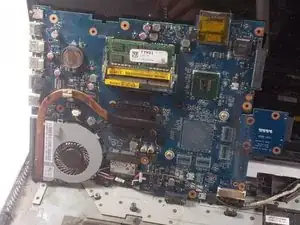
    • Remove the motherboard from the USB sockets to the left by first pulling the motherboard to the right and then flip the motherboard up against the screen.

  11. jUC4KWmV4fZrgDPC
    • Located on the lower left, remove the 4mm PH1 Philips screw to the top of the fan.

  12. DfHdWDNcF1MYWcXX
    DfHdWDNcF1MYWcXX
    AURSRom3ONuhotFX
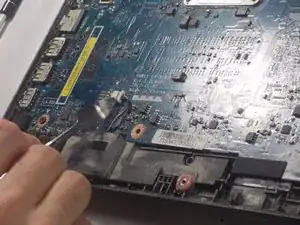
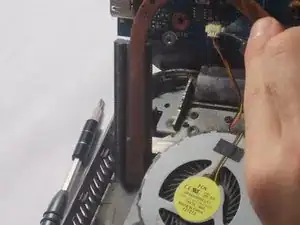
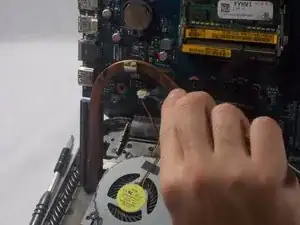
    • Remove the wire for the fan by pulling or pushing the white tab from the white box.

Abschluss

To reassemble your device, follow these instructions in reverse order.
Kevin Prairie

Mitglied seit: 20/03/18

433 Reputation

0 Kommentare