Einleitung

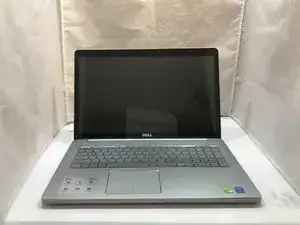
With Replacing the battery one must ensure that the computer is OFF and unplugged from the wall. In addition having an undamaged replacement battery will be helpful. This entails that the replacement battery has no punctures, bulges, or cracks.

  1. BERuKuo2nNlyfYMc
    • Disconnect the laptop from the AC adapter and turn off the laptop.

  2. fAebXvIbVL56NkpI
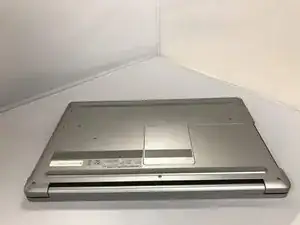
    • Place the laptop so the bottom faces up.

  3. eHmBjYMatOLLPYZS
    eHmBjYMatOLLPYZS
    4ZSub4AaBiJpOAGP
    owkd1IIcYKntcQww
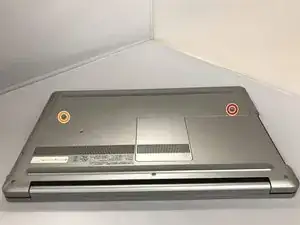
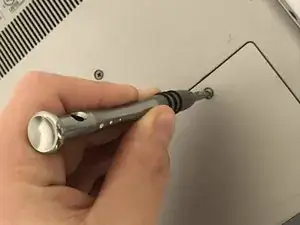
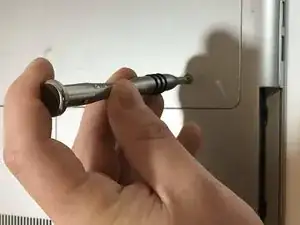
    • Remove the silver 15mm PH 1 screw that holds the plastic cover in place over the battery.

    • Remove the 8mm PH 1 screw that holds the plastic cover in place over the battery.

    • Keep the screws together because the length of the screws will matter when you reassemble.

  4. 3LUjbB5SH6tKjQn2
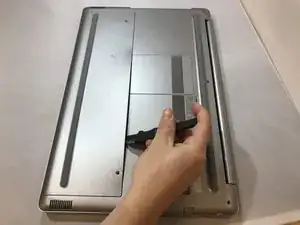
    • Using the metal jimmy, pry up the first half of the cover.

  5. xEKLJvIb21qHHt1r
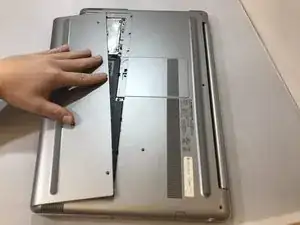
    • Apply pressure with your fingertips on top of the cover and drag toward the front of the laptop. This will make the plate slide off exposing the hard drive.

  6. cTiFCcI1sDAfEE1K
    cTiFCcI1sDAfEE1K
    InGfquUOUkcfVkyP
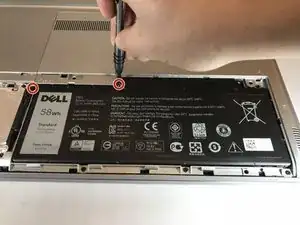
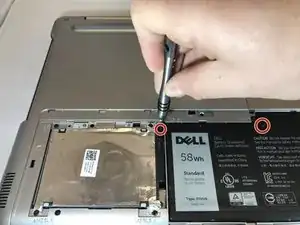
    • Remove the two black PH1 6mm screws that anchor the battery.

  7. dpiWuyb4HtFMhFfw
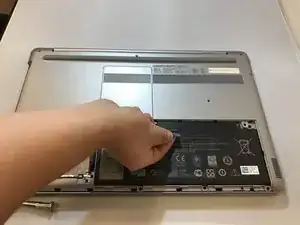
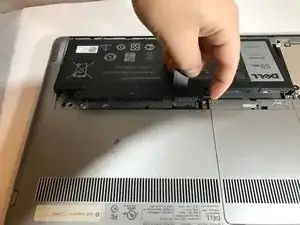
    • Grab the black tab on the battery with index finger and thumb.

    • If the Tab is broken or missing, use the plastic spudger to pry the battery out far enough to grab the battery by hand.

    • Avoid applying too much pressure on the battery with the plastic spudger. It might puncture the battery.

  8. pZikIgHbHeMNnusb
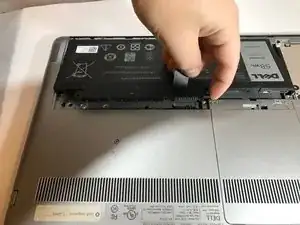
    • Pull upwards, removing the battery from the laptop.

    • Ensure replacement battery has no bulging or has no cracks and lies flat in its location.

Abschluss

To reassemble your device, follow these instructions in reverse order.
Tucker Harmon

Mitglied seit: 26/09/18

282 Reputation

0 Kommentare