Einleitung
An alternative solution to this repair would to buy an Ethernet cable and connect one end of the cable to the OUTPUT of your router directly to your laptop. This removes the wireless portion of the computer and directly sends data through the cable allowing internet access.
Werkzeuge
Ersatzteile
-
-
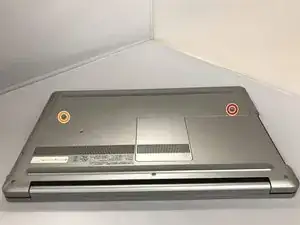
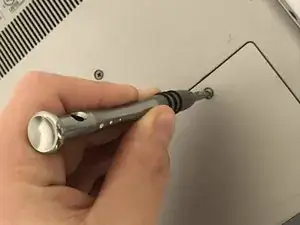
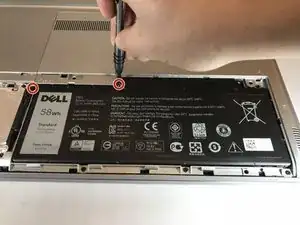
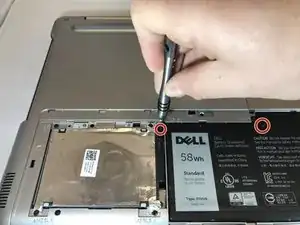
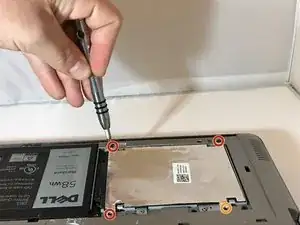
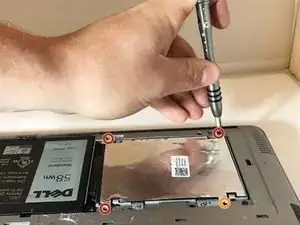
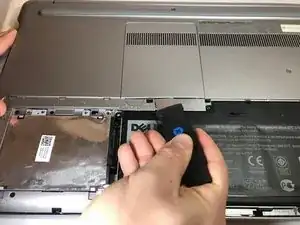
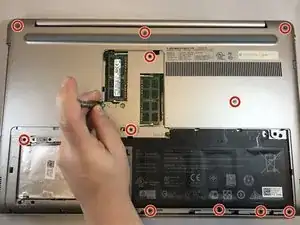
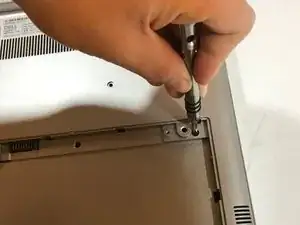
Remove the silver 15mm PH 1 screw that holds the plastic cover in place over the battery.
-
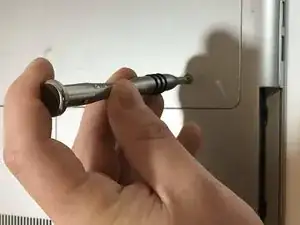
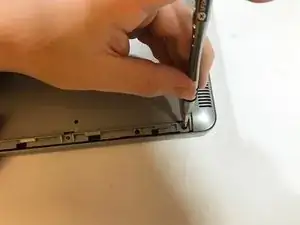
Remove the 8mm PH 1 screw that holds the plastic cover in place over the battery.
-
-
-
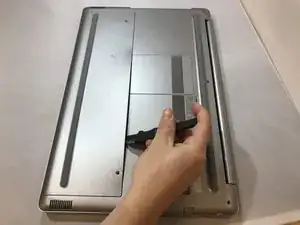
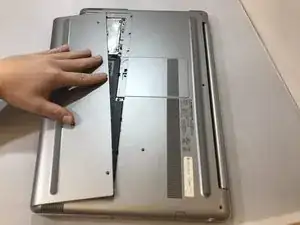
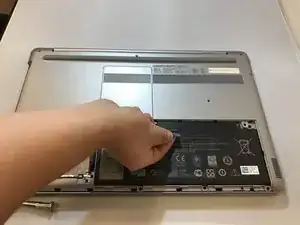
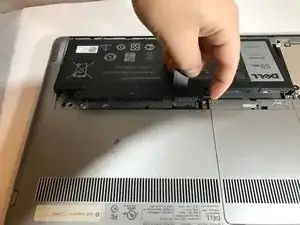
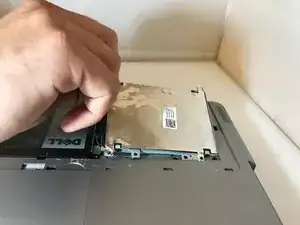
Apply pressure with your fingertips on top of the cover and drag toward the front of the laptop. This will make the plate slide off exposing the hard drive.
-
-
-
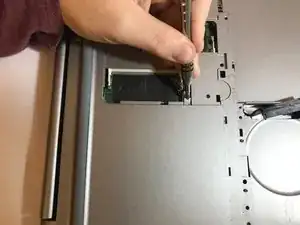
Remove the three black 6mm PH1 screws that anchor the hard drive.
-
This screw hole will be empty because the 15mm silver screw that holds the plastic cover will anchor the hard drive down when completely reassembled.
-
-
-
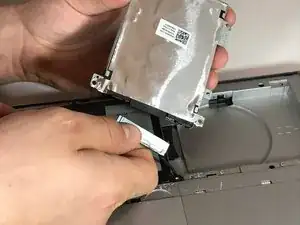
Using your hands, gently lift the hard drive out of its slot.
-
Disconnect the Seta Cable attaching the hard drive to the laptop by gently wiggling loose the connector from the hard drive using your hands.
-
-
-
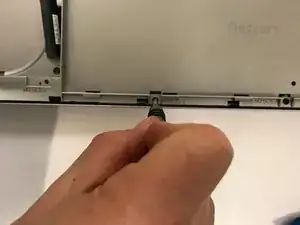
Using the tip of the plastic spudger, push the metal tab towards the outer edge of the laptop. This pushes the CD ROM out.
-
Using your fingers, pull out the CD ROM.
-
-
-
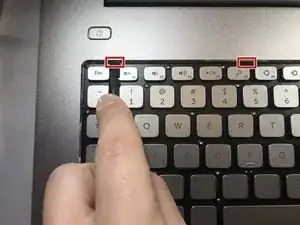
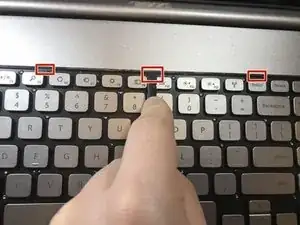
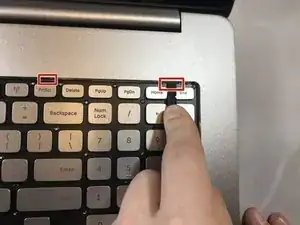
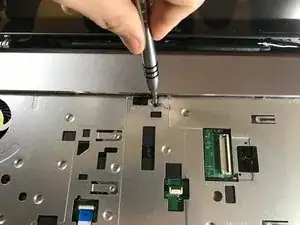
Using the plastic spudger tool, place the tip of the spudger into the small notches at the top of the keyboard and push in the notch to release the top portion of the keyboard. Repeat on all notches.
-
Push all five tabs back to lift the keyboard.
-
-
-
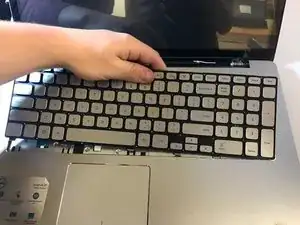
Using the plastic spudger, lift the top part of the keyboard and gently lift the keyboard out.
-
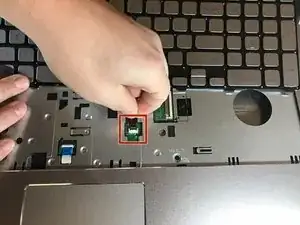
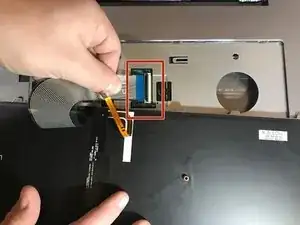
Using your hands, gently remove the narrow flat ribbon cable from the motherboard port by gently pulling the cable.
-
-
-
Using your hands, gently remove the wide flat ribbon cable from the motherboard port by gently pulling the cable.
-
-
-
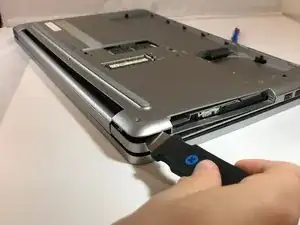
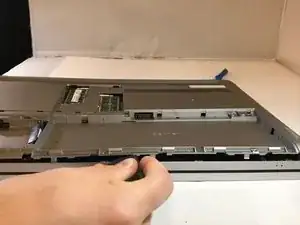
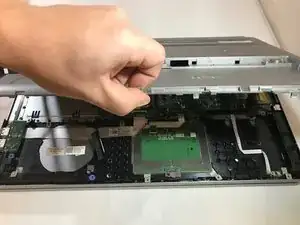
Close the laptop and flip it over exposing the bottom surface. Use the metal jimmy and blue opening tool, gently pry the bottom cover off. Repeat this process around the entire perimeter of the laptop.
-
-
-
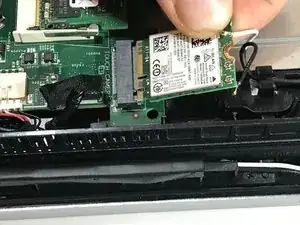
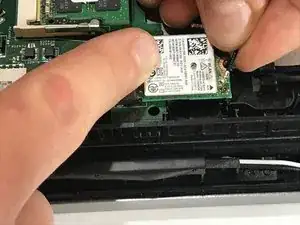
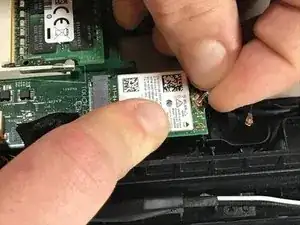
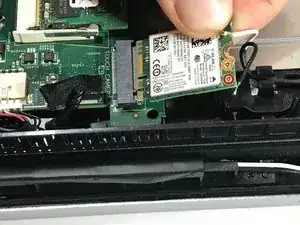
The wireless card is near the left hinge of the laptop and has two little connectors attached to it. Gently lift the left black connector off the board and then lift the board out of the laptop.
-
Repeat the same process with the white connector.
-
-
-
Replace the wireless card and reconnect the black and white cables.
-
Black cable goes to the connector on the wireless card labeled as "1."
-
White cable goes to the connector on the wireless card labeled as "2."
-
To reassemble your device, follow these instructions in reverse order.
