Einleitung
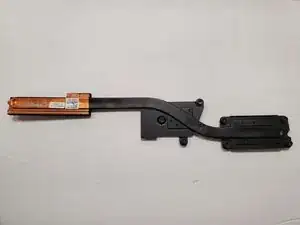
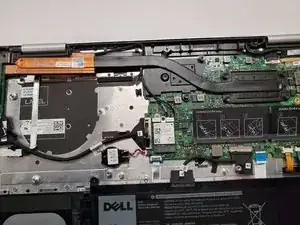
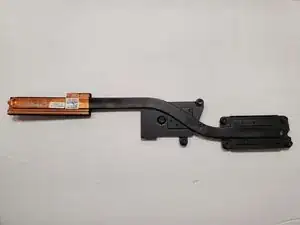
This is Dell Inspiron 17" 7786 2-in-1 heatsink replacement guide.
If the device has a loud fan noise, is hot to the touch, and turns off or restarts after a few minutes of being on, a faulty heatsink may be the cause.
Similar to the fan, you can hear a loud, constantly running fan. This could signal a dust accumulation in the heatsink. Without the heatsink, the fan is working harder than normal to compensate for the faulty heatsink. You may need to take the computer apart to use compressed air to clean the heatsink out or a microfiber cloth.
The computer case may feel hot to the touch. If you have fan noise and ruled out malware or other types of software problems, then a faulty or clogged heatsink could be the cause. You can also download temperature utility applications on your device to check the temperature.
When the temperature reaches a critical level, the system will shut itself down, restart itself or will stop randomly. This is to prevent permanent damage. The system shutdown will also show an error message. This may be a sign of a faulty, clogged or dead heatsink.
Replacement is recommended.
Werkzeuge
-
-
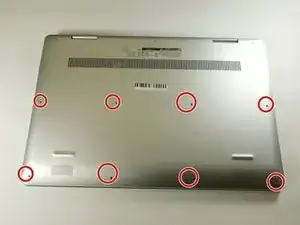
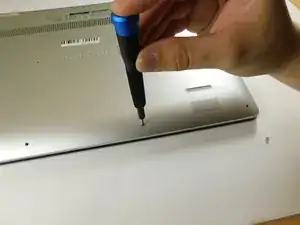
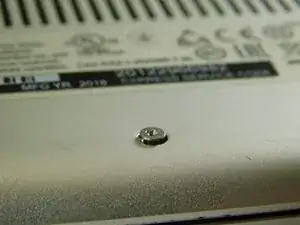
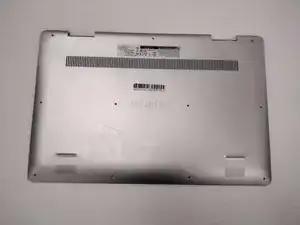
Remove the eight M2 5mm screws that secure the base cover using a Phillips #0 screwdriver.
-
-
-
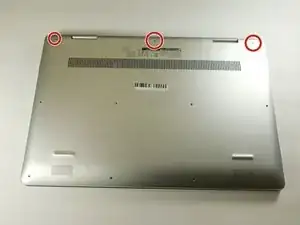
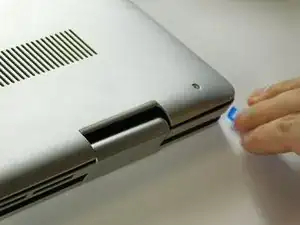
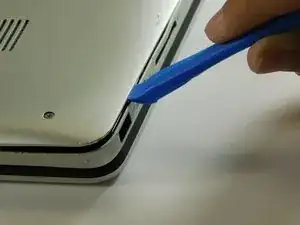
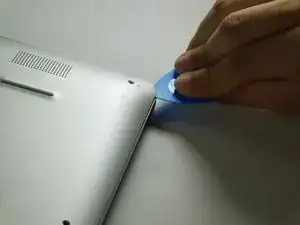
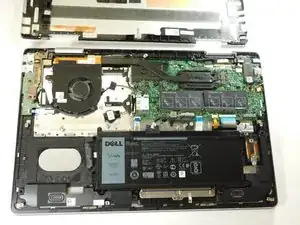
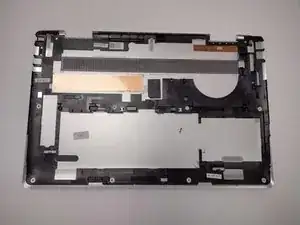
Carefully pry the base cover using an iFixit opening tool in the crevice near the hinges. Guide the pick along the edges and slightly lift upwards as you go along.
-
-
-
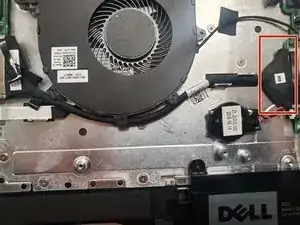
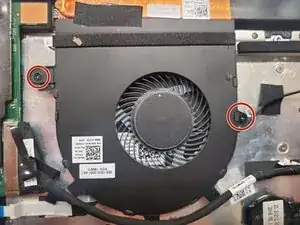
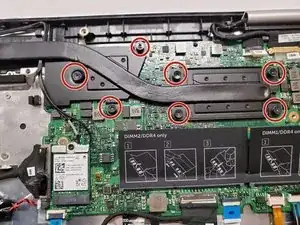
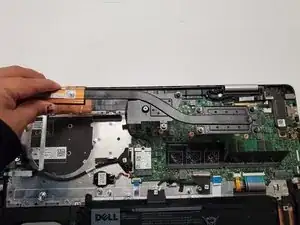
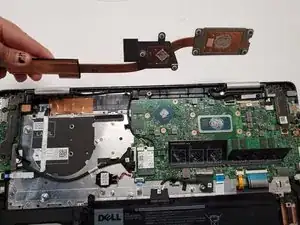
Loosen seven 3 mm captive screws securing the heatsink to the motherboard using a Phillips #0 screwdriver.
-
To reassemble your device, follow these instructions in reverse order.
