Einleitung
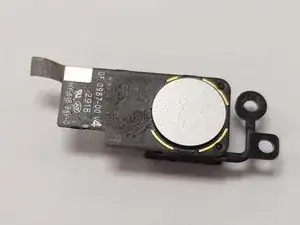
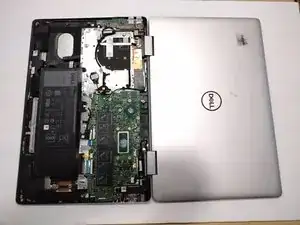
A power button that also functions as a fingerprint reader for an easier way to log in. A press of this button feels minuscule, soft, and is even quiet. The component itself is really only the fingerprint reading function, as the component that powers on the computer is the I/O board.
Werkzeuge
-
-
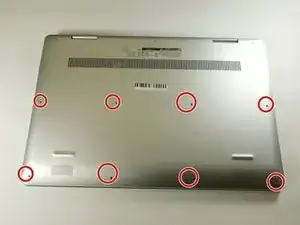
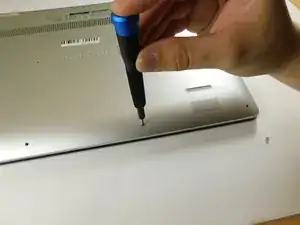
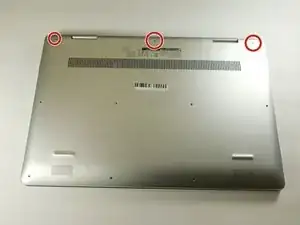
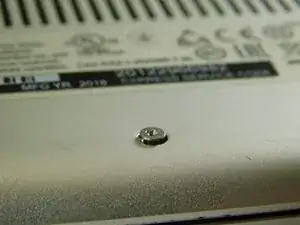
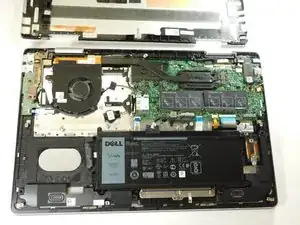
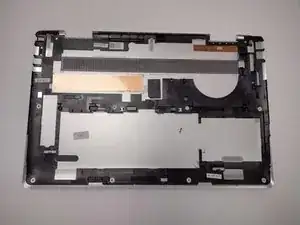
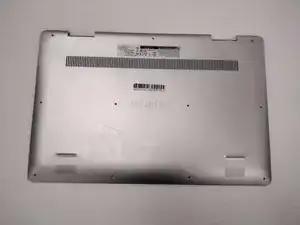
Remove the eight M2 5mm screws that secure the base cover using a Phillips #0 screwdriver.
-
-
-
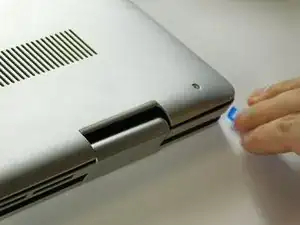
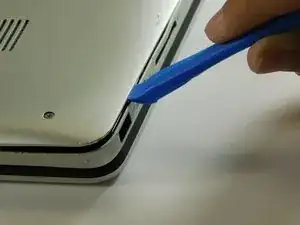
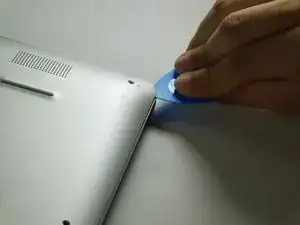
Carefully pry the base cover using an iFixit opening tool in the crevice near the hinges. Guide the pick along the edges and slightly lift upwards as you go along.
-
-
-
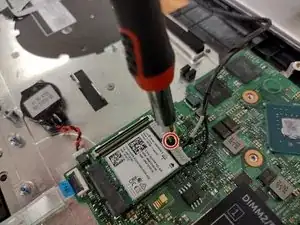
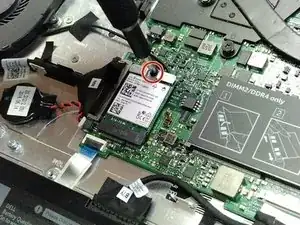
Remove the screw holding down the small bracket for the wireless card using a Phillips #0 screwdriver.
-
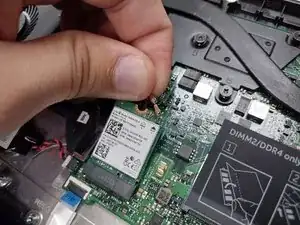
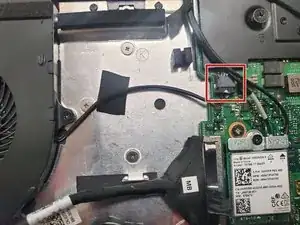
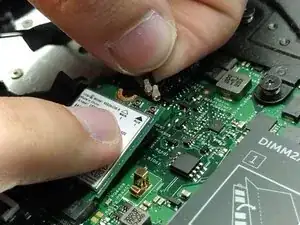
Remove the black wired connection from the port over the black triangle.
-
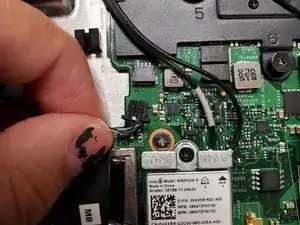
Remove the wire with the white marking from the port above the white triangle.
-
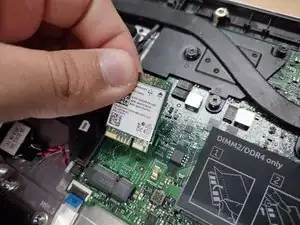
Pull the Wi-Fi card out of its slot.
-
-
-
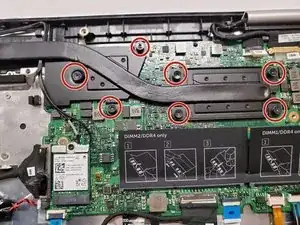
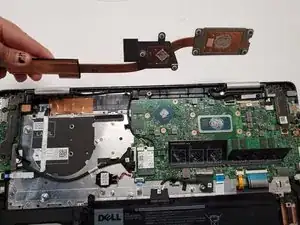
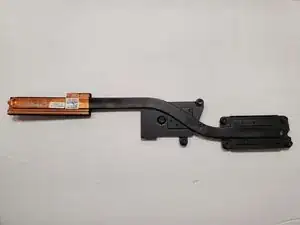
Loosen seven 3 mm captive screws securing the heatsink to the motherboard using a Phillips #0 screwdriver.
-
-
-
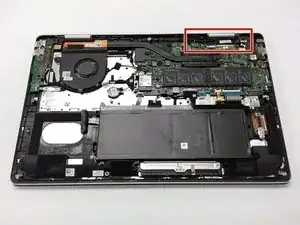
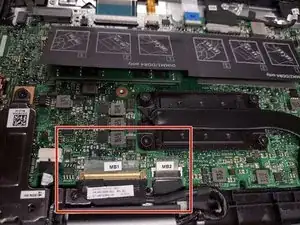
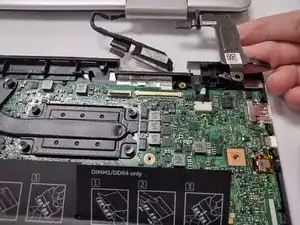
Locate the ribbon cables for the assembly on the right hand side marked "MB1" and "MB2."
-
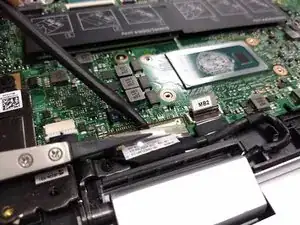
The "MB1" ribbon is locked with a copper/brass colored handle that must be lifted upwards. Then you can remove the ribbon by pulling it away from the socket.
-
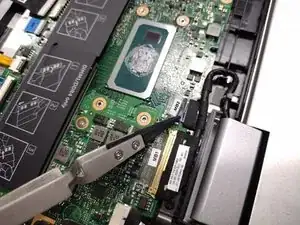
The "MB2" ribbon is locked in its socket with a black latch. Using a non-metallic precision tool (such as tweezers) lift the latch and pull away the MB2 cable.
-
-
-
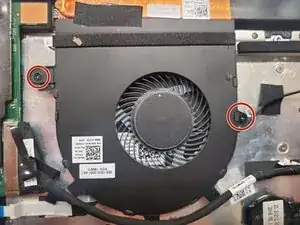
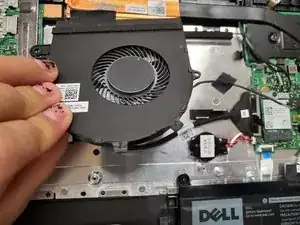
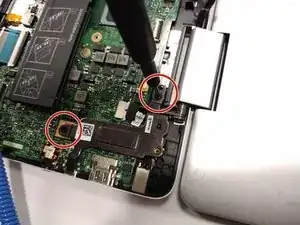
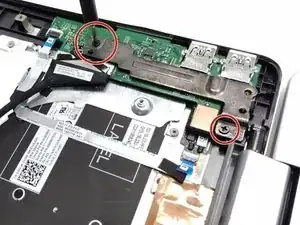
Remove the two screws holding down the assembly on the right hand area using a Phillips #00 screwdriver.
-
-
-
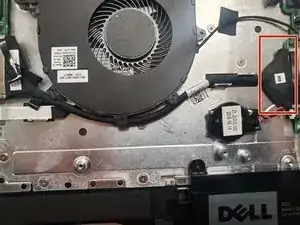
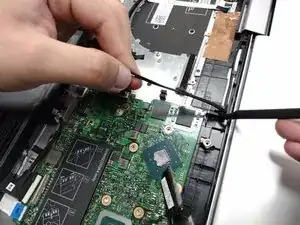
Remove the screw protecting the endpoints of the NIC cables and NIC chip using a Phillips #0 screwdriver.
-
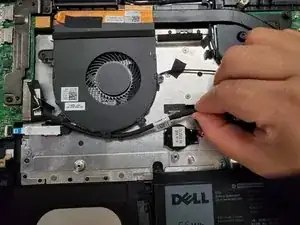
Gently pull away the cabling from the NIC chip.
-
-
-
Remove the two screws holding down the bracket of the assembly on the left hand side using a Phillips #0 screwdriver.
-
-
-
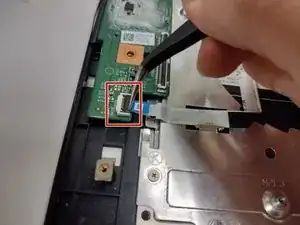
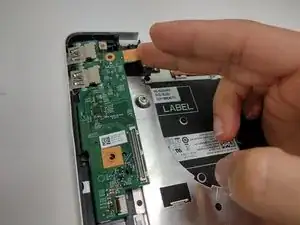
Lift the latch holding down the ribbon cable on the I/O board, then pull it away using the blue tab.
-
Lift the I/O board upwards to remove it from the assembly.
-
-
-
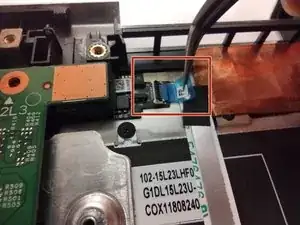
Lift the latch holding down the ribbon cable. Remove the cable away from the port.
-
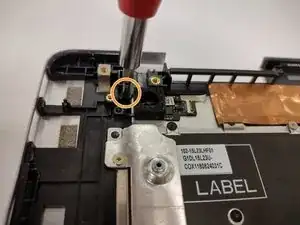
Remove the screw holding down the button in place using a Phillips #0 screwdriver.
-
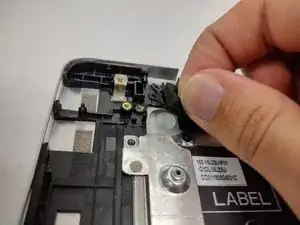
Grabbing the cushioning of the button, lift it upwards from the assembly.
-
To reassemble your device, follow these instructions in reverse order.
