Einleitung

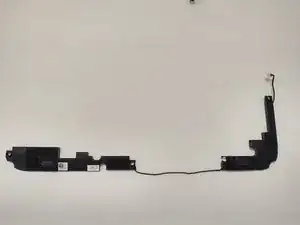
A device with such large screen should most definitely come with nice speakers to go along with it!

  1. CYvRIHRfOgmYPPff
    CYvRIHRfOgmYPPff
    snVusWoOdRGZCRhS
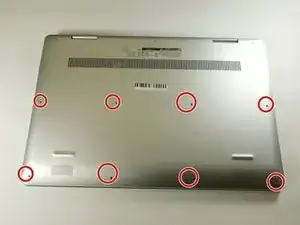
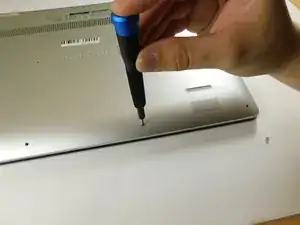
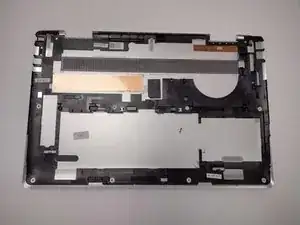
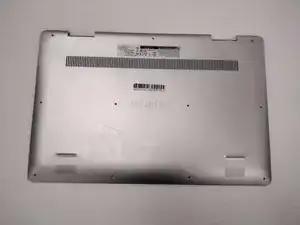
    • Remove the eight M2 5mm screws that secure the base cover using a Phillips #0 screwdriver.

  2. GW4dLMgyMemEOEKJ
    GW4dLMgyMemEOEKJ
    gJMDpufpML5gLDH2
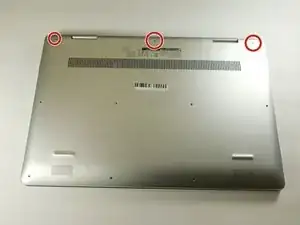
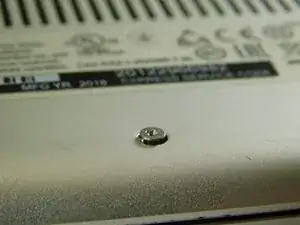
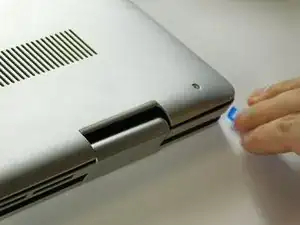
    • Loosen the three captive screws that secure the base closer to the hinges.

    • Do not attempt to remove the three captive screws! You need only to loosen them. They're supposed to stay on the base cover.

  3. lsVjQJaSEqsapufD
    lsVjQJaSEqsapufD
    3iD6RlPXbADHecg5
    DMEXkWSL6bYg3RiM
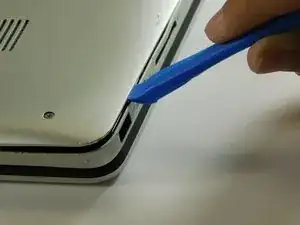
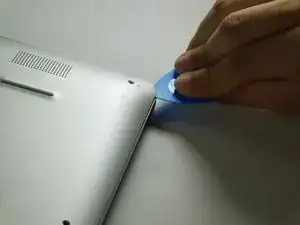
    • Carefully pry the base cover using an iFixit opening tool in the crevice near the hinges. Guide the pick along the edges and slightly lift upwards as you go along.

    • Do not start from the speaker end of the edges when opening, or you may cause further damage to your device!

  4. OyVXJtaoJNak1lpD
    OyVXJtaoJNak1lpD
    6bPBI3aoQCnefe3T
    P1BraqvDT2GINDAV
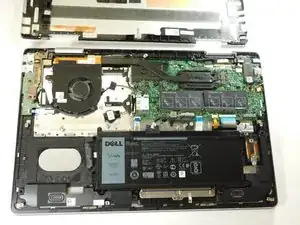
    • Carefully remove the base cover from the laptop.

  5. odFu3HMgZ2Y1VWnN
    odFu3HMgZ2Y1VWnN
    W6MqywxpC2kPZqAu
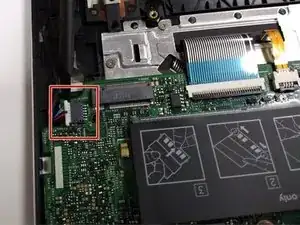
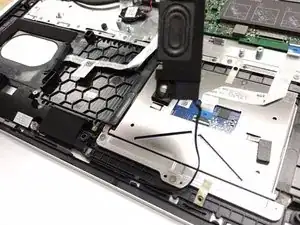
    • Detach the cable that connects the speakers to the system board.

    • Starting with the speaker on the right hand area of the touch pad, carefully guide the speaker cabling out of the enclosure. You need only to lift upwards.

Abschluss

To reassemble your device, follow these instructions in reverse order.
Antonio Franco

Mitglied seit: 25/08/22

1001 Reputation

0 Kommentare