Einleitung

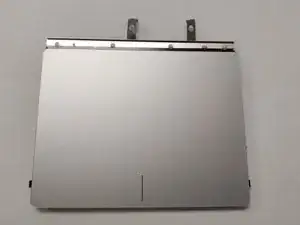
A smooth touch pad with soft clicks, and is compatible with gestures.

  1. CYvRIHRfOgmYPPff
    CYvRIHRfOgmYPPff
    snVusWoOdRGZCRhS
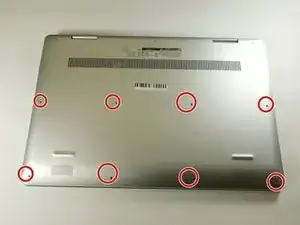
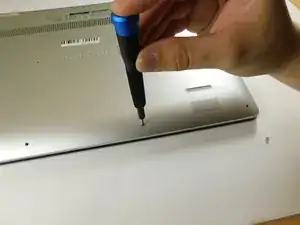
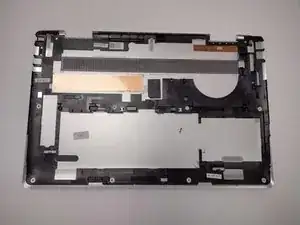
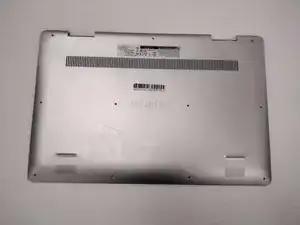
    • Remove the eight M2 5mm screws that secure the base cover using a Phillips #0 screwdriver.

  2. GW4dLMgyMemEOEKJ
    GW4dLMgyMemEOEKJ
    gJMDpufpML5gLDH2
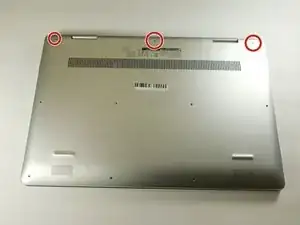
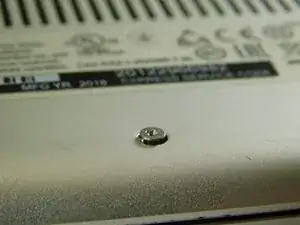
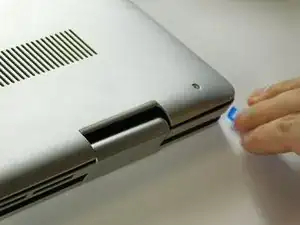
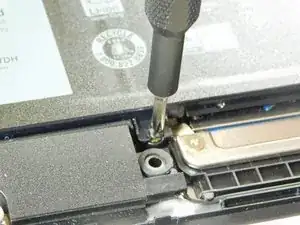
    • Loosen the three captive screws that secure the base closer to the hinges.

    • Do not attempt to remove the three captive screws! You need only to loosen them. They're supposed to stay on the base cover.

  3. lsVjQJaSEqsapufD
    lsVjQJaSEqsapufD
    3iD6RlPXbADHecg5
    DMEXkWSL6bYg3RiM
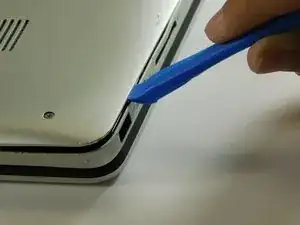
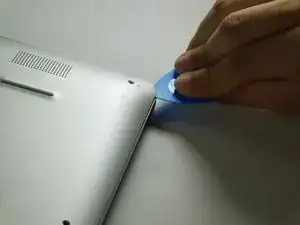
    • Carefully pry the base cover using an iFixit opening tool in the crevice near the hinges. Guide the pick along the edges and slightly lift upwards as you go along.

    • Do not start from the speaker end of the edges when opening, or you may cause further damage to your device!

  4. OyVXJtaoJNak1lpD
    OyVXJtaoJNak1lpD
    6bPBI3aoQCnefe3T
    P1BraqvDT2GINDAV
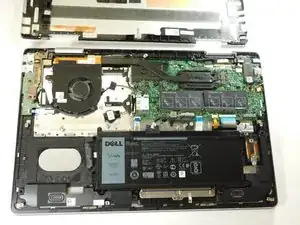
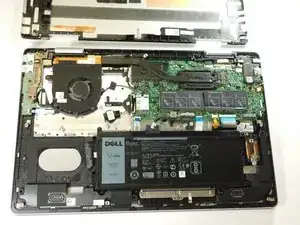
    • Carefully remove the base cover from the laptop.

  5. a1KwHnIUNOsDRXA4
    a1KwHnIUNOsDRXA4
    in3hPPZjHsuckxFo
    dAZsGs1MSXTFqlqY
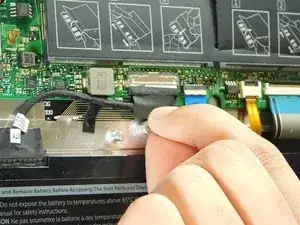
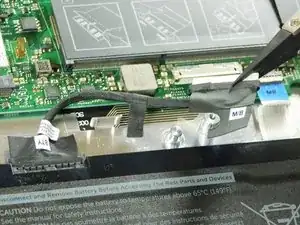
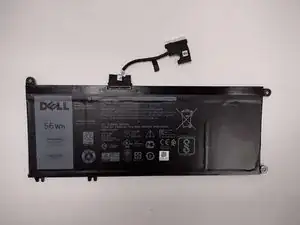
    • Detach the tab connecting the battery to the system board using your fingers or a pair of tweezers.

    • Peel off the adhesive tab holding the cable to the device.

  6. LeEWk2oeNPSACM3n
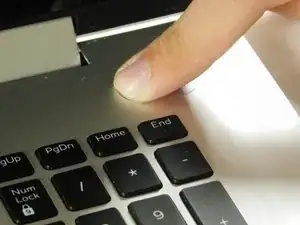
    • Flip the device over. Press and hold the power button for a few seconds to discharge any leftover electrical current.

    • You may leave the screen open if further repair is needed, or close it if you are only replacing the battery.

  7. qVGxsJiHDPPY5ODR
    qVGxsJiHDPPY5ODR
    1BHReSehUPhbcuYR
    ZQHVvg5vHVUPGnC5
    • Dell's official service manual does not mention of the 5th screw located near the middle edge of the battery closer to the touchpad.

    • Flip the device back over.

    • Remove five 3 mm screws that are securing the battery using a Phillips #0 screwdriver.

    • Lift the battery upwards to remove it completely.

  8. tVT3HT4IdqdpUuJi
    tVT3HT4IdqdpUuJi
    qOgoSxGBk5cmEBAn
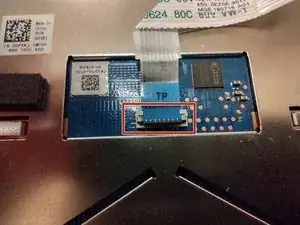
    • Lift the latch holding down the ribbon cable connected to the touch pad.

    • When inserting the cable back, ensure that it goes under the white indents.

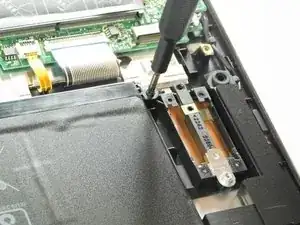
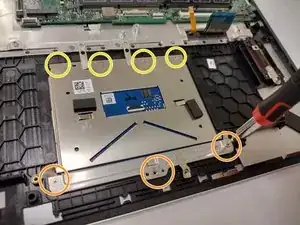
    • Remove the three screws holding down the bracket on the bottom portion of the touch pad using a Phillips #0 screwdriver.

    • Remove the four screws holding down the bracket on the upper portion of the touch pad using a Phillips #0 screwdriver.

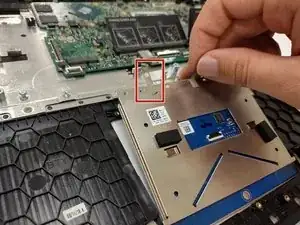
    • Remove the bracket on the bottom portion of the touchpad by carefully peeling it away, as it is held by adhesives, then set it aside.

  9. EVn1QrfV13DTOkPt
    • Pull the small adhesive tabs to lift the touch pad away from the assembly.

Abschluss

To reassemble your device, follow these instructions in reverse order.
Antonio Franco

Mitglied seit: 25/08/22

1001 Reputation

0 Kommentare