Einleitung
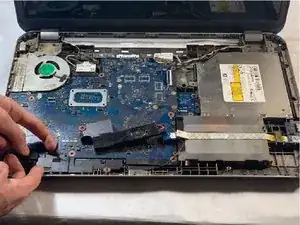
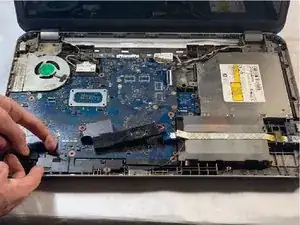
Audio speakers, while non-essential additions to a computer, are connected and function through the motherboard as an internal component.
Werkzeuge
-
-
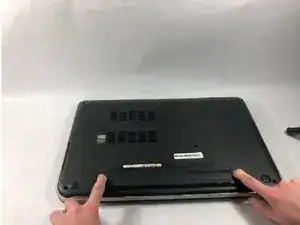
Located on the bottom of the laptop’s external shell, there should be two plastic sliding tabs to the right and left of the battery pack. Using your fingers, push these two tabs away from each other, toward the sides of the machine.
-
-
-
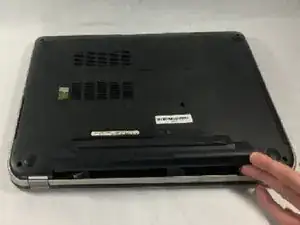
Using your fingernails, pry the battery pack away from the rest of the machine, at the physical seam between the pack and the laptop’s plastic case.
-
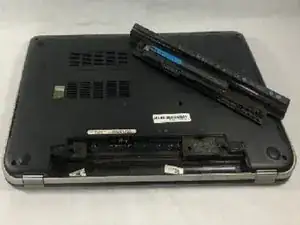
Remove the battery.
-
-
-
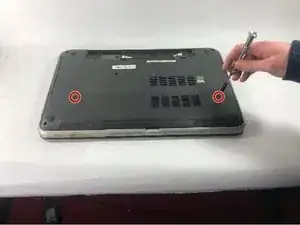
Using a Phillips #000 screwdriver, loosen the two screws at the top left and top right of the access door.
-
-
-
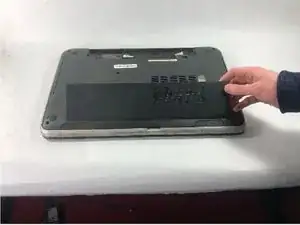
Using a spudger, pry into the gap in the plastic revealed by loosening the screws.
-
Lift off the access panel.
-
-
-
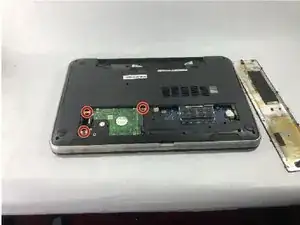
Using a Phillips #000 screwdriver, remove the three 5 mm screws securing the hard drive to the laptop.
-
-
-
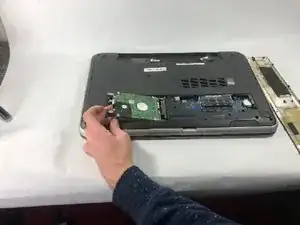
Grabbing from the left of the hard drive, slide the part to the left and pull up, lifting it away from the machine.
-
-
-
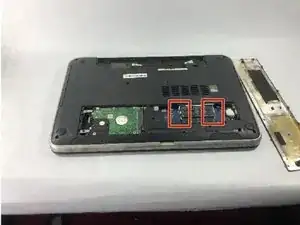
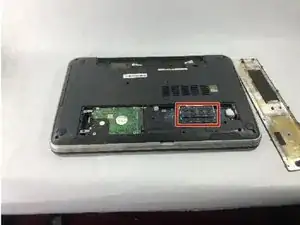
Using your fingers, separate the metal tabs located on the left and right of each stick of RAM by pulling them apart from each other.
-
-
-
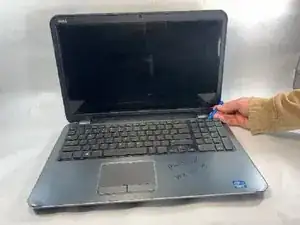
Open the laptop to reveal the keyboard.
-
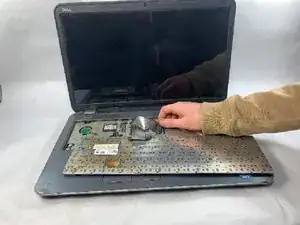
Using a plastic opening tool, pry the keyboard free from the palmrest assembly at the plastic tabs located across the top of the keyboard.
-
-
-
Once free from the palmrest, flip over the keyboard.
-
Unplug the ribbon cable connecting the keyboard to the motherboard.
-
Remove the keyboard.
-
-
-
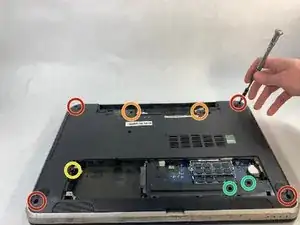
On the bottom of the laptop, use the Phillips screwdriver to remove nine total 5 mm screws from the following locations:
-
Four screws at each corner of the laptop’s bottom panel
-
Two screws within the battery slot
-
One screw to the left of the hard drive
-
Two screws located below the RAM
-
-
-
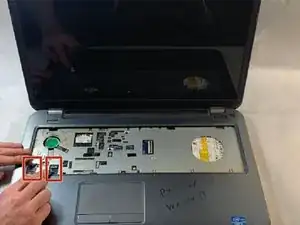
Using your fingers, unplug the two palmrest ribbon cables found at the bottom left of the integrated keyboard’s slot.
-
-
-
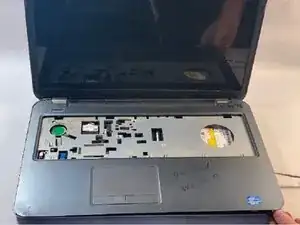
Use the metal spudger at the bottom-right corner of the palmrest’s faceplate to pry underneath the plastic casing and separate the palmrest from the laptop’s bottom plastic shell.
-
Once the spudger has leverage between the two halves of the case, work the tool around the right, bottom, and left edges of the palmrest, prying the top from the bottom at around every half-inch.
-
Lift off the palmrest assembly.
-
-
-
Use the Phillips screwdriver to remove the single 3 mm screw securing the WLAN card to the laptop.
-
Remove the WLAN card.
-
-
-
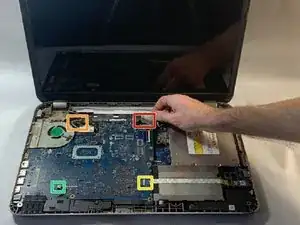
By hand, unplug the four ribbon cables attached to the motherboard from the following locations:
-
The top-right
-
The top-left, beneath the WLAN card
-
The bottom-right
-
The bottom-left cable, attached to the speakers
-
-
-
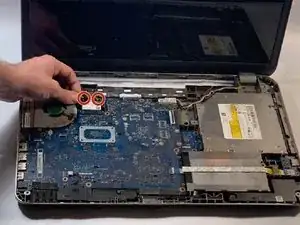
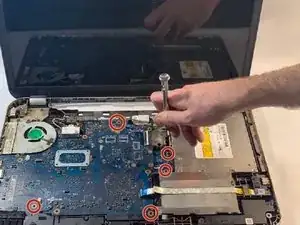
Using a Phillips screwdriver, remove a total of five screws (two 3mm, five 5mm) from the locations marked on the image.
-
-
-
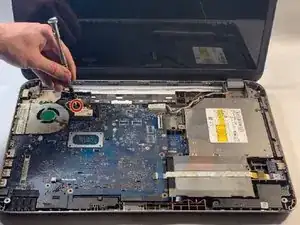
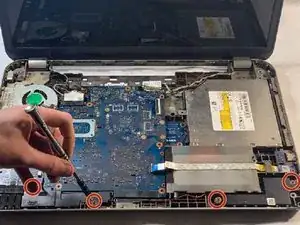
Using the Phillips screwdriver, remove the four wide screws (2mm wafer) holding both the left and right speakers in place.
-
To reassemble your device, follow these instructions in reverse order.
