Einleitung

If you're having issues with your monitor, you'll most likely need to replace it. Due to the fact that the monitor is one assembly, if a new issue occurs with your screen you'll need to replace the entire screen.

To replace the monitor, you'll need to disassemble most of the laptop.

  1. CemAipiYidAcDGLU
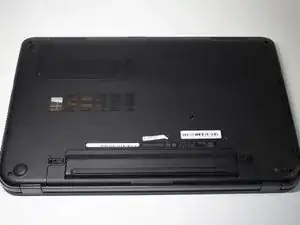
    • Make sure the laptop is off before attempting to remove the battery.

    • Flip over your laptop so that the battery faces you.

  2. WgUHwQNfaem1GDLX
    WgUHwQNfaem1GDLX
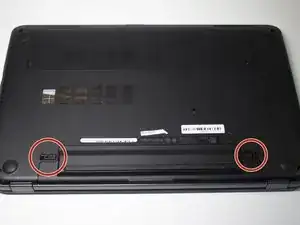
    lBEWbCUXBUefdEUH
    • Slide each latch away from the battery to unlock it.

  3. NXM1KlG2h3mmfcrS
    NXM1KlG2h3mmfcrS
    UBpsehbK1pMMwVCg
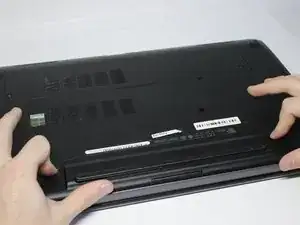
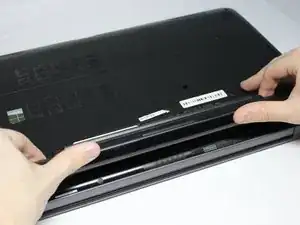
    • Lift the battery upwards to remove it.

    • Continue holding the latches when removing the battery.

  4. 1bcJDUwAANxrBt1v
    1bcJDUwAANxrBt1v
    F5xZNmMQWdUOaUgF
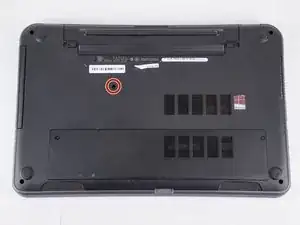
    • Remove one 4.8mm screw with a JIS #00 screwdriver.

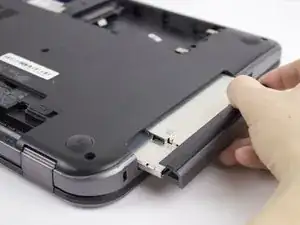
    • Remove the optical drive.

  5. KrYTZAi4Li1xdgpj
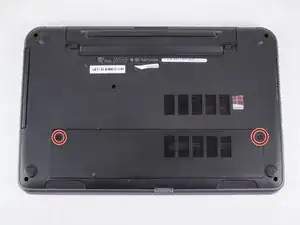
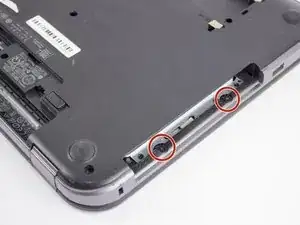
    • Remove two 4.8mm screws with a JIS #00 screwdriver.

    • Remove the access panel.

  6. I2RjQKBsODhpMHRH
    I2RjQKBsODhpMHRH
    sbQHfNIK5fifbreE
    5CRNQgXxOXZcEqku
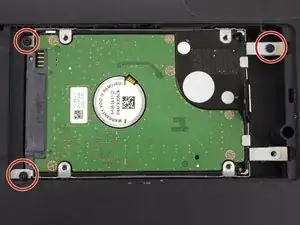
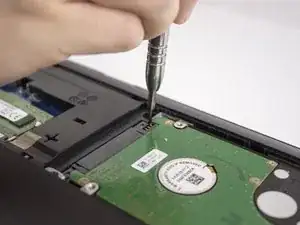
    • Remove three 4.8mm screws from the hard drive with a JIS #00 screwdriver.

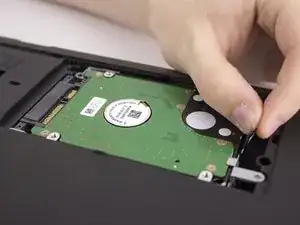
    • Slide the hard drive to the left.

    • Slide the hard drive to the right and up.

  7. G2frEDf3PMqYa51y
    G2frEDf3PMqYa51y
    mMsOKMsOMLP5vOOd
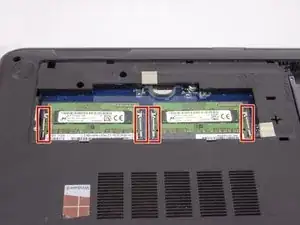
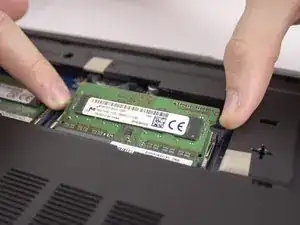
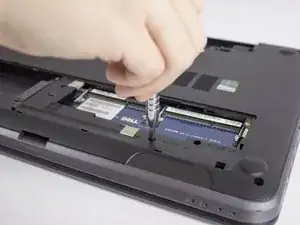
    • Slide the two clips away from the RAM.

    • Lift the RAM out.

  8. YZhqpBm1jRMqUZVS
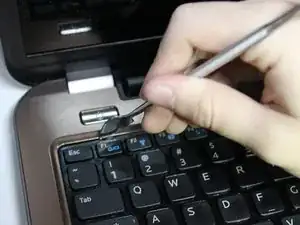
    • A metal spudger can scratch delicate internal parts. Be extra careful when removing the keyboard.

    • Use a metal spudger to loosen the main frame of the keyboard.

    • A metal spudger should be used instead of a plastic one because a plastic one will probably break.

    • Make sure to get the spudger under the entire keyboard and not just under the keys.

  9. BOF1DKu45UQ2luUD
    BOF1DKu45UQ2luUD
    PQaDiuGgjvVZO1ul
    fCpUCnLEuTrGe361
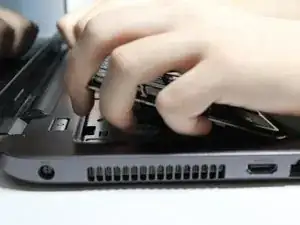
    • Slowly lift the keyboard.

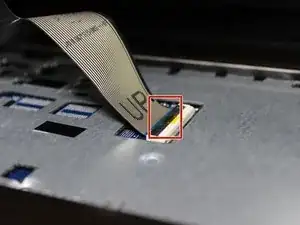
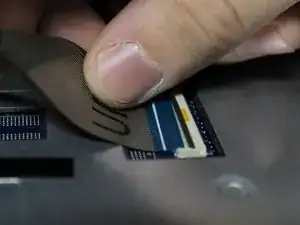
    • Lift the locking flap that holds the ribbon cable in place.

    • The white line on this ribbon cable marks the edge of the connection area. To reinstall, insert the cable into the connector up to this line, and then close the locking flap.

    • Remove the keyboard.

  10. xPFdNkmkBlOAZXvA
    xPFdNkmkBlOAZXvA
    JSULlckEHHJdIZZP
    62wfibJFGePiR1AZ
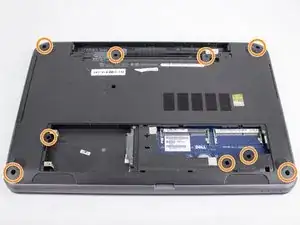
    • Remove two 1.6mm screws from beneath the optical drive with a JIS #00 screwdriver.

    • Remove the nine remaining 4.8mm screws from the back of the computer with a JIS #00 screwdriver.

  11. mIFI2HhZhGEFmXJx
    mIFI2HhZhGEFmXJx
    CYEjsk2LZCjnGeRe
    Axct16UbhrSx31FE
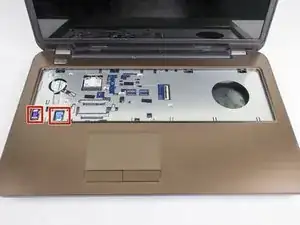
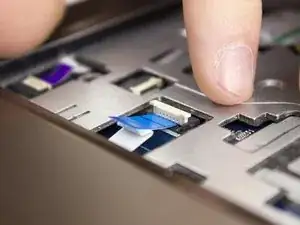
    • Remove the two exposed ribbon cables.

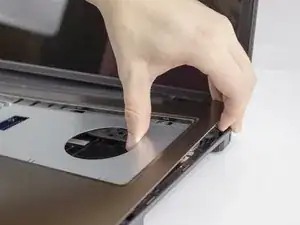
    • Remove the palmrest.

  12. l3MRg6VyVNxoLxuI
    l3MRg6VyVNxoLxuI
    Ip2vENKSJSaYKPu2
    AZBFcfMEtORJAFUp
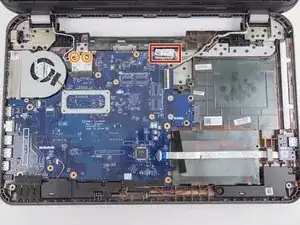
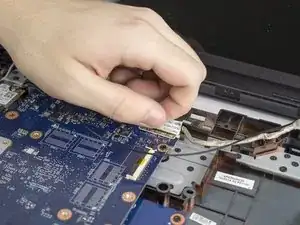
    • Remove the display cable on the top-right of the motherboard.

    • Ensure the cable snakes through the path in the case when putting it back together.

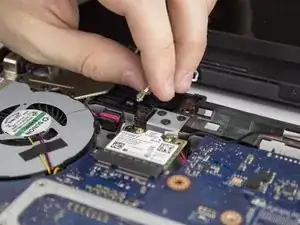
    • Remove the two antennae from Wi-Fi chip.

  13. cdfgovn3YshWY6wl
    cdfgovn3YshWY6wl
    pWVblKU5SptPdNsT
    5AwfD3MNZCUE6OlU
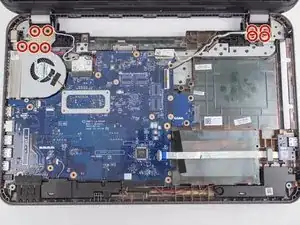
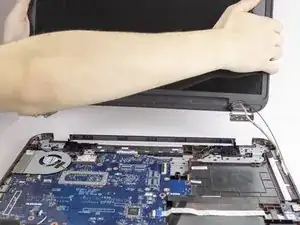
    • Remove the nine 4.8mm screws from the hinges. There are four on the right and five on the left with a JIS #00 screwdriver.

    • Lift the display assembly away from the base.

  14. bmHGeZAVHbDLmxXF
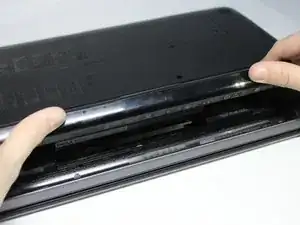
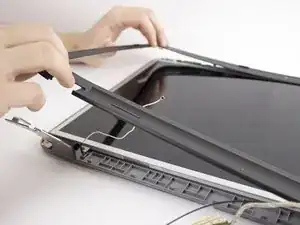
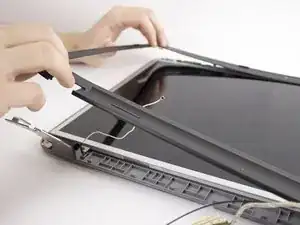
    • Unsnap the bezel around the edges.

    • Remove the bezel.

    • During reassembly, make sure the wires are tucked inside the hinges so that they fit around the edges.

  15. BkshSo5IjH6thsEE
    BkshSo5IjH6thsEE
    ohHv1w6POETyUgud
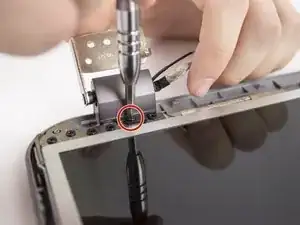
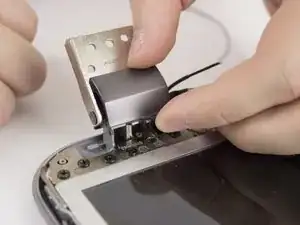
    • Remove the one 4.8mm screw from each hinge cover with a JIS #00 screwdriver.

    • Do not over-tighten these screws during reassembly, as the hinge cover is thin and may break.

    • Remove the hinge cover.

  16. Vupfcdow4JLXfBTB
    Vupfcdow4JLXfBTB
    jiJnyCGujiuH42RD
    iGfd32gYX523lYwb
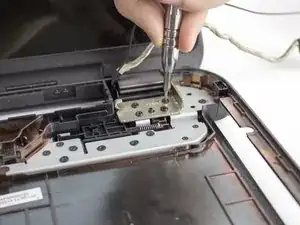
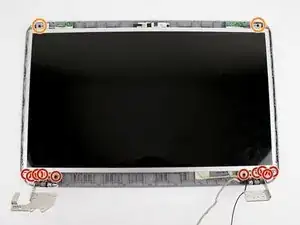
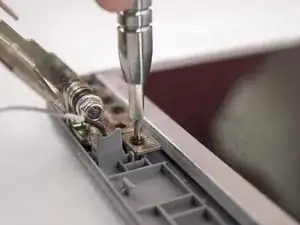
    • Remove the five 4.8mm screws from each hinge with a JIS #00 screwdriver.

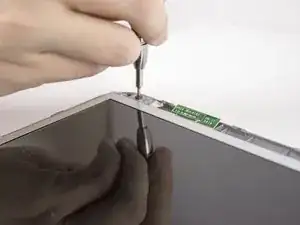
    • Remove one 4.8mm screw from the top left and the top right of the screen with a JIS #00 screwdriver.

  17. WGoxPf2EY5IbGXPK
    WGoxPf2EY5IbGXPK
    pkp3BaUfRYJ5O5l4
    lJmMAdrYq1DC2oIG
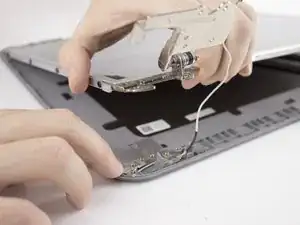
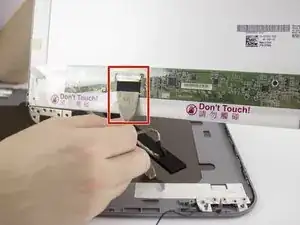
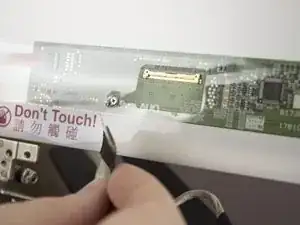
    • Be sure not to damage the display cable when lifting the screen!

    • Slowly lift the screen away from the case assembly.

    • Unplug the display cable from the back of the screen.

    • Make sure there are no cables under the screen during reassembly.

  18. DsIC5NH14wqBJDtF
    DsIC5NH14wqBJDtF
    WDLHFYk4WvGp5AIf
    OU4IP2ns5g4S3UkP
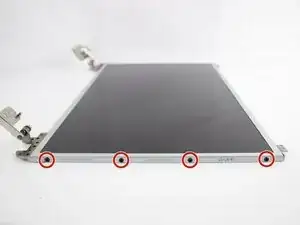
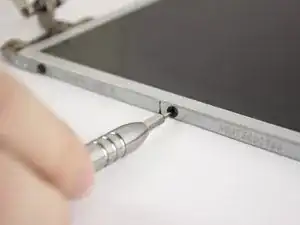
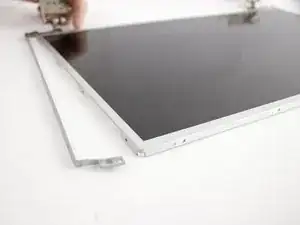
    • Remove the four 3.2mm screws from each rail with a JIS #00 screwdriver.

    • Remove the rails from the screen.

Abschluss

To reassemble your device, follow these instructions in reverse order.

David Callahan

Mitglied seit: 19/10/17

559 Reputation

2 Kommentare

I was able to do this repair on this exact model of laptop without dismantling the bottom half of the laptop. It’s not hard at all, all you’ve got to do is just separate the bezel from the lid of the laptop and pull it out from behind the base. It saves lots of trouble of dismantling. You can’t replace the hinges this way, though, but you can certainly replace the LCD itself without dismantling the bottom half of the laptop.

Joseph Sctbunio -

But can I boot to an external display via hdmi if the main LCD is broken?
Brandon O -