Einleitung
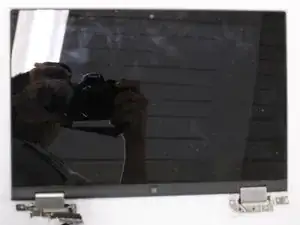
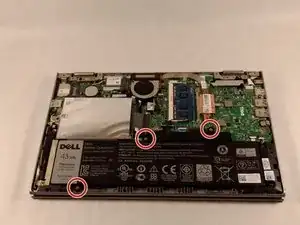
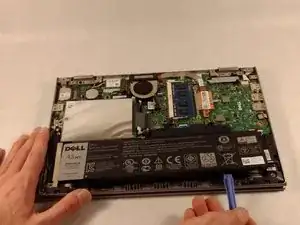
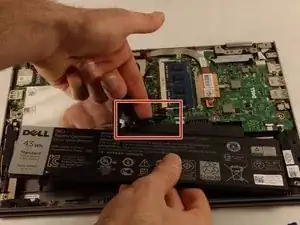
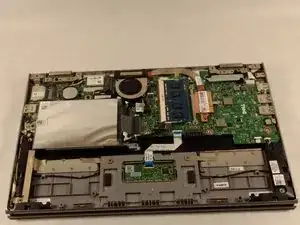
This guide is a step by step disassembly of the Dell Inspiron 3148, up to and including the removal of the display screen for replacement. The end result of this guide will be an entirely removed display screen to allow for easy installment of a functioning display.
Werkzeuge
-
-
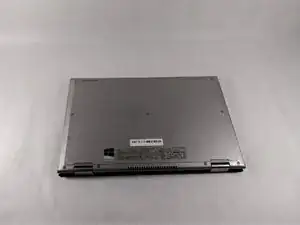
Ensure the device is powered off and unplugged. Close the device and orient it face up, with the hinges further away from you.
-
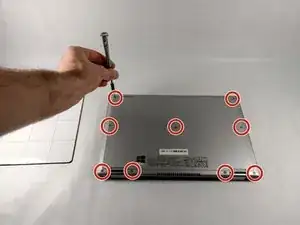
Flip the device over so the backside is facing you.
-
-
-
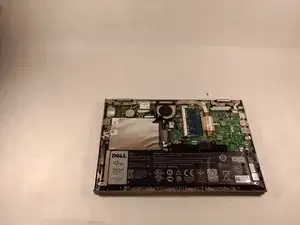
Using the plastic opening tool, pull the back panel upward. Move the opening tool along the edge of the device and lift the panel off of your device.
-
-
-
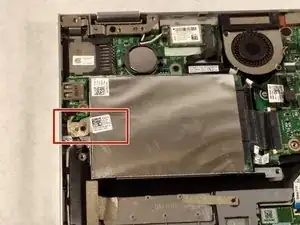
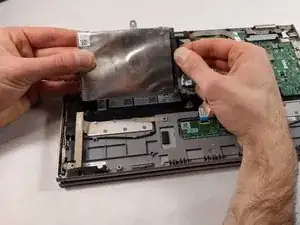
If there is a piece of tape connecting the hard drive and a small power cord, remove the tape.
-
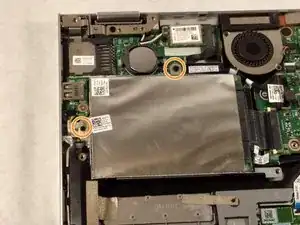
Using the Phillips #0 screwdriver, remove the two 4mm screws.
-
-
-
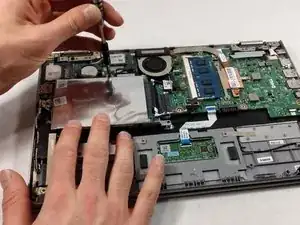
Lift the hard drive slightly out of the device.
-
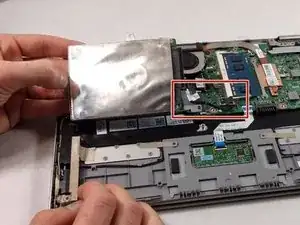
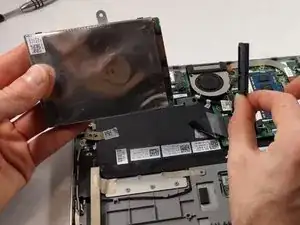
Grasp the head of the cable, not the cable itself.
-
Pull away from the hard drive, removing the data cable. The hard drive may now be fully removed.
-
-
-
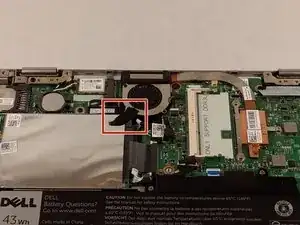
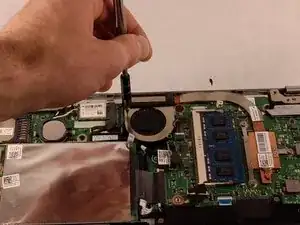
If there is tape on your fan, remove the tape.
-
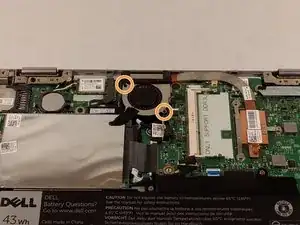
Remove the two 2mm screws on the fan enclosure using the Phillips #00 screwdriver.
-
-
-
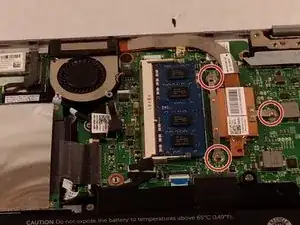
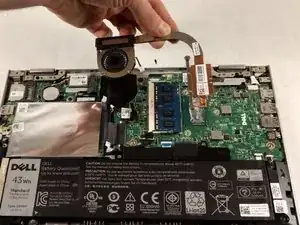
Unscrew the three 4mm screws holding down the heat sink of the fan using the Phillips #00 screwdriver.
-
-
-
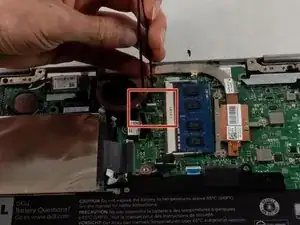
Remove the 3.4 mm screws from the cable bar using a Phillips #000 screwdriver.
-
Detach the cables located beneath the bar by lifting the tabs and pulling out the cables from their respective bases.
-
-
-
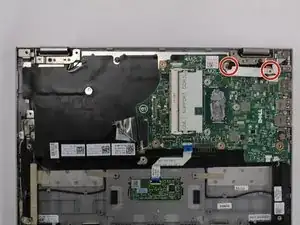
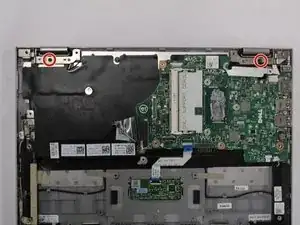
Remove the three screws on the display hinge brackets with a Phillips #000 screwdriver
-
Remove the hinges and display from the rest of the device.
-
-
-
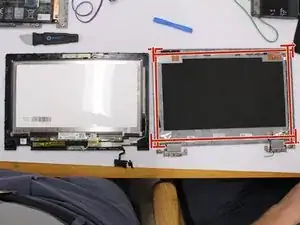
Using the plastic opening tools and the metal spudger, remove the display screen from the outer panel along the edge.
-
To attach new display, insert into casing and press firmly along the edges.
-
To reassemble your device, follow these instructions in reverse order. Take care not to damage the new screen when installing.
