Einleitung
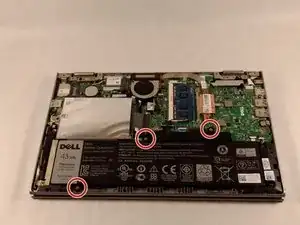
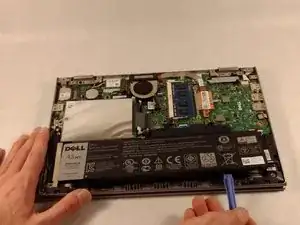
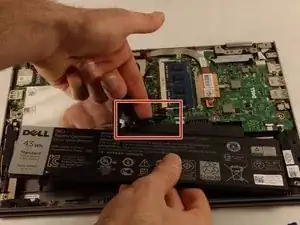
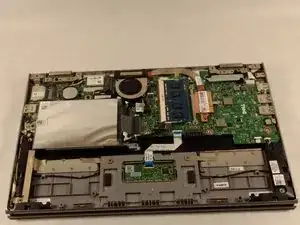
This guide takes a step by step process on removal and replacement of the mother board on the Dell Inspiron 3148. The tools and hardware used/removed are listed ahead of the guide and referenced throughout each step.
Werkzeuge
-
-
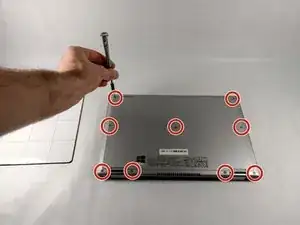
Ensure the device is powered off and unplugged. Close the device and orient it face up, with the hinges further away from you.
-
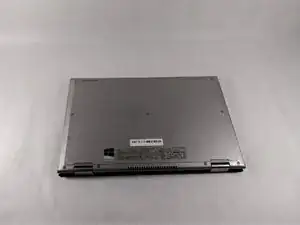
Flip the device over so the backside is facing you.
-
-
-
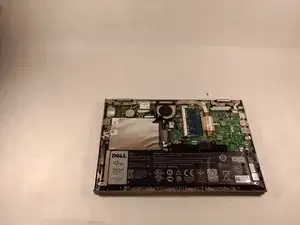
Using the plastic opening tool, pull the back panel upward. Move the opening tool along the edge of the device and lift the panel off of your device.
-
-
-
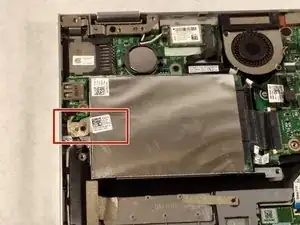
If there is a piece of tape connecting the hard drive and a small power cord, remove the tape.
-
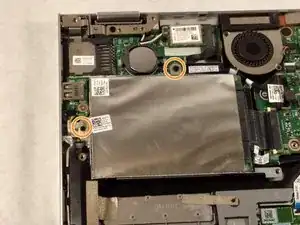
Using the Phillips #0 screwdriver, remove the two 4mm screws.
-
-
-
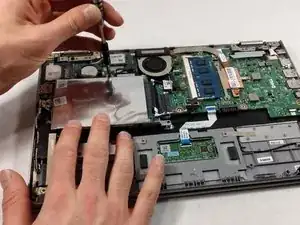
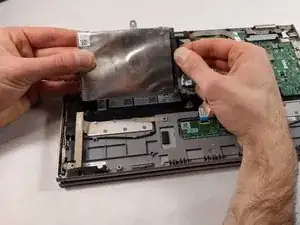
Lift the hard drive slightly out of the device.
-
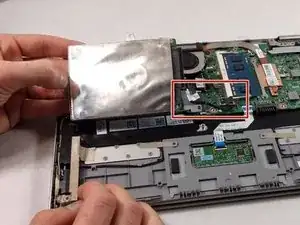
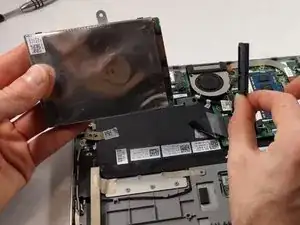
Grasp the head of the cable, not the cable itself.
-
Pull away from the hard drive, removing the data cable. The hard drive may now be fully removed.
-
-
-
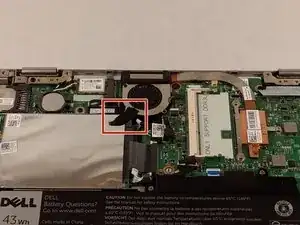
If there is tape on your fan, remove the tape.
-
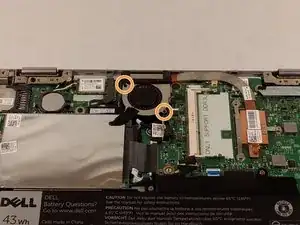
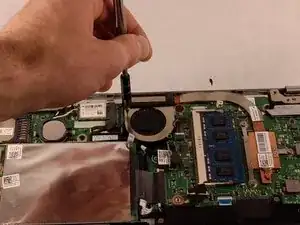
Remove the two 2mm screws on the fan enclosure using the Phillips #00 screwdriver.
-
-
-
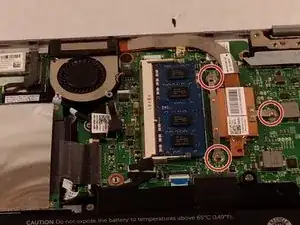
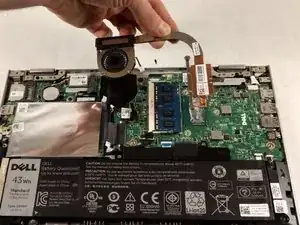
Unscrew the three 4mm screws holding down the heat sink of the fan using the Phillips #00 screwdriver.
-
-
-
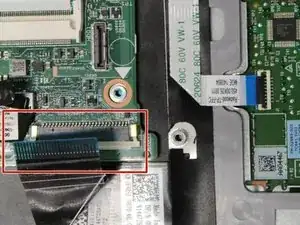
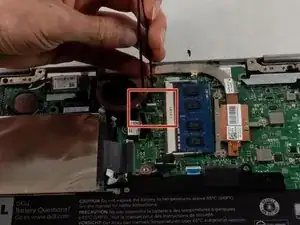
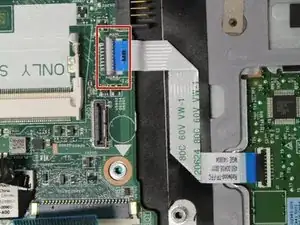
Remove the keyboard cable from its ZIF connector by flipping up the locking tab on the connector and then pulling the cable out.
-
-
-
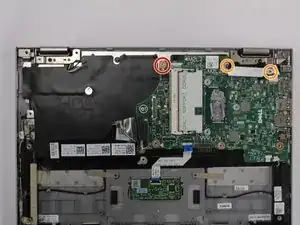
Remove one 3.41mm screw using a Phillips #000 screwdriver.
-
Remove the two 3.41mm screws using a Phillips #000 screwdriver.
-
Remove motherboard.
-
To reassemble your device, follow these instructions in reverse order.
