Einleitung

Is your computer experiencing problems with connecting to the Wi-Fi or the internet? Consider using this guide to replace the WLAN card in your device.

  1. rBoWkmLjKIEWoKbK
    rBoWkmLjKIEWoKbK
    JKwXJnTyf5NiZJxG
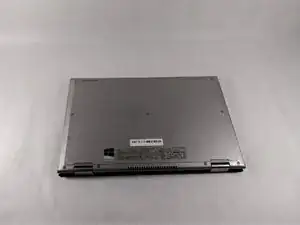
    • Ensure the device is powered off and unplugged. Close the device and orient it face up, with the hinges further away from you.

    • Flip the device over so the backside is facing you.

  2. hNnxvqZkr5B1MKl6
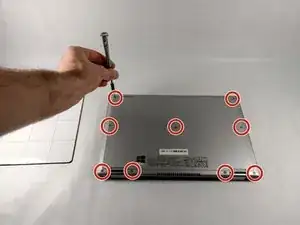
    • Using the Phillips #1 screwdriver, remove all nine 7mm screws.

  3. NJsHhBGIXyxNB6hQ
    NJsHhBGIXyxNB6hQ
    uKpdoJJTLPaQefGl
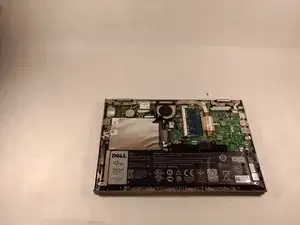
    • Using the plastic opening tool, pull the back panel upward. Move the opening tool along the edge of the device and lift the panel off of your device.

    • Be aware, the back panel is kept in place by magnetic clips. They will offer some resistance, but continue to gently leverage upwards.

  4. hOMHgEEC6oSWBEJJ
    hOMHgEEC6oSWBEJJ
    EGIIfjYVSk5Xqggo
    PE2TNEeWAN6ZOUNr
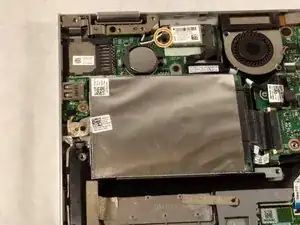
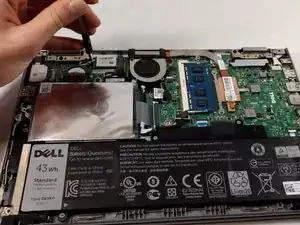
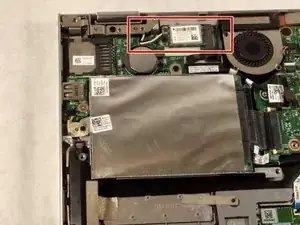
    • Locate the WLAN chip. It is a small wireless network card with two small cables connected to it, one black and one white.

    • Using a Phillips #0 screwdriver, remove the single 2mm screw from the WLAN card.

    • The card should pop right up once the screw is removed.

  5. JL1L4qQYNjTG3bPL
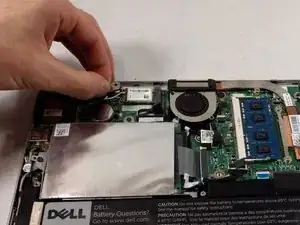
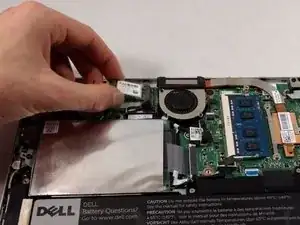
    • Remove the two wires by pulling them upward, away from the WLAN card.

  6. HAvMqnuVO1ylENTM
    HAvMqnuVO1ylENTM
    X5GwmrFudWehdyN6
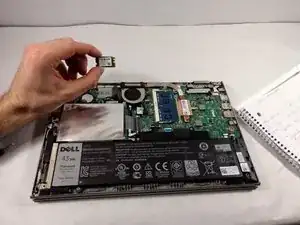
    • Using your fingers, pull the WLAN card up and away from the device.

Abschluss

To reassemble your device, follow these instructions in reverse order.
Christopher Gravelle

Mitglied seit: 23/10/18

837 Reputation

0 Kommentare