Einleitung
This repair process includes the removal of small pieces from the computer, therefore you should have a place to store all the small removable screws. This will make the repair process quicker and easier.
Werkzeuge
Ersatzteile
-
-
Turn off notebook
-
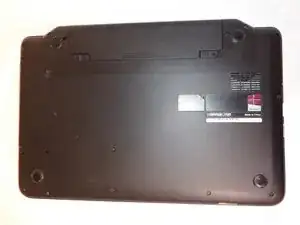
Set the notebook upside down with the battery facing away from you.
-
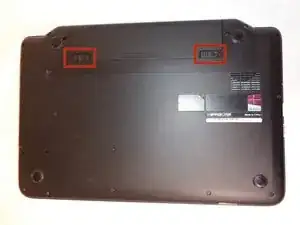
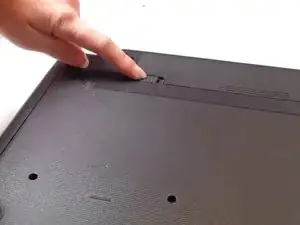
Locate the unlock and release sliding tabs on the bottom right and left hand corners of the battery respectively.
-
-
-
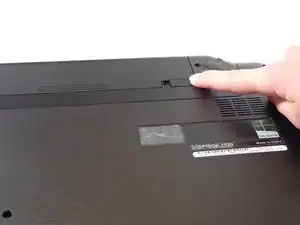
Slide the right tab to the right to unlock the battery.
-
Slide and hold the the left tab to the left to release the battery from the unit.
-
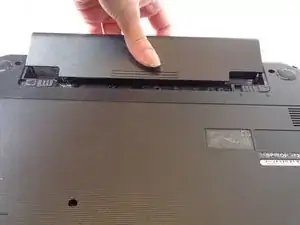
Finally, remove the battery by sliding it away from the unit and yourself.
-
-
-
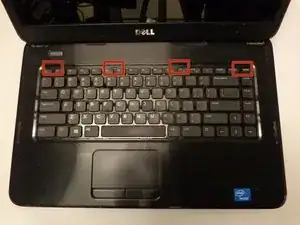
Locate the four tabs along the top edge of the keyboard.
-
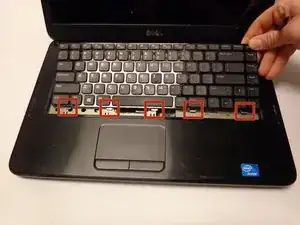
Using the spudger, push the tabs away from the keyboard and pull the keyboard up away from the laptop.
-
-
-
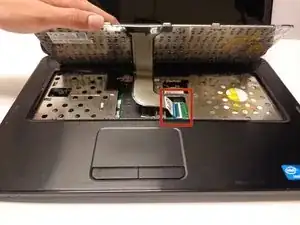
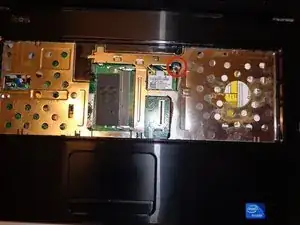
Carefully lift the board up and locate the connecting cable.
-
Gently pull the end of the cable free from the port on the laptop.
-
-
-
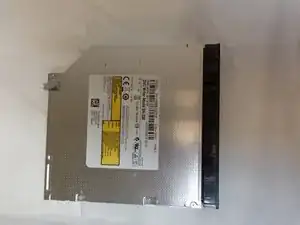
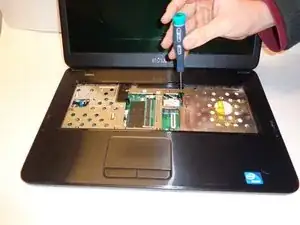
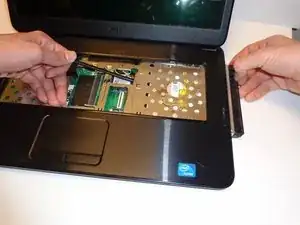
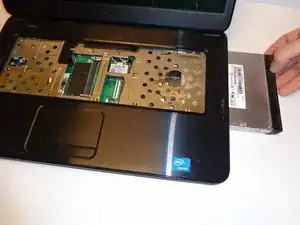
Push the optical drive from the inside a little bit to dislodge it.
-
Grab the drive with your hand from the outside and slide it free.
-
To reassemble your device, follow these instructions in reverse order.
Ein Kommentar
...screaming.....i love my dell 3520 it is awesome, it is still holding up.."hooray!!!!
