Einleitung

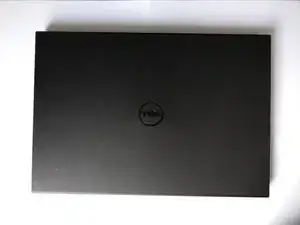
In this tutorial you will learn how to remove and replace the screen of a Dell Inspiron 3542

Always be careful with electronic devices!

  1. OgFuNhQKHknji5qJ
    OgFuNhQKHknji5qJ
    eykBjgtuHU2IseDH
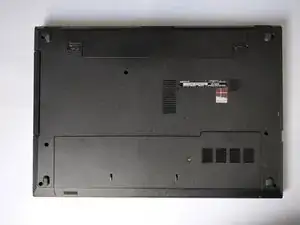
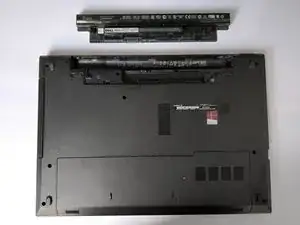
    • Remove the battery by pushing both clips out.

    • Remove the power supply.

  2. SwEGUNJRSYbfAskH
    SwEGUNJRSYbfAskH
    lLT6AMIXkFbkTaMw
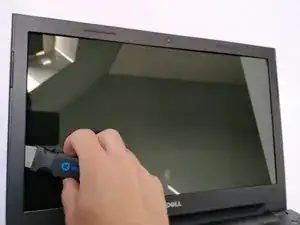
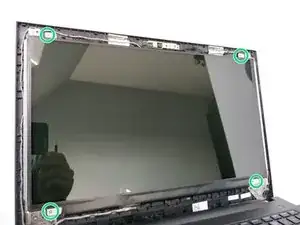
    • Use Jimmy or another opening tool to remove the screen bezel. Be careful not to damage the bezel.

  3. DoAJk6rRQVtQPeX6
    DoAJk6rRQVtQPeX6
    W1fZjrBUGoNME3KN
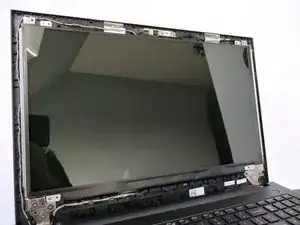
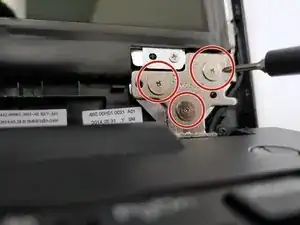
    • Loosen the marked screws.

  4. Rc3UJDvqtGvNIOXm
    • Remove the marked screws.

  5. 1ZHcYfycl1NARTdi
    • The screen can now be removed safely. You can put it screen down at your keyboard.

    • Be careful with the screen.

    • Be careful you don't break the cable connecting the screen.

  6. y3nVFkUVELHKEV2B
    y3nVFkUVELHKEV2B
    664P3h2AbBL2C51V
    McNH4bSqTVSD3Wt1
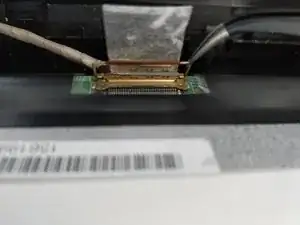
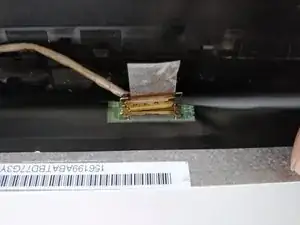
    • Remove the sticker holding the cable in place.

    • Use Tweezer to remove the safety holding the cable in place.

    • Use Spudger to remove the cable connecting the screen. Be careful whilst removing it.

Abschluss

Grab your new screen and do all the steps in reverse order.
Ruben Debbaudt

Mitglied seit: 05/06/18

279 Reputation

0 Kommentare