Einleitung

  1. PCr3JYQxKiWrDgpx
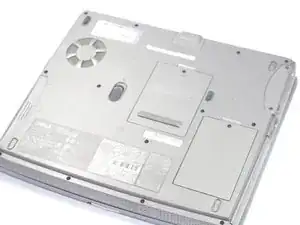
    • Flip the laptop on it's back, so that the bottom is facing up.

  2. OkYYfAJyXX3TCiol
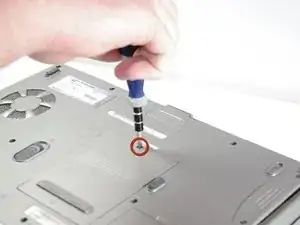
    • Loosen the single Phillips #1 screw.

    • This screw is attached to the panel and cannot be removed.

  3. BbLcJ5kEXCQMvRyT
    BbLcJ5kEXCQMvRyT
    4KKkSGawlHOTwPkd
    SX2cosFYCVFXOnsH
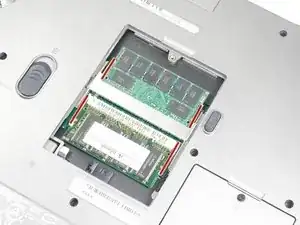
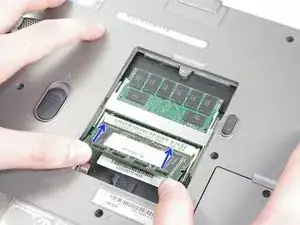
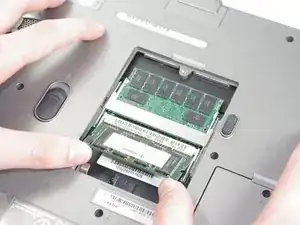
    • Push the highlighted pin outward until the RAM pops slightly out of its socket.

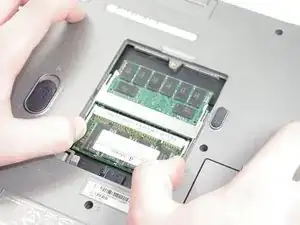
    • Place the new chip in at a slight angle, and push it in and downward until little or none of the gold contacts are visible.

    • Not seating the new DIMMs correctly could cause the device to refuse to POST.

Abschluss

To reassemble your device, follow these instructions in reverse order.
May Chauvin

Mitglied seit: 14/04/11

201 Reputation

0 Kommentare