Einleitung

You will be able to access wires connecting your screen and replace it if needed.

  1. U5oPJkNEWrEXNYs5
    • Remove battery

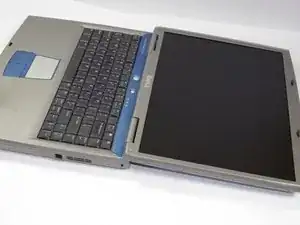
    • Open screen so that it lies flat.

  2. GwBGVv3gh5CCV1rm
    GwBGVv3gh5CCV1rm
    YtDpuIL3OZM5S3Qt
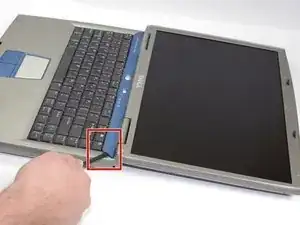
    • Starting from the right side of the hinge cover, use the flat end of the spudger to pry up the hinge cover and gently remove it.

  3. cHFclHIIkIRAnb2P
    cHFclHIIkIRAnb2P
    VVHTX2toMDf6NQu6
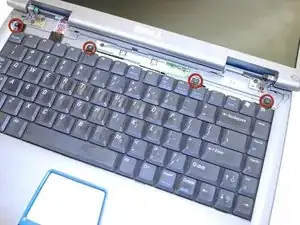
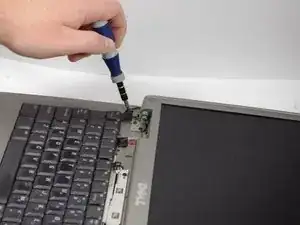
    • Using a Phillips screwdriver remove the four M2 x 3-mm screws holding in the keyboard.

  4. Z1gGwMhOrbUkTK2E
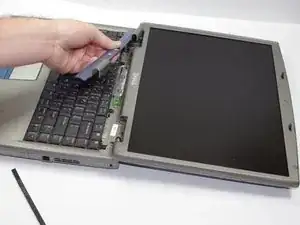
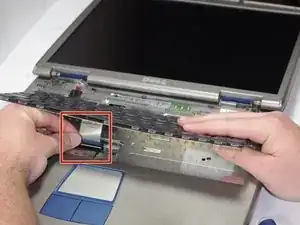
    • Lift keyboard and detach the interface connector.

    • Take extra care when removing and handling the keyboard. The key caps on the keyboard are fragile and easily come off.

  5. Xl6kSBfLrQDFaTup
    Xl6kSBfLrQDFaTup
    2ECCsJuLVQEyYCNk
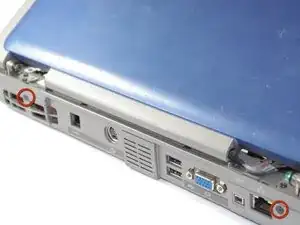
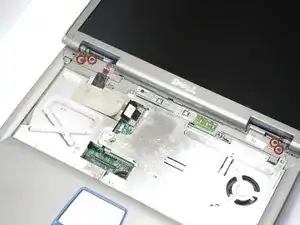
    • Using a Phillips screwdriver remove the two screws (5.8mm) located at the rear of the laptop.

  6. MHyecn33eMSqQ221
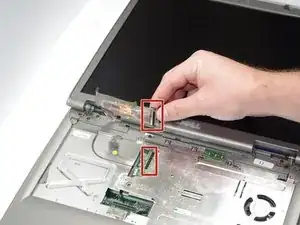
    • Detach the screen connector.

  7. v1OG2fhWEkTvSg1d
    v1OG2fhWEkTvSg1d
    dcUsH4ZPk2uFgIAL
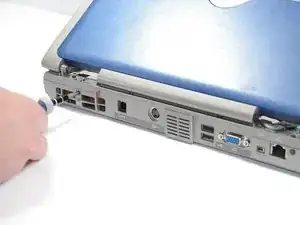
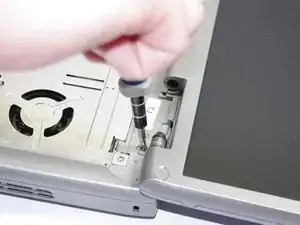
    • Using a Phillips screwdriver remove the four screws (5.8 mm) located at hinges of the screen.

  8. xjlpDZcnamFP3bSA
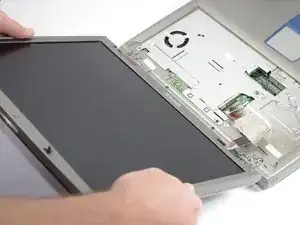
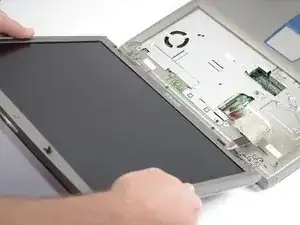
    • Lift and remove display screen.

Abschluss

To reassemble your device, follow these instructions in reverse order.
May Chauvin

Mitglied seit: 14/04/11

201 Reputation

0 Kommentare