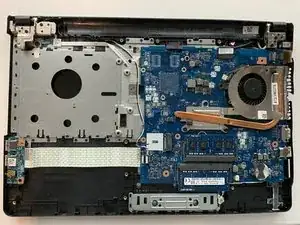
Einleitung
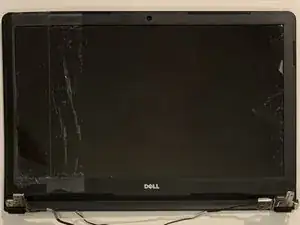
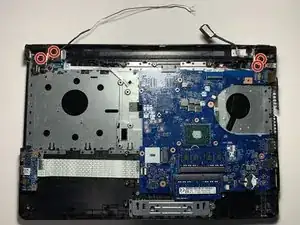
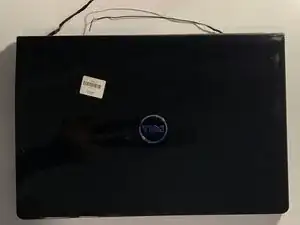
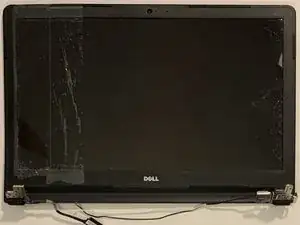
If you are having visual issues with images or videos, it is recomended to use this guide to replace the LCD display in the Dell Inspiron 5555.
Essentially, the LCD display is operated by light currents that work to control the amount of light that pass through liquid crystal molecules in a screen.
To be sure that the LCD display is the faulty component, connect the laptop to a TV or monitor. If the display is clear on the TV or monitor then the LCD display should be replaced in the laptop. However, if it is still unclear then the LCD display is not affecting the quality of the image or video.
Before beginning the repair, be sure that the device is not connected to an electric source and that it is completely powered off.
Werkzeuge
-
-
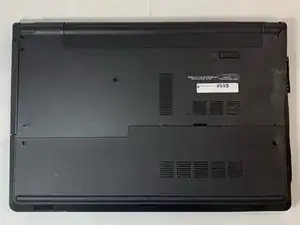
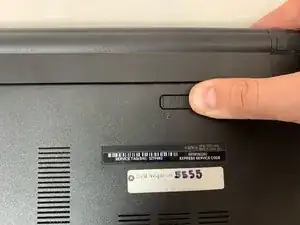
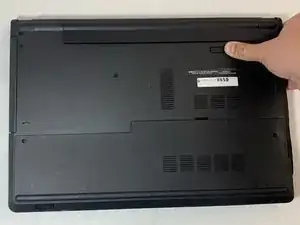
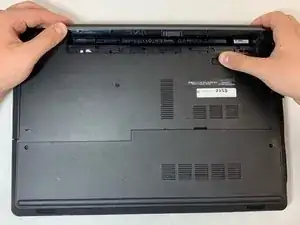
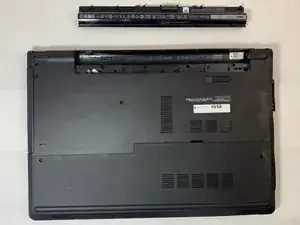
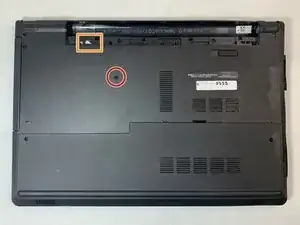
Close the laptop and lay it flat, logo side down.
-
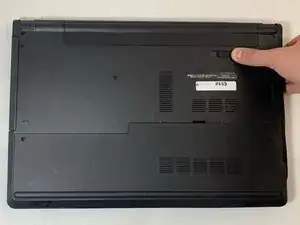
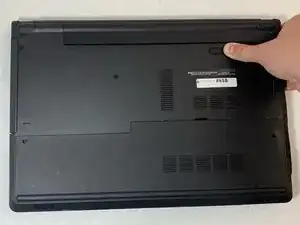
Make sure that the battery is visible and at the top of the device.
-
-
-
Turn the laptop over and open the device.
-
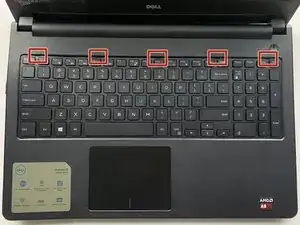
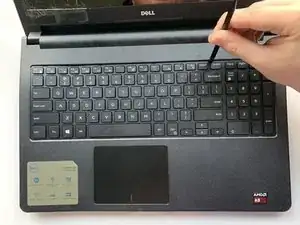
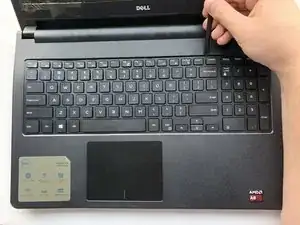
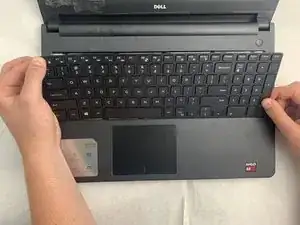
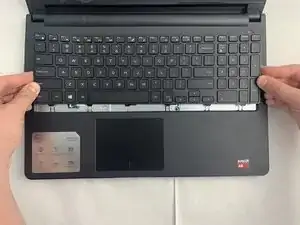
Insert the flat end of the spudger into the five notches located at the top of the keyboard and pry the keyboard up by pushing down and up.
-
-
-
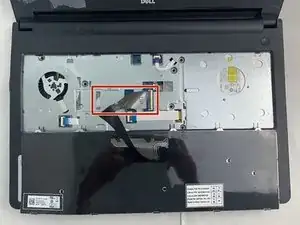
Flip the keyboard upside down to access the keyboard cable.
-
Using the flat end of the spudger, flip the black tab securing the keyboard cable up to remove the keyboard cable.
-
Remove the keyboard by lifting it off of the laptop.
-
-
-
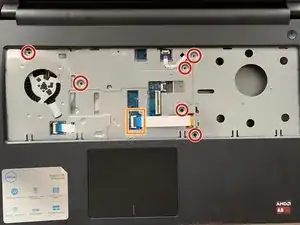
Remove the six 5 mm screws using the Phillips #0 screwdriver.
-
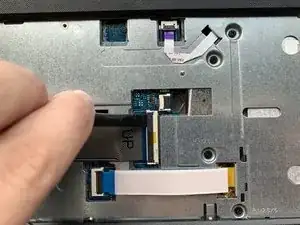
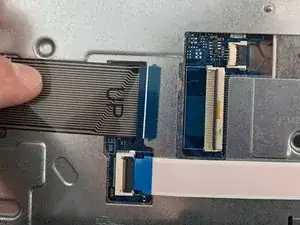
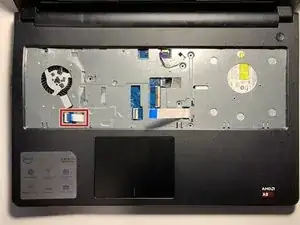
Use the spudger to lift the black tab of the ZIF connector, removing the optical drive cable.
-
-
-
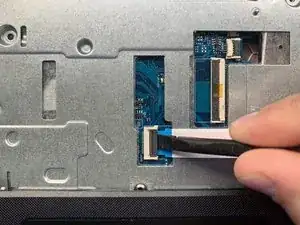
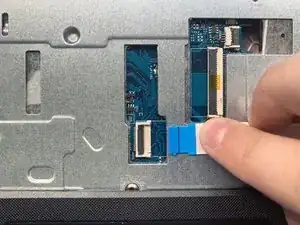
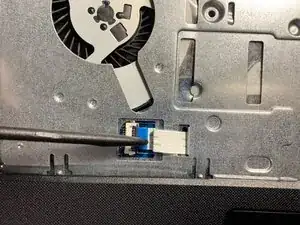
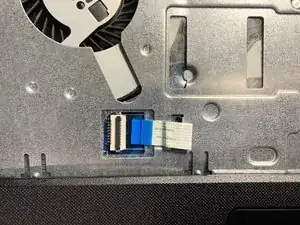
Using the hooked end of the Halberd Spudger, pull the black tab to the left to expose the touchpad cable.
-
Close the laptop and flip it over, so the bottom is facing up.
-
-
-
Remove the 5 mm screw using the Phillips #0 Screwdriver.
-
Use the flat end of the spudger to slide the optical drive out to the left at the screwdriver push point.
-
-
-
Remove the two 8 mm screws with the Phillips #0 Screwdriver.
-
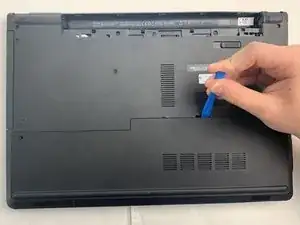
Use the iFixit opening tool to pry open the access door by pushing down and up at the notch on the top of the access door, running it along the edges.
-
-
-
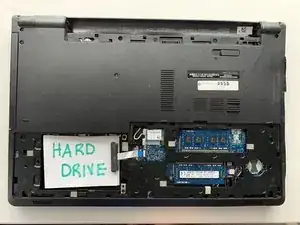
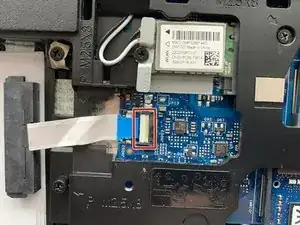
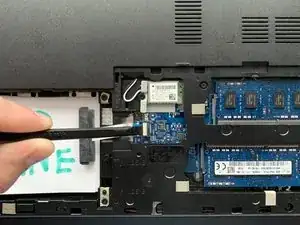
Use the flat end of the spudger to lift the white tab up that holds the hard drive cable in place.
-
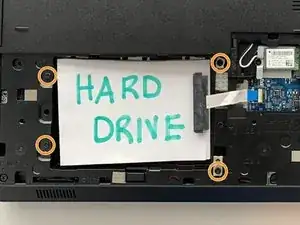
Remove the four 8 mm screws with the Phillips #0 screwdriver.
-
Lift the hard drive from the laptop.
-
-
-
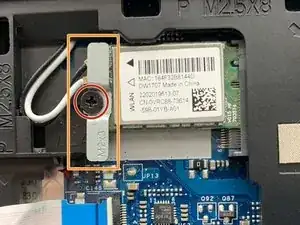
Remove the 3 mm screw on the wireless card with a Phillips #0 screwdriver.
-
Lift the metal bracket to remove.
-
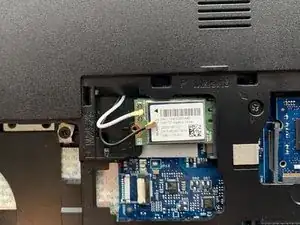
Detach the antenna cables at the gold metal end by carefully pulling them up from the Wireless WLAN Card.
-
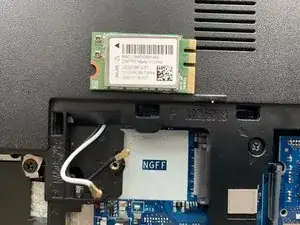
Lift the Wireless WLAN Card from the device.
-
-
-
Remove the three 2 mm wafer screws in the optical drive port with the Phillips #0 screwdriver.
-
Remove the two 8 mm hinge screws with the Phillips #0 screwdriver.
-
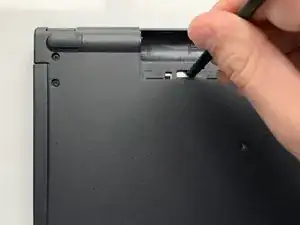
Remove the three 5 mm screws from the battery opening with the Phillips #0 screwdriver.
-
Remove the 5 mm screw with the Phillips #0 screwdriver.
-
-
-
Remove the six 8 mm screws under the access door using the Phillips #0 Screwdriver.
-
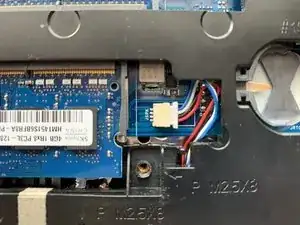
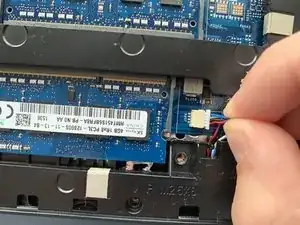
Disconnect the speaker connection by using your fingers and carefully pulling it to the right.
-
-
-
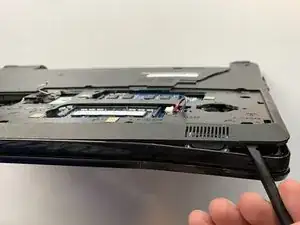
Using the flat end of the spudger, pry the bottom base off of the laptop by the crack around the perimeter of the laptop and running the spudger around the edges.
-
-
-
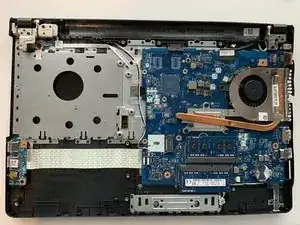
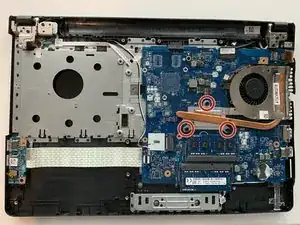
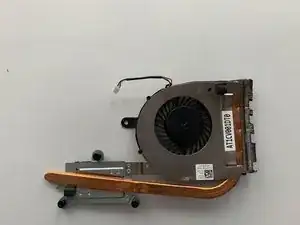
Loosen the three captive screws attached to the metal bracket of the fan using the Phillips #0 Screwdriver.
-
Carefully lift the fan out of the laptop.
-
-
-
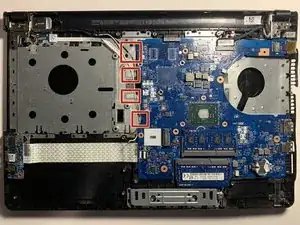
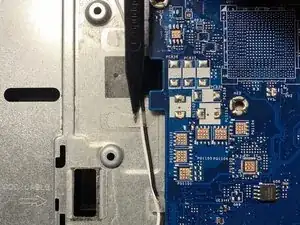
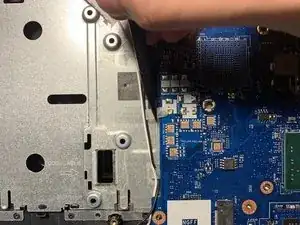
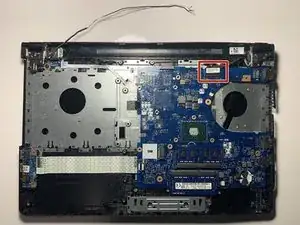
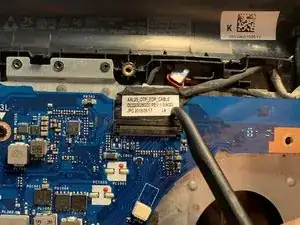
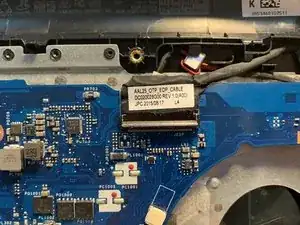
Using the hooked end of the Halberd Spudger, hook onto the black tab that holds the LCD cable in place and pull up on it to lift it.
-
-
-
Remove the four 8 mm screws on the display hinges using the Phillips #0 screwdriver.
-
Open the laptop.
-
To reassemble your device, follow these instructions in reverse order.
