Einleitung
Werkzeuge
Ersatzteile
-
-
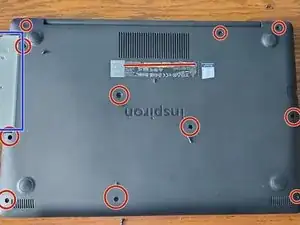
There are 13 screws on the backside. Using a screwdriver, you can remove 11 of them, market with a red circle.
-
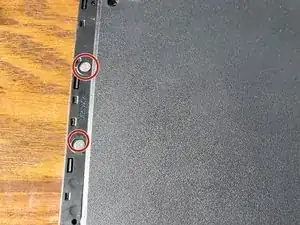
The DVD R/W Drive is marked with a blue rectangle. Removing it will reveal 2 more silver screws, market with red circles. I recommend pushing down a little bit when trying to unscrew them due to their small and thin build.
-
-
-
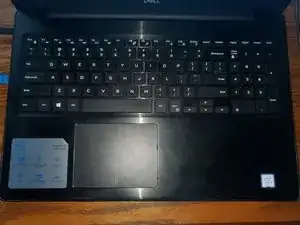
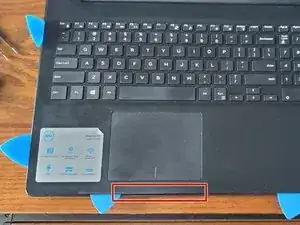
Using guitar picks or some opening pics, slowly and carefully slide one between the 2 layers of the laptop. There is the bottom cover which curves to the top and then the palm rest which meets it at the very edge. I recommend slowly and carefully sliding a pic between then where the palm rest dips under the trackpad, marked with a red rectangle
-
Be carful to not go to deep and be aware of the ports on the laptop. Eventually, you will be able to open the laptop once you separate enough of the bottom cover from the palm rest.
-
-
-
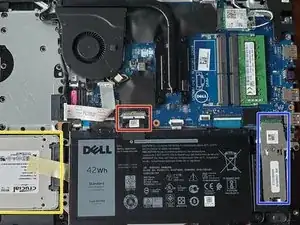
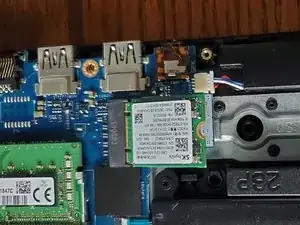
M.2 SSD - We will be replacing this drive in this guide.
-
SATA Drive - Check another guide for instructions on how to install or replace the drive here.
-
-
-
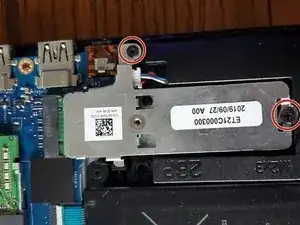
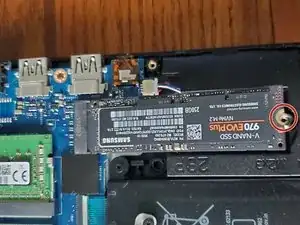
There are 2 screws needed to be removed, marked in red. Using a screw driver, remove the bottom screw and unscrew the side one. The side screw is self retaining.
-
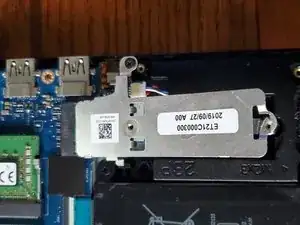
Once you have unscrewed both screws and the SSD lifts up at about a 15 degree angle, slide the SSD out. You can either grab it by the SSD or by the holster it is in. The holster might slide off of the SSD if you do not grab the SSD as well.
-
-
-
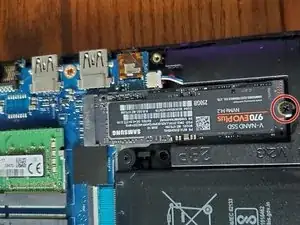
When you are ready, insert your new SSD at a 15ish degree angle into the slot.
-
Once inserted, carefully push down on the SSD and screw it in with the screw that you removed earlier.
-
You will not use the SSD holster that you removed unless you have a SSD that fits in it. The SSD size that you would use that holster with would be 30mm in length.
-
To reassemble your device, follow these instructions in reverse order.
