Einleitung

A dirty or broken fan may create overheating and performance issues. Accessing the fan requires some disassembly and time.

  1. hTNbTd3t2xG2LNyP
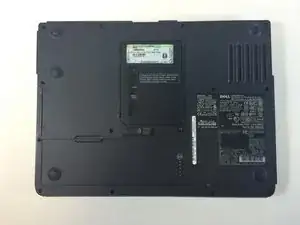
    • To prevent injury, make sure the laptop is unplugged before removing the battery.

    • Flip the laptop over, bottom-side up.

  2. P1UqhtoewIT1DbbO
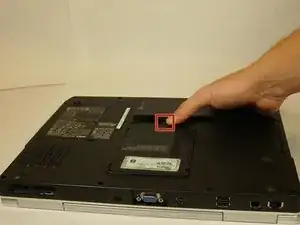
    • Push the switch next to the battery.

    • At the same time, lift the battery away from the laptop.

  3. FwHrHXh5jJNUjOM4
    FwHrHXh5jJNUjOM4
    I13jFiXBGPUwUYjI
    dqKMuXvBFQNabGLq
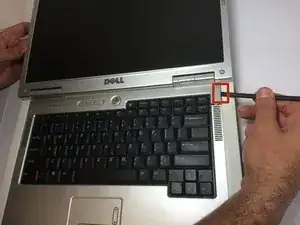
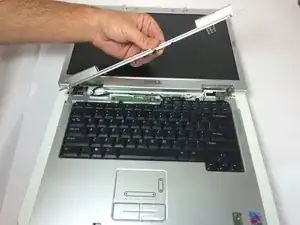
    • Place the laptop on flat surface.

    • Carefully open the laptop at far as it will go so that the back of screen is touching the flat surface.

    • Carefully take a spudger and separate part of the cover at the red circle.

  4. rKxJaP1iPFiZ5fMc
    rKxJaP1iPFiZ5fMc
    qROtf2ghJ262FN6v
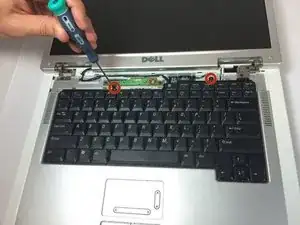
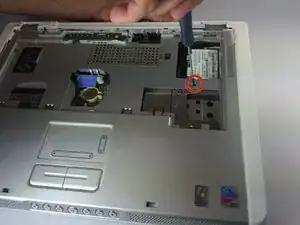
    • Remove two 4 mm Philips #00 screws.

  5. tOSdWAsWo4I5VDTL
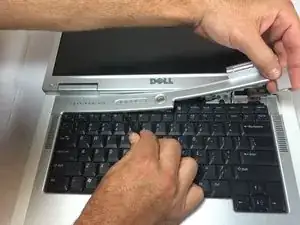
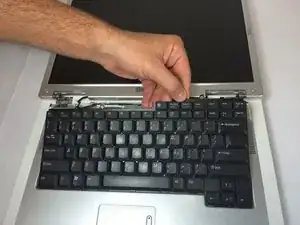
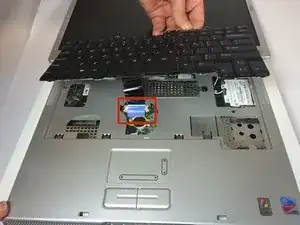
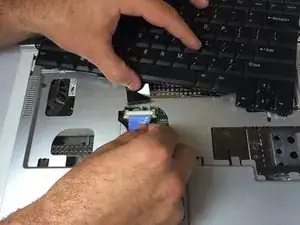
    • Gently lift the keyboard away from the laptop without harming the cord that is located at the bottom of the keyboard.

  6. BUGZFLGKJ11qWSHB
    BUGZFLGKJ11qWSHB
    j5YZRbrOHCLogx6j
    R4x6RkPGsDFw6PMm
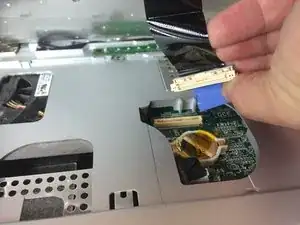
    • Gently pull the blue tab up until it comes away from computer.

  7. iFRsn3bjecfFUxVV
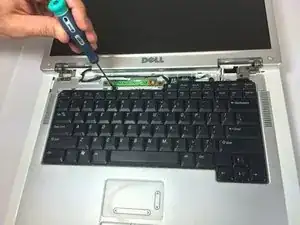
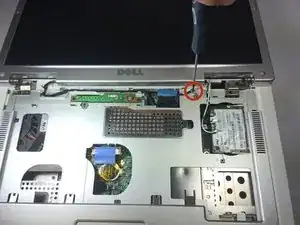
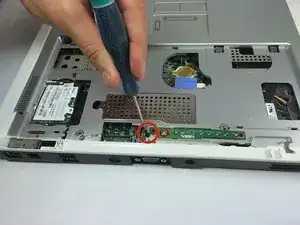
    • Unscrew the 4 mm Phillips #00 screw.

    • The screw will remain attached to the cord when fully removed.

  8. fal2cdZxfTZSAo3p
    fal2cdZxfTZSAo3p
    EHXgg5KcXhjvNOfG
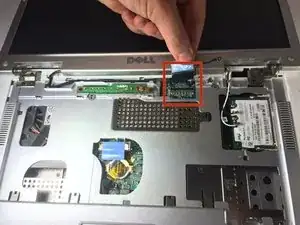
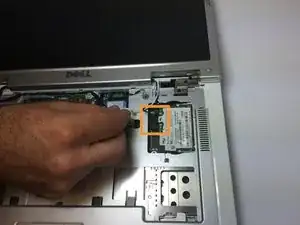
    • Gently pull the blue tab to separate the screen connection from the laptop.

    • Gently pull and disconnect the white and black cords from the power source.

  9. AGqQALpZKttA4XPs
    AGqQALpZKttA4XPs
    dYTCQgOoaQXMoqrk
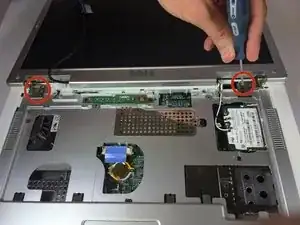
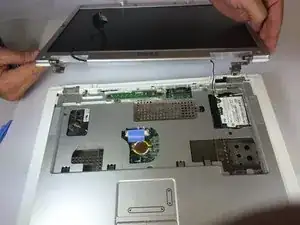
    • Remove four 4mm #00 Philips screws from the screen hinges.

    • Lift the screen away from the laptop.

  10. PkX3xZbVYC3TnSAL
    PkX3xZbVYC3TnSAL
    TPP5kAu2XUXNrXXR
    • Remove two 4 mm Philips #00 screws that connect top of laptop to base..

  11. CbMXaHuHMnBLXTXi
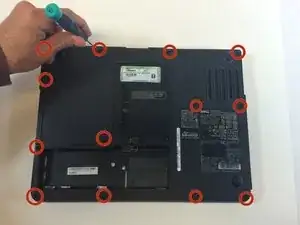
    • Flip laptop the over and remove thirteen 6mm Philips #00 screws.

  12. NStHHiEsrgjPfMUf
    NStHHiEsrgjPfMUf
    BujNDtE4tgOVpt5o
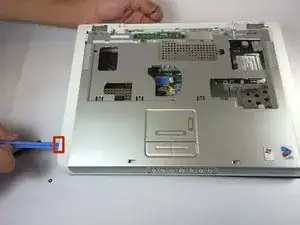
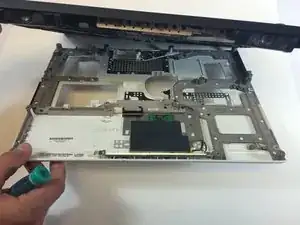
    • Insert the plastic opening tool in between the back and front plates of the laptop

  13. CcBoAdStB5aABICb
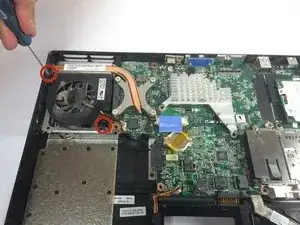
    • Remove two 4 mm Philips #00 screws.

  14. iWyNetOJkSrcLIAN
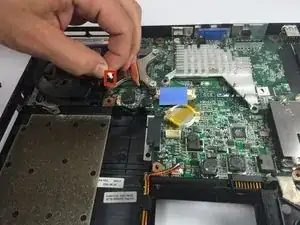
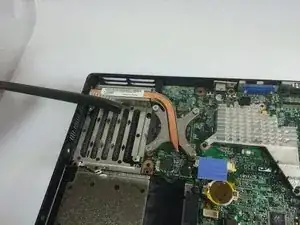
    • Remove the fan power cord

  15. AeoNKDpiZG5ZkDPL
    AeoNKDpiZG5ZkDPL
    Ngf62FEmHekHvxvu
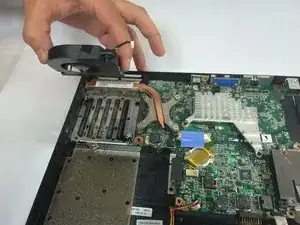
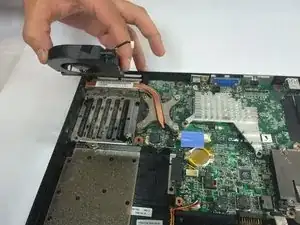
    • Using your hand, lift the fan from the laptop.

Abschluss

To reassemble your device, follow these instructions in reverse order.
Jacob DeWar

Mitglied seit: 23/09/14

521 Reputation

0 Kommentare