Einleitung
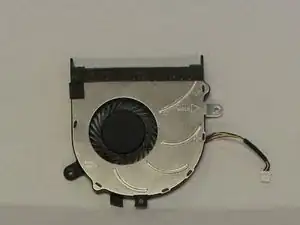
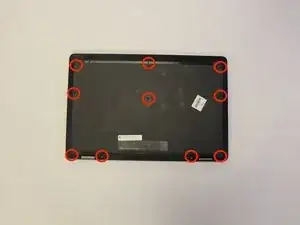
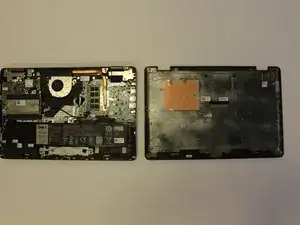
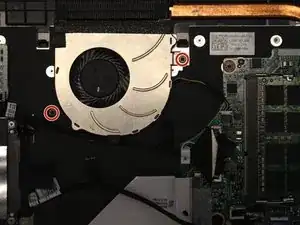
By following the steps in this guide one should be able to replace the fan of a Dell Inspiron 7568 in under six minutes. The only tool necessary for this project is a Phillips #1 screwdriver.
Werkzeuge
-
-
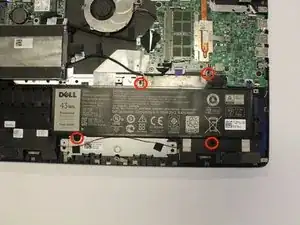
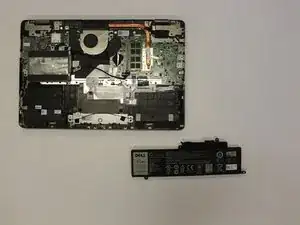
Remove the four 3mm Phillips #1 screws holding the battery.
-
Unhinge the connector cable to the battery.
-
Remove the battery.
-
-
-
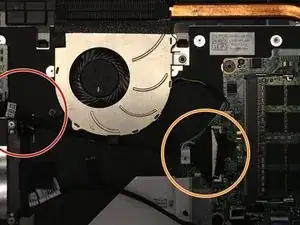
Begin by unclipping the cable connecting the fan and the motherboard.
-
Gently separate the motherboard cable from the clamp at the bottom of the fan.
-
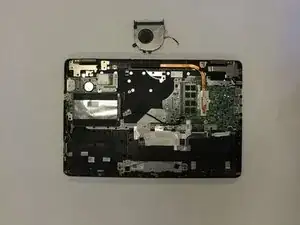
Remove the cable.
-
Abschluss
To reassemble your device, follow these instructions in reverse order.
