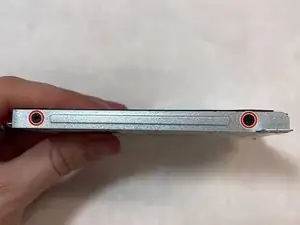
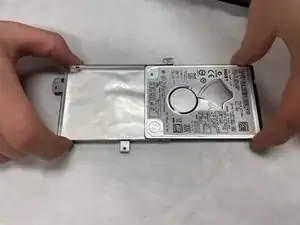
Einleitung
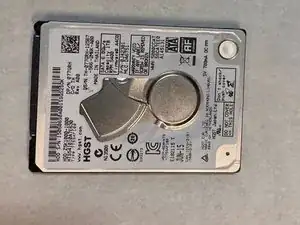
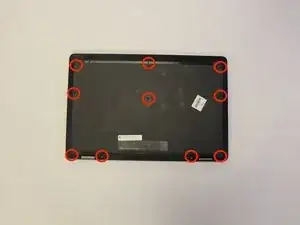
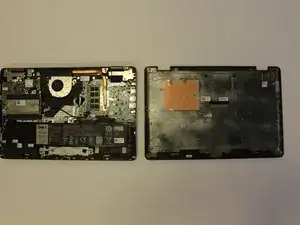
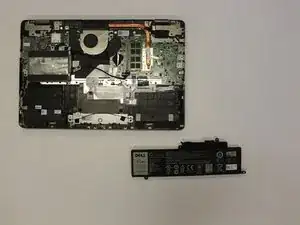
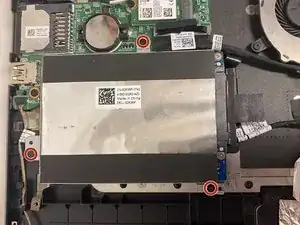
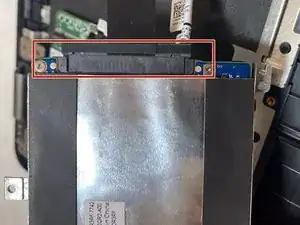
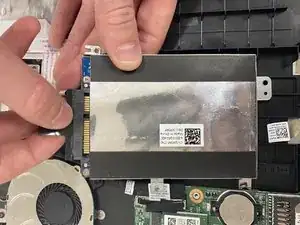
When removing or replacing the hard drive of the Dell Inspiron 7568 it is important to make sure the laptop it is unplugged and completely turned off. User should also remember to be careful when unplugging and removing the battery. It is recommended that users keep different screw types separated to keep assembly easier. Make sure to uses a Phillips head #1 screw driver.
Werkzeuge
-
-
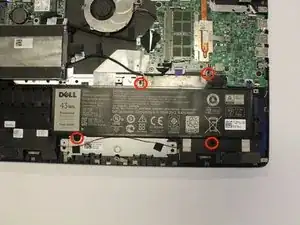
Remove the four 3mm Phillips #1 screws holding the battery.
-
Unhinge the connector cable to the battery.
-
Remove the battery.
-
To reassemble your device, follow these instructions in reverse order.
Ein Kommentar
Will a 9mm 2.5” SSD fit in these? or can it be forced in? p16 of the spec sheet says “7mm” but I’m not sure if that’s just saying stock configuration just comes with a 7mm drive? or that it only supports up to 7mm?: https://dl.dell.com/manuals/all-products... Any clarification appreciated, thanks!
