Einleitung
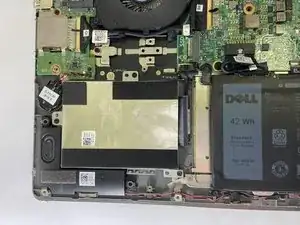
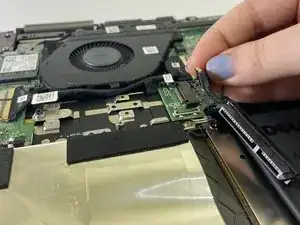
This guide will walk you through how remove the hard drive from the systems board of your Dell Inspiron 7573 2-in-1 computer. This guide is useful for replacing a hard drive that may be defective or damaged. Complications such as file issues on your computer or data malfunctions may cause you to replace the hard drive.
Werkzeuge
Ersatzteile
-
-
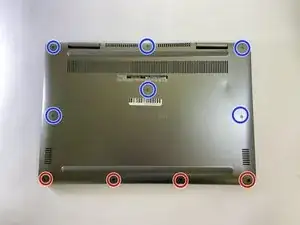
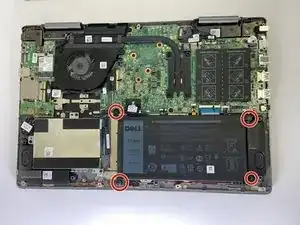
Remove the four 5 mm screws from the bottom edge of the laptop using a Phillips #00 screwdriver.
-
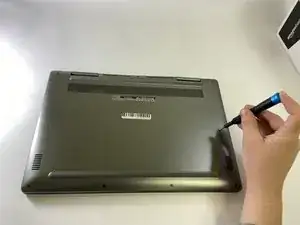
Loosen the remaining six captive screws from the bottom cover with a Phillips #00 screwdriver.
-
-
-
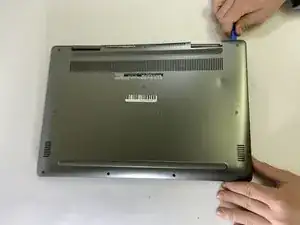
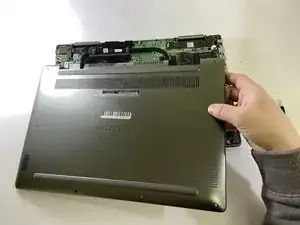
Using a spudger, pry off the bottom cover by gently prying from corner to corner in order to disengage the plastic clips.
-
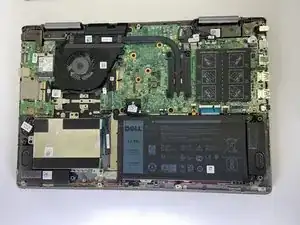
Lift off the bottom cover.
-
-
-
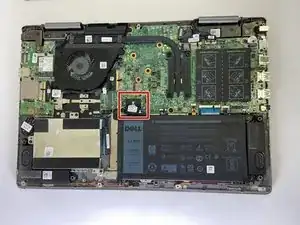
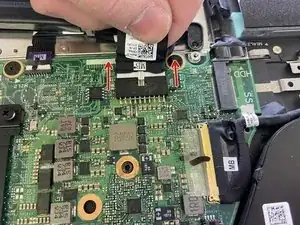
Using the pull tab, disconnect the battery cable from the system board.
-
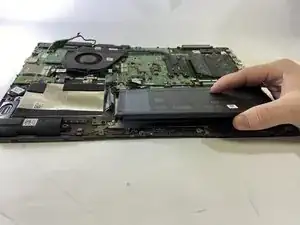
Lift the battery out from the laptop case.
-
-
-
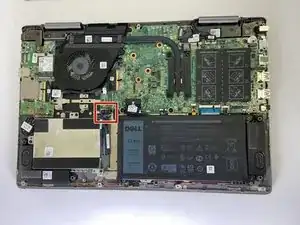
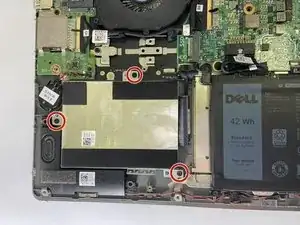
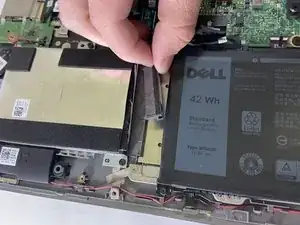
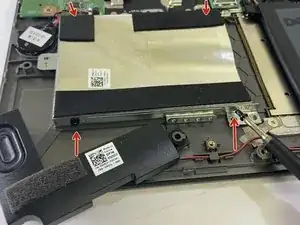
Remove the three 3 mm screws that secure the hard-drive assembly using a Phillips #00 screwdriver.
-
-
-
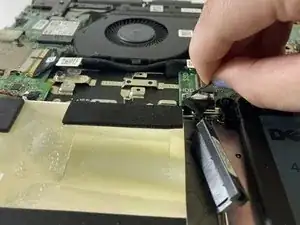
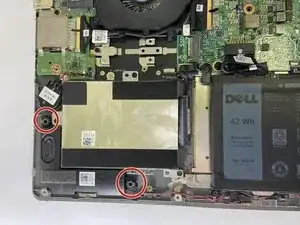
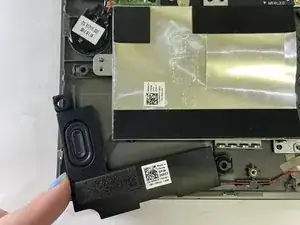
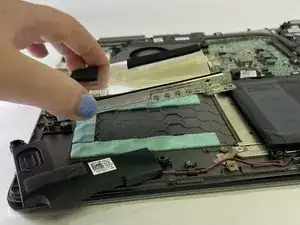
Lift the right speaker by releasing the rubber grommets from the slots on the palm-rest assembly.
-
-
-
Remove the four 3 mm screws that secure the hard drive bracket to the hard drive with a Phillips #00 screwdriver.
-
To reassemble your device, follow these instructions in reverse order.
