Einleitung
This guide will show you how to remove the lower case of a Dell Inspiron 8600 for replacement or repair. In this guide we’ll show you how to remove critical components, how to correctly reassemble the device.
Werkzeuge
-
-
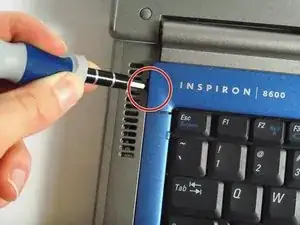
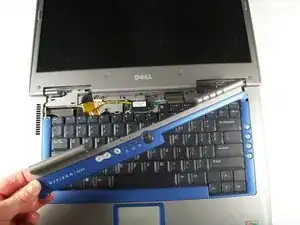
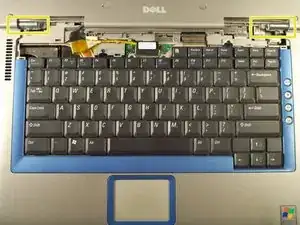
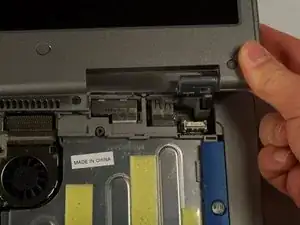
Insert a spudger into the notch at the far left side of the top blue panel and pry the hinge cover off.
-
You may need to pry the other side off as well. You can do this by inserting the spudger between the hinge and the top cover.
-
-
-
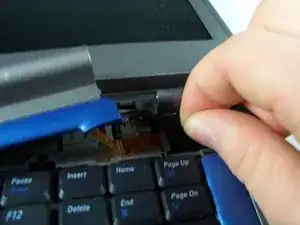
Pull the small black tab on the right hand side of the laptop.
-
You have now removed the hinge cover.
-
-
-
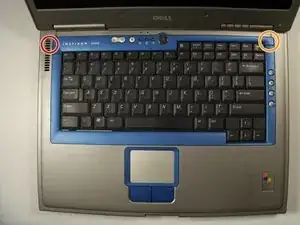
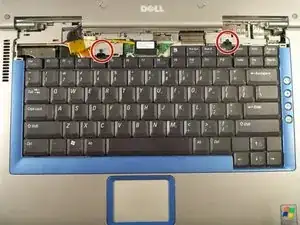
Using the Phillips #1 remove the screws at the top of the keyboard as indicated.
-
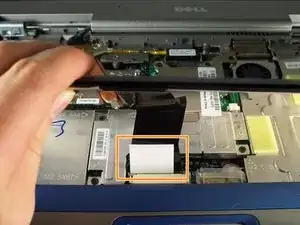
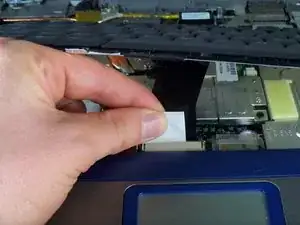
You will need to pull out the white tab underneath the keyboard upwards until it pops out of its socket.
-
-
-
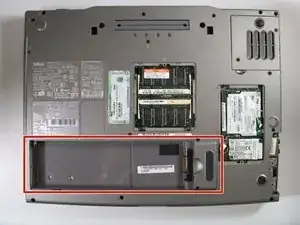
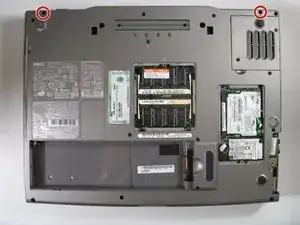
Flip the laptop over and remove the indicated screws.
-
Flip the laptop back over.
-
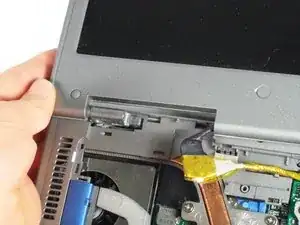
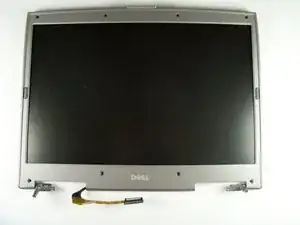
Find the two places where the display module is attached to the base of the computer.
-
-
-
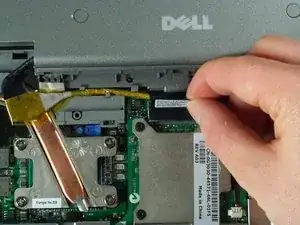
Disconnect the video card from the display module by gently lifting upwards on the black tab.
-
-
-
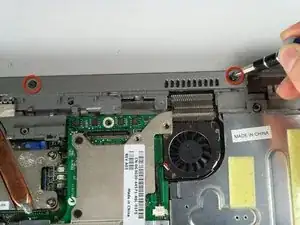
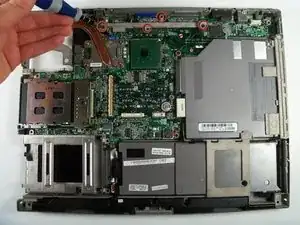
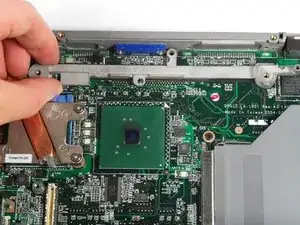
Using a Phillips #1 screwdriver, remove four screws attaching the metal bar to the motherboard.
-
Remove the metal bar which connects the motherboard to the lower case.
-
-
-
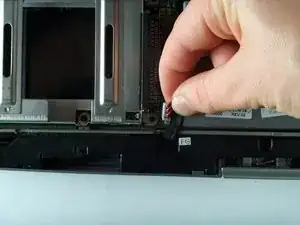
Disconnect the optical disk drive by gently pulling upward on the plastic connector to prevent connection damage.
-
-
-
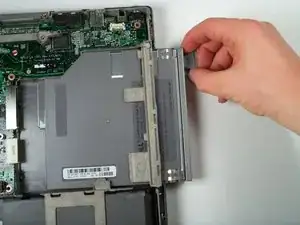
Remove the optical disc drive by pushing a small release button on the side of the laptop and then pulling it.
-
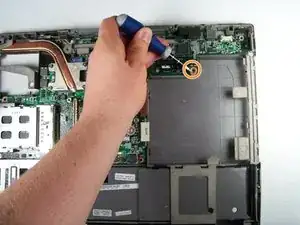
This will uncover one final screw. Use the Phillips # 1 to remove the screw.
-
To reassemble your device, follow these instructions in reverse order.
