Einleitung
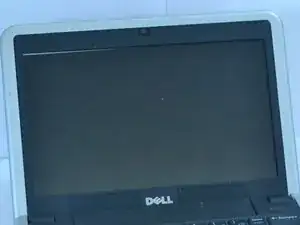
The screen is one of the most important parts of a laptop and in the event the screen goes bad, many would get rid of their laptop, despite the rest of it function just fine. In this guide we will show Dell Inspiron 910 owners how to replace their screen and save their laptop.
Werkzeuge
-
-
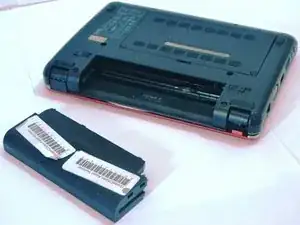
Flip the laptop so the battery is facing upwards.
-
Push the battery release tabs toward the center of the device.
-
Remove the battery.
-
-
-
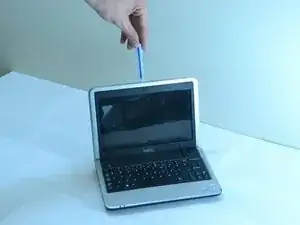
Using a plastic opening tool, pry the front silver bezel away from the colored plastic shell.
-
-
-
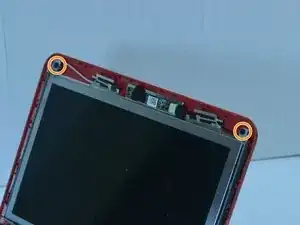
Remove the two screws holding the metal casing that retains the screen using a Phillips #00 screwdriver.
-
-
-
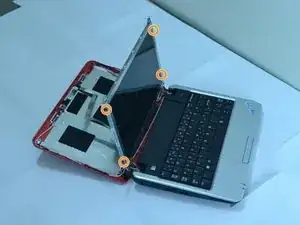
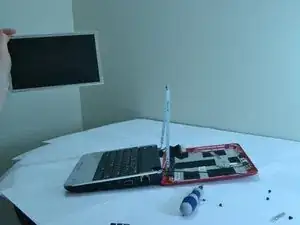
Pull down the laptop's back, keeping the screen upright, held in place by two metal strips going along its sides.
-
Remove the screws from either side of these strips, four in total.
-
-
-
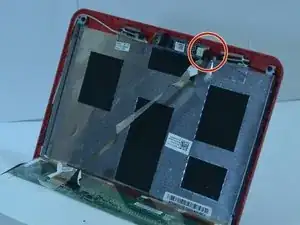
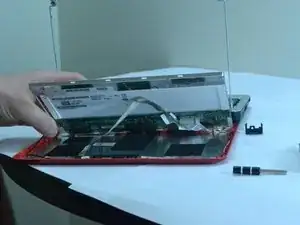
Disconnect the cord connecting the screen to the rest of the laptop. The cable will be affixed to the screen using tape, so it can be safely removed. The actual cord connection is at the circuit board.
-
To reassemble your device, follow these instructions in reverse order.
