Einleitung

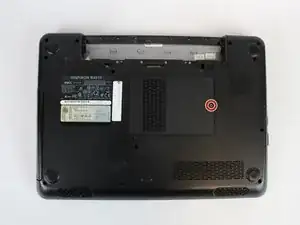
This guide will show you how to completely remove and replace the fan on your Dell Inspirion 14R. It requires a bit of patience to accomplish. Replacement of the single internal fan can cause your laptop to run less hot as it is responsible for keeping everything inside the laptop, especially the CPU, cool.

  1. ltrqG1pyNYFcJNf4
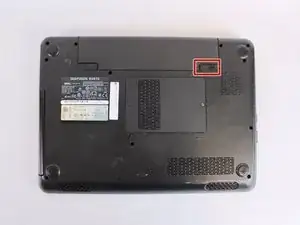
    • Make sure the laptop is not plugged into any wall outlets or the charger

    • Unlock the battery by sliding the right-hand switch to the right.

  2. lOcXksmXIPEHZFSA
    lOcXksmXIPEHZFSA
    yAQrGRaX5oAKK6t2
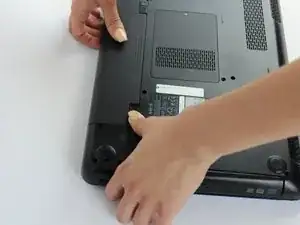
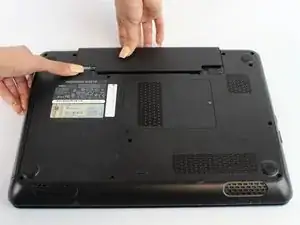
    • While holding the left-hand switch to the left position, pull the battery away from the laptop.

  3. ivUuu56kKItc31v4
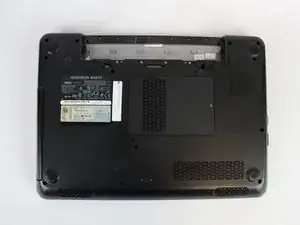
    • The battery is now fully removed and the laptop will not power on without it.

  4. x1TxCFDjTiJlYJVU
    x1TxCFDjTiJlYJVU
    L1fO1tb2CHgp4yOU
    uZqbrEUqZtBvY23T
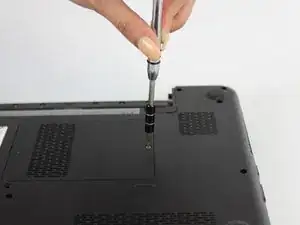
    • Using the #0 Philips head, unscrew the indicated screw.

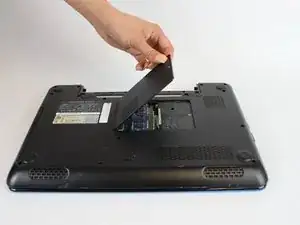
    • Carefully pull the RAM cover up and away.

  5. oGxWtAIGpTLkgq3M
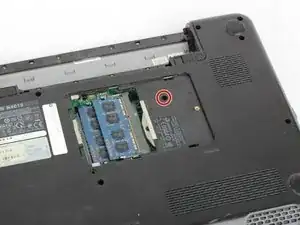
    • Unscrew the indicated 5.7mm screw beneath the RAM Cover.

    There Is one More screw that needs to be removed!!!

    Guillermo Zepeda -

    • Remove another screw above the battery release tab

  6. eTKQfnEWVLPDsuGW
    eTKQfnEWVLPDsuGW
    HRUIpa1Y1wbxGFNF
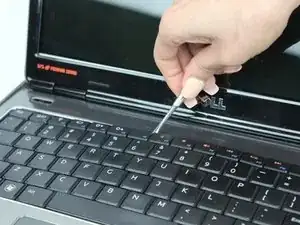
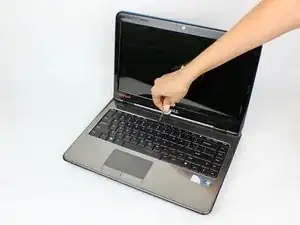
    • Using a thin plastic tool (such as a guitar pick or spudger) at the top of the keyboard just above the F7 key, gently pry the keyboard away.

    • Move the spudger to either end at the top of the keyboard to fully undo all plastic clips.

  7. yFPVkVFR6mwmfVoC
    yFPVkVFR6mwmfVoC
    5N1btvMdJEAR6Bed
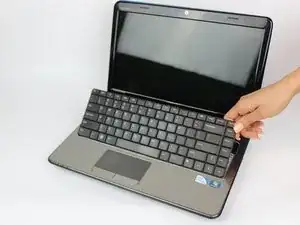
    • Carefully tip the keyboard upwards and pull it slightly away from the body of the laptop.

    • Be careful not to put stress on the ribbon cable below.

  8. UwFQOl1BooKMrGSx
    UwFQOl1BooKMrGSx
    lJm1ItVvWYKV6CGB
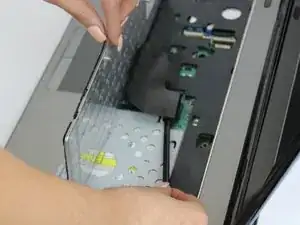
    • Carefully unclip the ribbon cable by tipping the keyboard towards the screen.

    • The keyboard is now completely disconnected.

  9. JasHndyJhLymvIVQ
    JasHndyJhLymvIVQ
    QG52ZPAGjUSuJslP
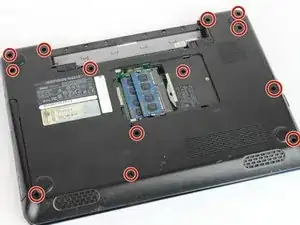
    • Remove the indicated 5.7mm screws.

    • Remove the smaller 3mm screws from underneath the battery compartment.

    On the one I worked on there where 3 screws above the disk drive which caused the shroud to break. Make use to remove the disk drive and take out the screws before proceeding to the next step

    Alexander Whitney -

  10. WbiPETYFRULcbHGS
    WbiPETYFRULcbHGS
    UD4ky3jQX4ebVvDq
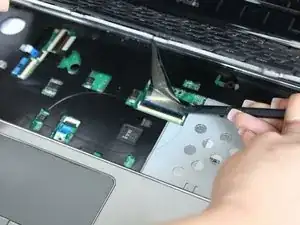
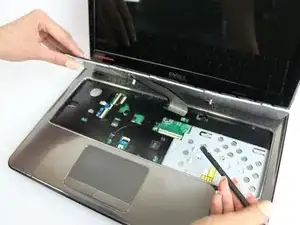
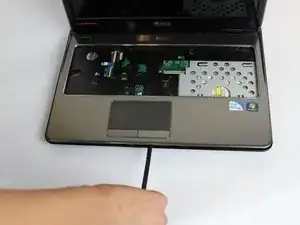
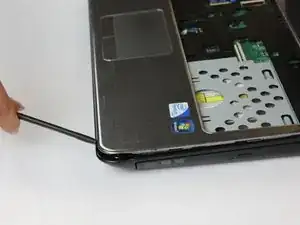
    • With a plastic spudger, pry away the silver top cover from the black casing.

    • Move the tool to the right and left along the seams to fully disconnect the cover.

  11. wpdhqs1Ueop6VfGr
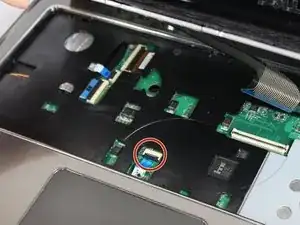
    • Disconnect the indicated ribbon cables underneath where the keyboard sits.

  12. Y5JsNjNOGfvSfjjB
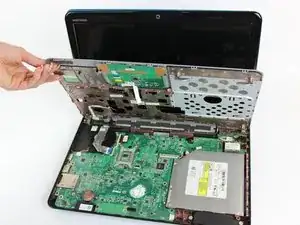
    • Lift the cover upwards and away from the body of the laptop, after removing the optical drive and unscrewing the three screws on the right

    My same product does not have an open top because there are three screws in the ODD….ㅠㅠ

    김옥현 -

  13. Fhid2UOpqsoymg5J
    Fhid2UOpqsoymg5J
    McEfcYH1BZPDnXPB
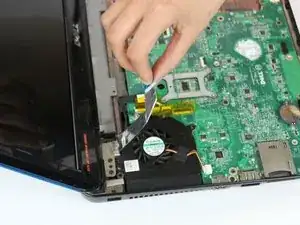
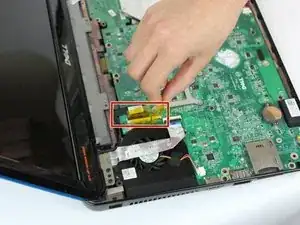
    • Peel back the yellow tape to expose the ribbon connector.

    • Unplug the ribbon cable from the motherboard.

  14. ZgNXi1eYIJKSIN1p
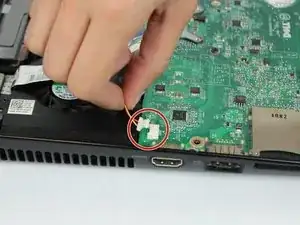
    • Unplug the 3-wire connector from the motherboard.

  15. QaDnx1VrWE3JoIoW
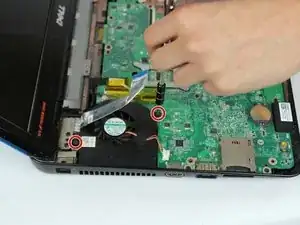
    • Unscrew the indicated 5.6mm screws with the #0 Phillips Head Screwdriver.

  16. cOAus6aaFfYYhZY4
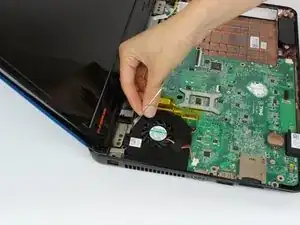
    • Remove the fan from the device.

    Aluminum flux cable isn’t attached to fan assembly

    Daniel Sledge -

    On bottom right to remove the driver gently slide the entire assembly to the right it will come out in one piece

    Daniel Sledge -

Abschluss

To reassemble your device, follow these instructions in reverse order.
Andre Tomlinson

Mitglied seit: 27/09/17

101 Reputation

0 Kommentare