Einleitung
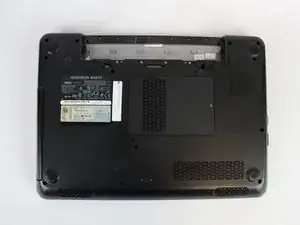
The mainboard or motherboard is where most components directly connect to. It acts as the backbone of the computer system and one of the key components. Removal of the motherboard lets you get at the RAM, HDD, speakers and almost every other component all at once.
Werkzeuge
-
-
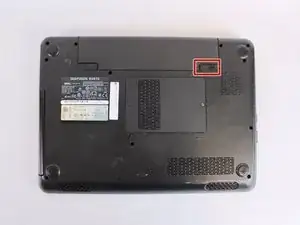
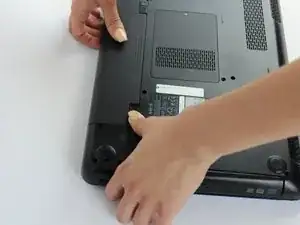
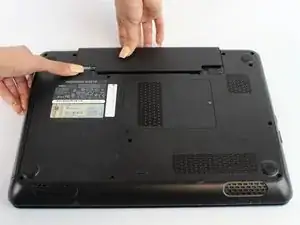
While holding the left-hand switch to the left position, pull the battery away from the laptop.
-
-
-
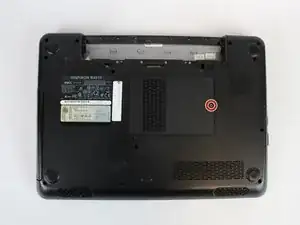
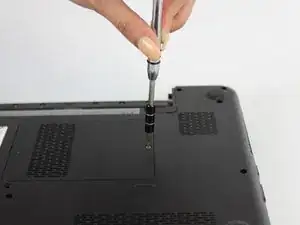
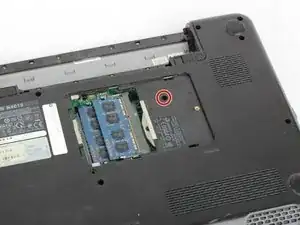
Using the #0 Philips head, unscrew the indicated screw.
-
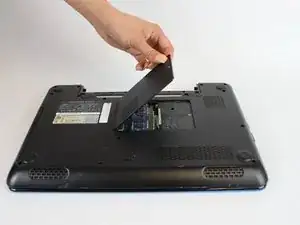
Carefully pull the RAM cover up and away.
-
-
-
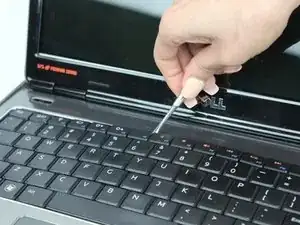
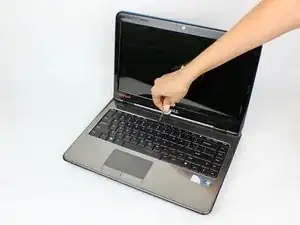
Using a thin plastic tool (such as a guitar pick or spudger) at the top of the keyboard just above the F7 key, gently pry the keyboard away.
-
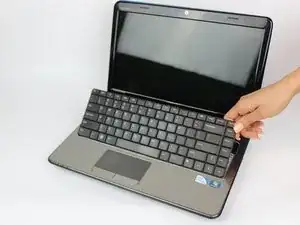
Move the spudger to either end at the top of the keyboard to fully undo all plastic clips.
-
-
-
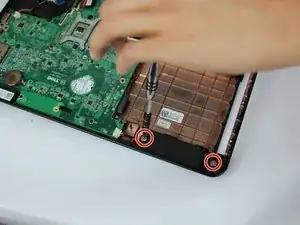
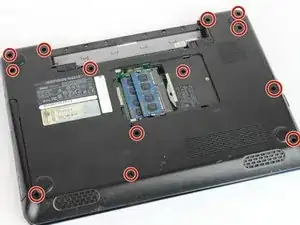
Remove the indicated 5.7mm screws.
-
Remove the smaller 3mm screws from underneath the battery compartment.
-
-
-
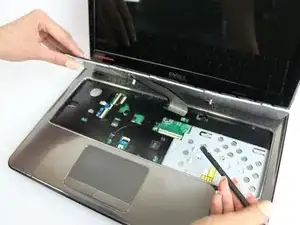
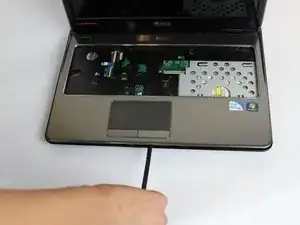
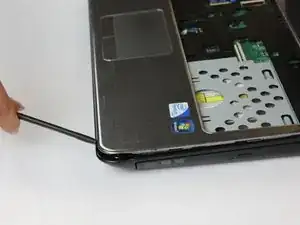
With a plastic spudger, pry away the silver top cover from the black casing.
-
Move the tool to the right and left along the seams to fully disconnect the cover.
-
-
-
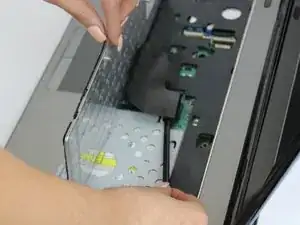
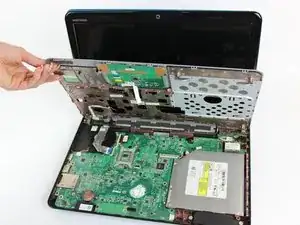
Lift the cover upwards and away from the body of the laptop, after removing the optical drive and unscrewing the three screws on the right
-
-
-
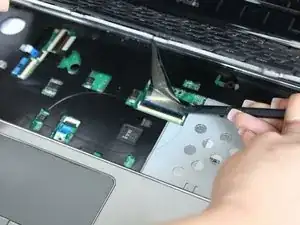
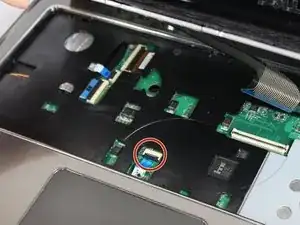
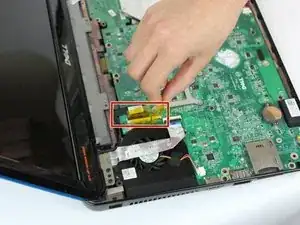
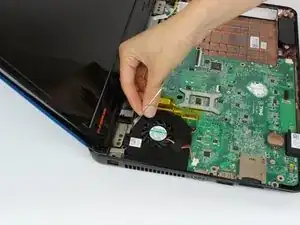
Peel back the yellow tape to expose the ribbon connector.
-
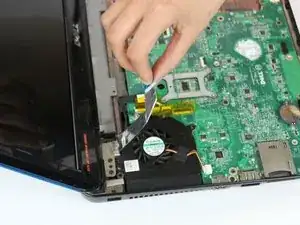
Unplug the ribbon cable from the motherboard.
-
-
-
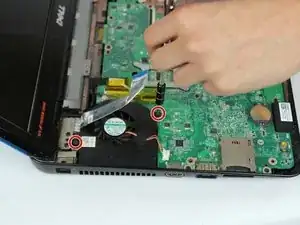
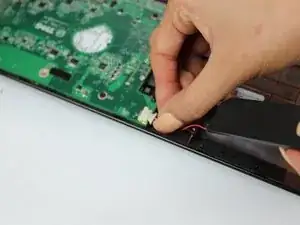
Unscrew the two screws on the right hand speaker with the #0 Phillips Head.
-
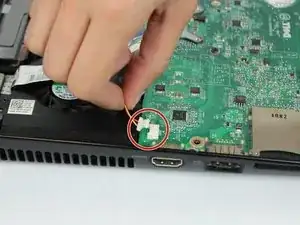
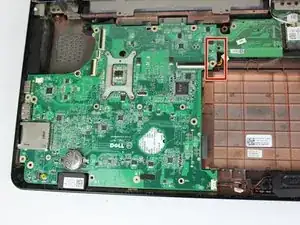
Unplug the speaker connector from the motherboard.
-
-
-
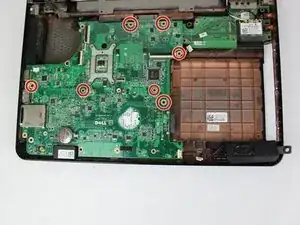
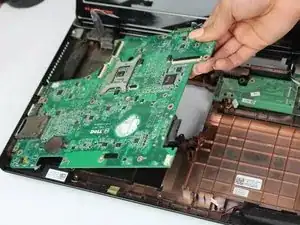
The motherboard can now be removed by pulling upwards, tilting it to the left of the laptop until the connectors clear the body of the laptop.
-
To reassemble your device, follow these instructions in reverse order.
3 Kommentare
Please before removing the keyboard you should remove all the back screws because a couple of them are attached to the keyboard.
Also before removing the palm rest, you should remove the 6 M2x3 screws where the battery is located.
Hi, the top left screw on the motherboard (just to the right of the fan) is different than the others. What type of screwdriver do I need for this one?
