Einleitung

Replacing the screen is a lengthy process that can take a while. It is important you are gentle with the screen as it can be damaged quite easily. Additionally, the screen should be disposed of according to local laws.

  1. AtjInUT2BDJQtLFP
    AtjInUT2BDJQtLFP
    ngDivdZBNCnCAXAj
    Pq6DKUQU2ahIDAsJ
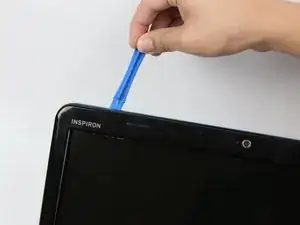
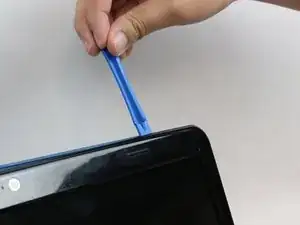
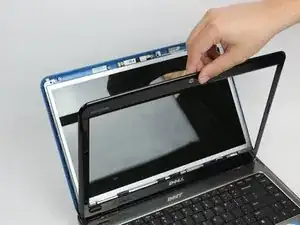
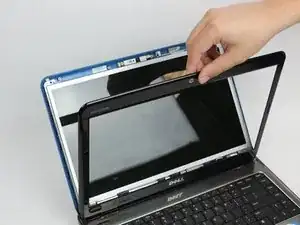
    • Use a plastic opening tool to remove the screen bezel.

  2. xyWGlaBOTJTsYaBh
    xyWGlaBOTJTsYaBh
    pq1wH3PoisPrHO3e
    VaQgxJpIhiSDOD6K
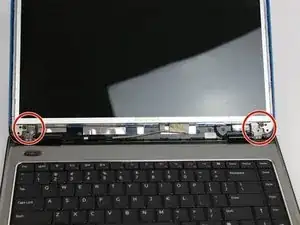
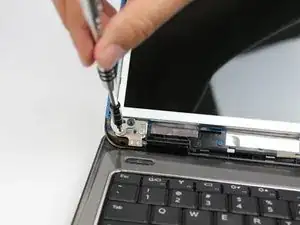
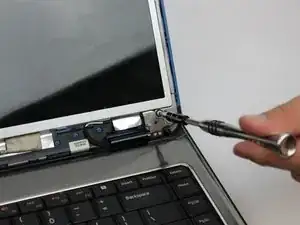
    • Using the #0 Philips head, unscrew the screen bracket from the base of the laptop.

  3. 5gUWMoqqWxJFrvie
    5gUWMoqqWxJFrvie
    bhByNUyZIBSnjZZT
    qyERDRl1gePVRXI1
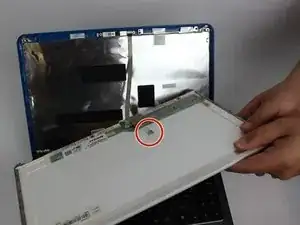
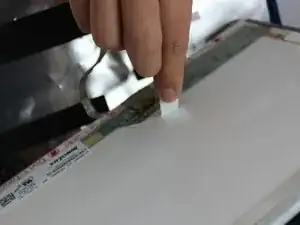
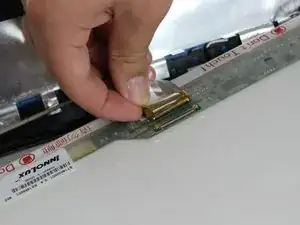
    • Remove the plastic seal located on the back of the screen to expose the ribbon connector.

    • Unplug the ribbon cable from the screen.

    • Be careful when unplugging the cable. Make sure you peel the tape all the way back before disconnecting.

  4. queiUABKjxlKg2kp
    queiUABKjxlKg2kp
    IcnWEyUSuNsiu54H
    BCO1M3lJxj1dJ4Ax
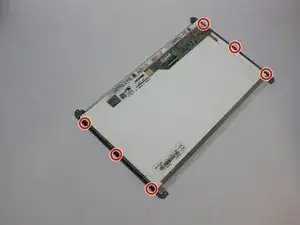
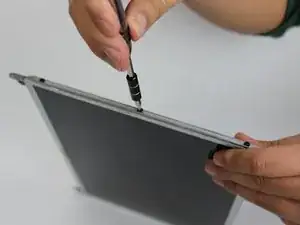
    • Use the #0 Philips head to remove the six screws on either sides of the screen frame.

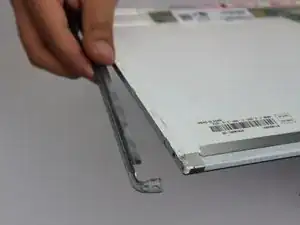
    • Remove the metal frame from the screen.

Abschluss

To reassemble your device, follow these instructions in reverse order.
Jonathan Sellier

Mitglied seit: 26/09/17

907 Reputation

0 Kommentare