Einleitung
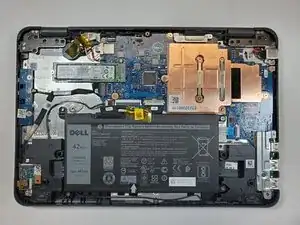
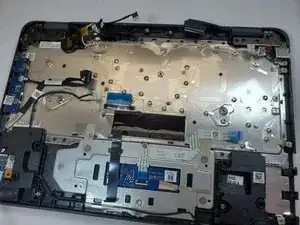
If the motherboard of your Dell Latitude 3190 has failed or it’s time to replace it for any reason, follow this guide.
Prior to starting this guide, be sure to power off your device and unplug it from the charger.
Werkzeuge
-
-
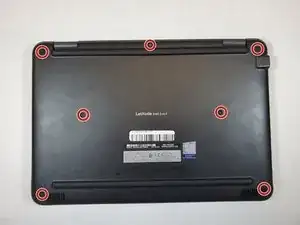
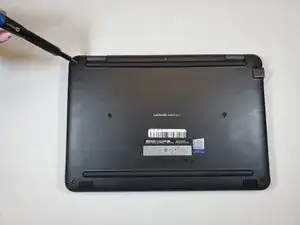
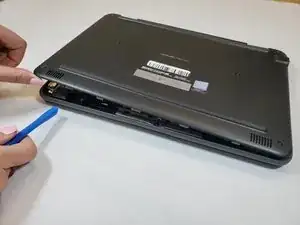
Using a plastic opening tool carefully separate the plastic base cover from the rest of the laptop.
-
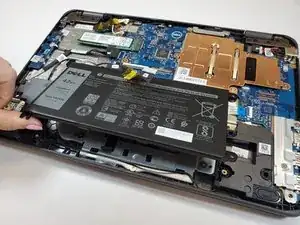
Lift the bottom cover from the laptop.
-
-
-
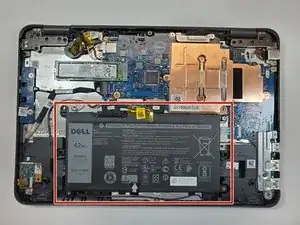
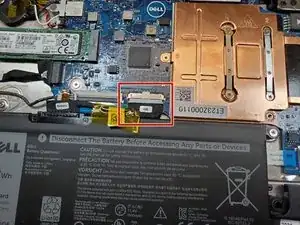
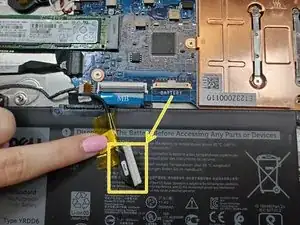
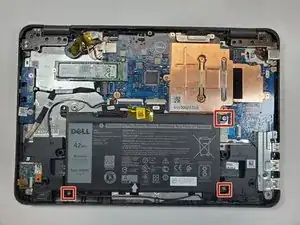
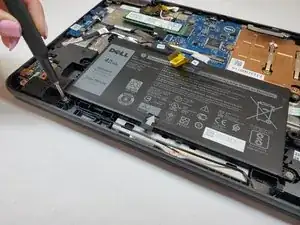
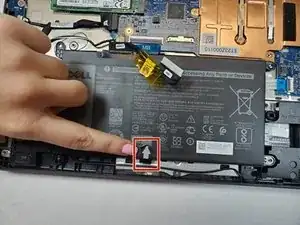
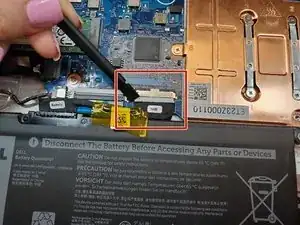
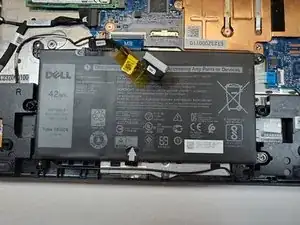
Disconnect the battery cable located on the top of the battery.
-
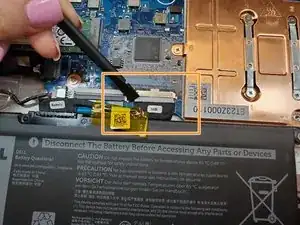
Use the spudger and disconnect the battery cable.
-
Pull the cable out of the way.
-
-
-
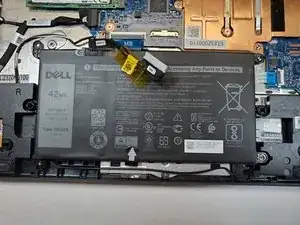
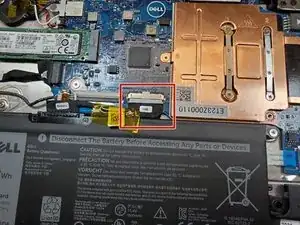
Use a spudger to disconnect the battery cable from the motherboard located at the top of the battery.
-
-
-
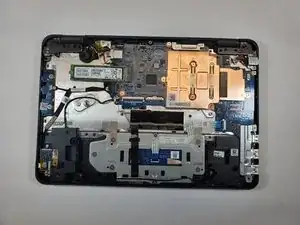
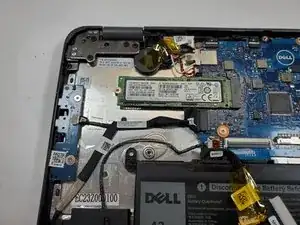
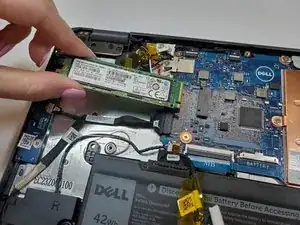
Locate the M.2 SSD after the battery is removed
-
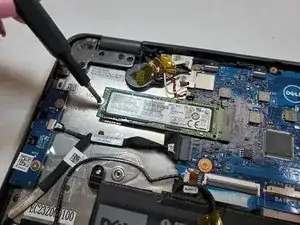
Use the Phillips #0 screwdriver to remove the 3 mm screw from the SSD.
-
Pull the M.2 SSD from the board.
-
-
-
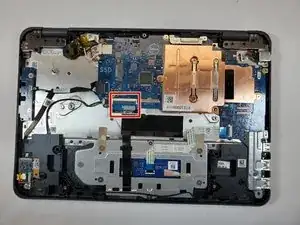
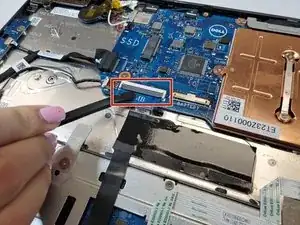
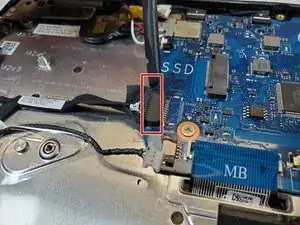
Remove the motherboard cable by pulling up on the black bar and carefully removing the blue ribbon cable.
-
Disconnect the white speaker cable connector.
-
-
-
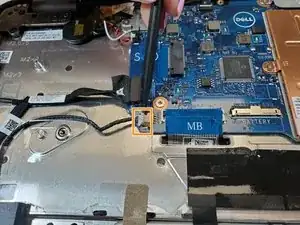
Using a spudger, disconnect the black power board and audio cable.
-
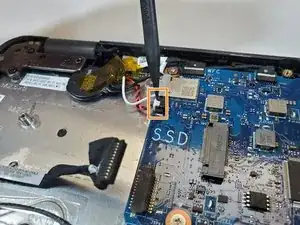
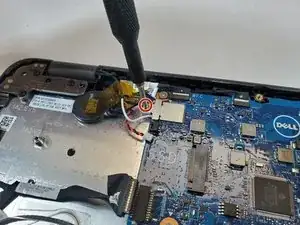
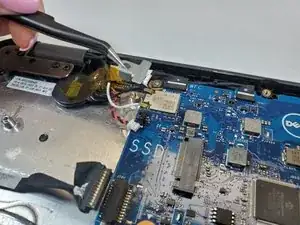
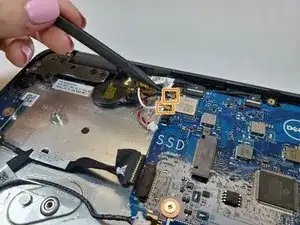
Disconnect the white coin cell battery cable.
-
-
-
Use the Phillips #0 screwdriver to remove the 3 mm screw and lift the metal bracket that secures the WLAN card on the system board.
-
Disconnect the black and white WLAN cables.
-
-
-
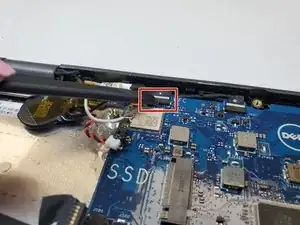
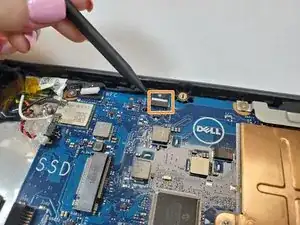
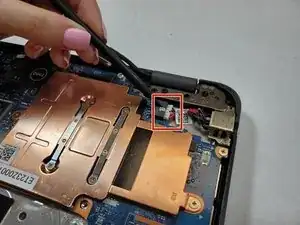
Remove the screw that secures the camera cable to the system board.
-
Disconnect camera cable.
-
Disconnect the black sensor cable.
-
-
-
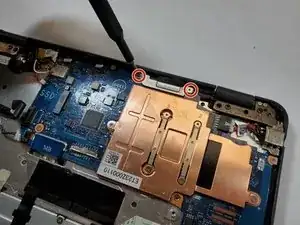
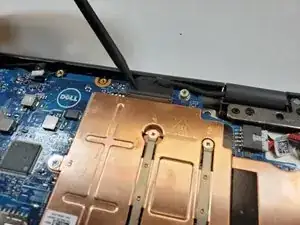
Use the Phillips #0 screwdriver to remove the two 3 mm screws from the metal bracket on the display cable.
-
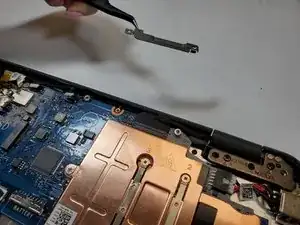
Lift the metal bracket that secures the display cable on the computer.
-
Disconnect the black display cable using a spudger or pull it out by hand.
-
-
-
Disconnect the white power connector.
-
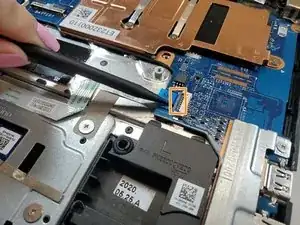
Use the spudger to lift up on black bar to release the trackpad ribbon cable.
-
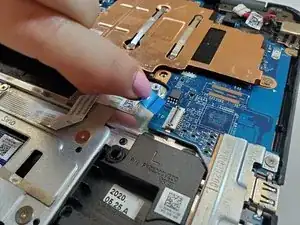
Pull the blue tab release to the cable from the connector.
-
-
-
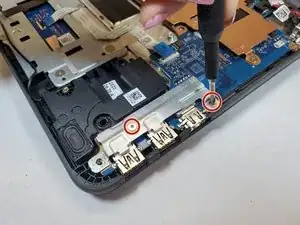
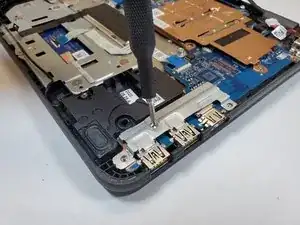
Use a Phillips #0 tp remove the two 3 mm screws on the metal bracket that secures the board.
-
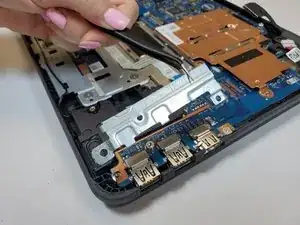
Remove the metal bracket.
-
-
-
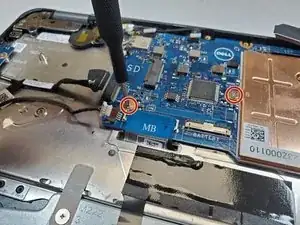
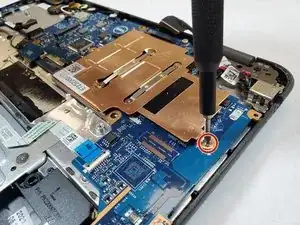
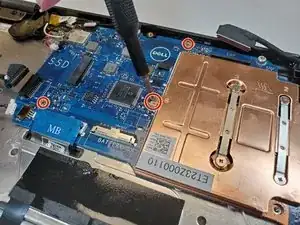
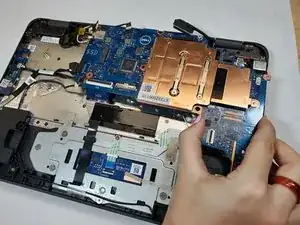
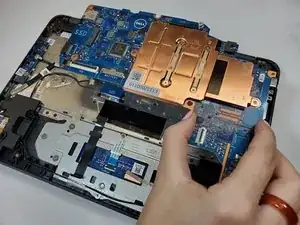
Use the Phillips #0 screwdriver to remove the five 3 mm screws that secure the motherboard.
-
To reassemble your device, follow these instructions in reverse order.
