Einleitung
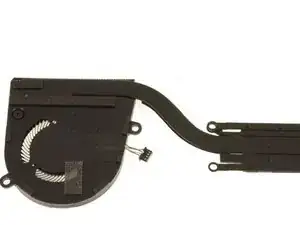
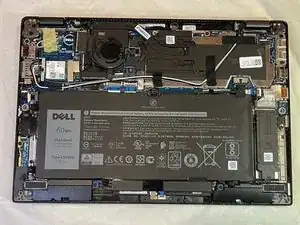
If you need to repair or replace the fan component in the Dell Latitude 7390, this guide shows you step-by-step how to access it.
Prior to starting this repair, be sure to turn off your laptop and unplug from the power adapter.
Werkzeuge
Ersatzteile
-
-
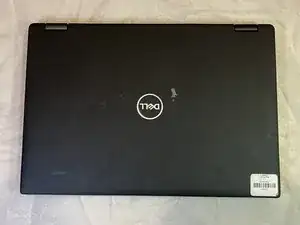
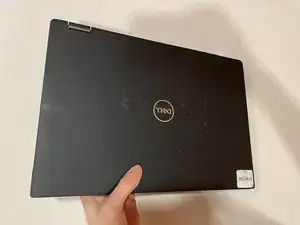
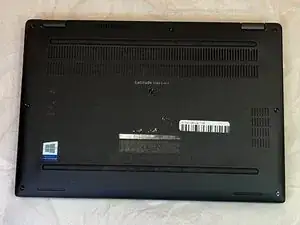
Orient your Dell Latitude 7390 laptop so that it is facing towards you as if you're going to open it.
-
-
-
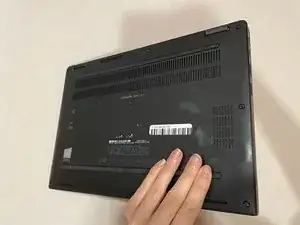
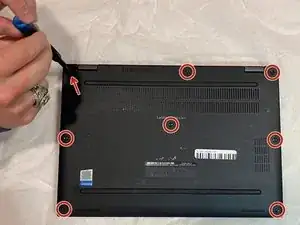
Using your Phillips #1 screwdriver, remove the eight 6 mm screws around the border of the bottom panel.
-
-
-
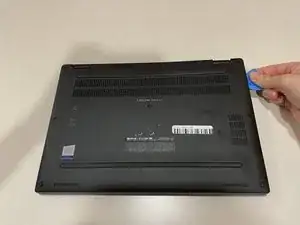
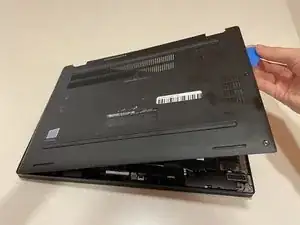
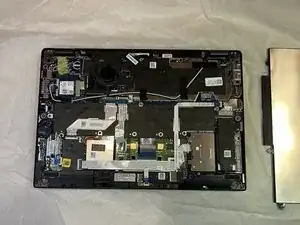
Using an opening tool or picks, work your way around the periphery and pry the back case off.
-
-
-
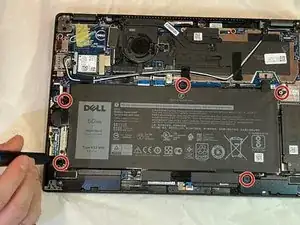
Use the Phillips #1 screwdriver to remove the five 6 mm screws holding the battery in place along the edges of the battery.
-
-
-
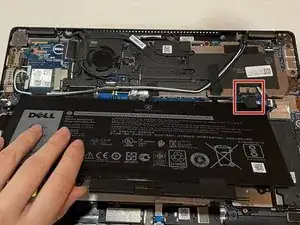
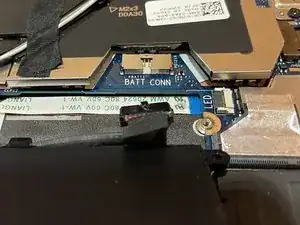
Pull the black tab on the top of the connector to unplug the battery from the motherboard.
-
-
-
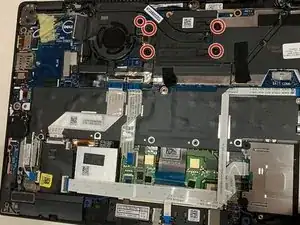
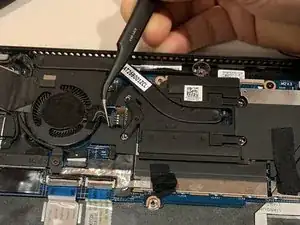
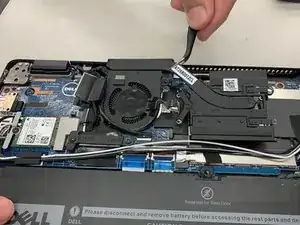
Remove the five black screws holding the fan and heatsink in place using the Phillips #0 screwdriver.
-
To reassemble your device, follow these instructions in reverse order.
