Einleitung
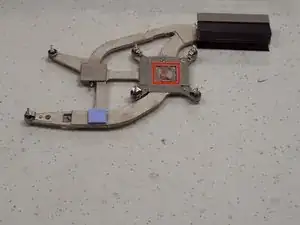
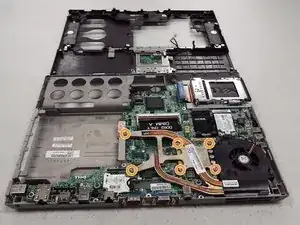
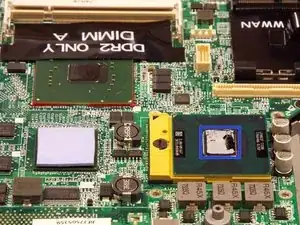
Follow the motherboard replacement guide to the point the heat sink is exposed. No need to remove the motherboard.
Werkzeuge
Ersatzteile
-
-
Perform a complete system backup and shutdown the computer.
-
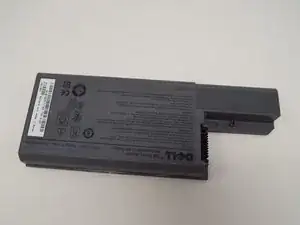
Unplug the charger and remove the battery.
-
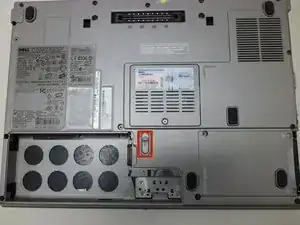
Remove the battery by sliding the lock tab and use your other hand to remove the battery.
-
-
-
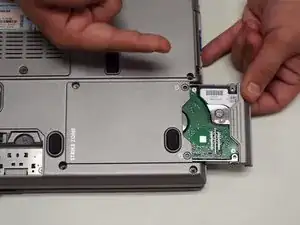
Remove the hard drive.
-
Remove three 3.6 mm Phillips screws.
-
Remove the hard drive and set it aside, trying not to touch anything but the grey plastic grip pad. Doing so may cause damage to your hard drive.
-
-
-
Flip the laptop face up, making sure the screen is opened all the way and is flat.
-
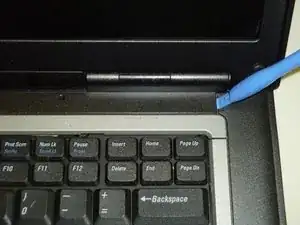
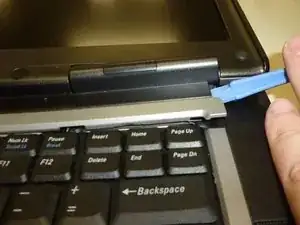
Using an opening tool, carefully pry off the keyboard bezel keeping in mind wires are attached so do not pull too far or hard.
-
-
-
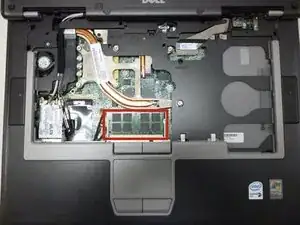
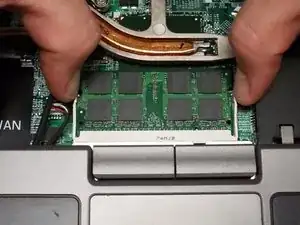
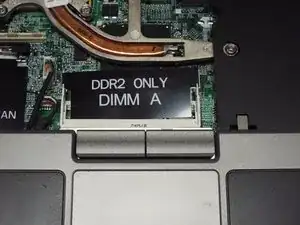
Remove the RAM stick under the keyboard by pulling the two tabs away from each other as shown in second picture.
-
Repeat for the second stick of RAM.
-
-
-
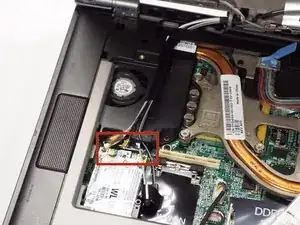
Disconnect the wireless card from the bottom corner.
-
Push the retaining tab and lift the card out.
-
Do this for the ethernet card which is in the same spot.
-
-
-
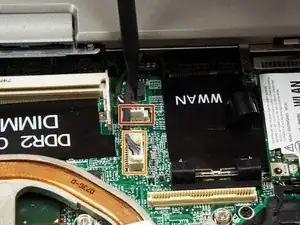
Remove the cable that connects the speaker to the frame by pulling straight out.
-
Remove the cable that connects the track pad to the frame by pulling straight out.
-
-
-
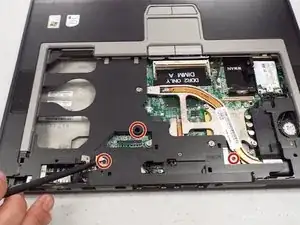
Remove three screws that hold the upper case to the motherboard.
-
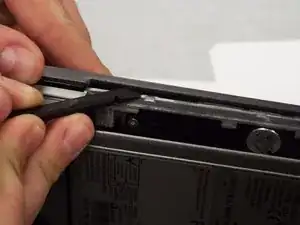
Use a spudger to pry the three tabs by the CD-ROM to separate the upper and bottom casing.
-
-
-
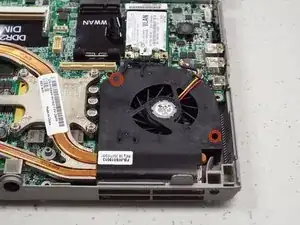
Remove two 5.6 mm screws from the fan.
-
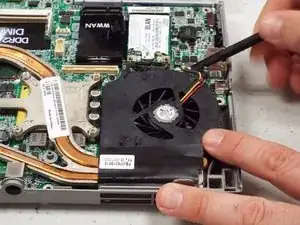
Remove the fan power cable.
-
Loosen six captive spring loaded screws from the heat sink.
-
-
-
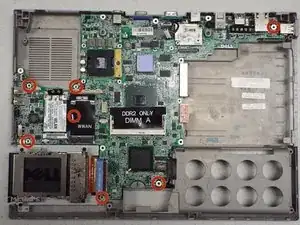
Remove four 3.7 mm screws from around edge of the motherboard.
-
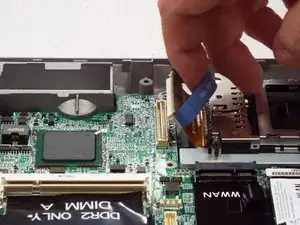
Remove the PCMCIA connector from the motherboard.
-
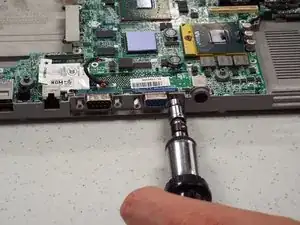
Turn the laptop on the side and remove two female hex screws from the video card and two posts from the serial port using socket driver (3/16 socket).
-
-
-
Using a lint free cloth and a drop of TimClean or ArctiClean to clean residue from the heat sink.
-
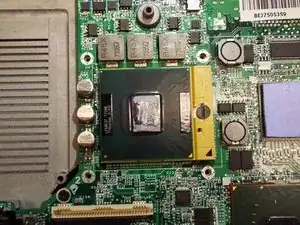
Using a lint free cloth and a drop of TimClean or ArctiClean to clean residue off CPU.
-
Wipe with a clean lint free cloth to remove any residue of cleaner.
-
Allow to dry completely.
-
-
-
Dispense a small amount of thermal paste onto processor.
-
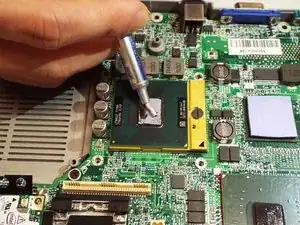
Using your rubber finger stall or spudger spread a thin, even layer over processor.
-
The processor is ready for heat sink installation.
-
To reassemble your device, follow these instructions in reverse order.
