Einleitung

This guide walks through how to remove and replace a display on the Dell Latitude E4310 laptop in the event of a broken or bad display.

  1. Hw6TLUabUv2QPgCG
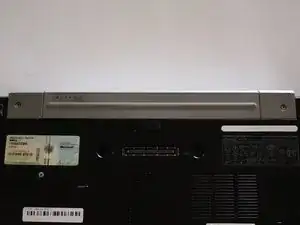
    • Power down the laptop and remove all power cords.

  2. QbJwOvlGxBDVDc1q
    QbJwOvlGxBDVDc1q
    4RnOB4DcIOqMSXdL
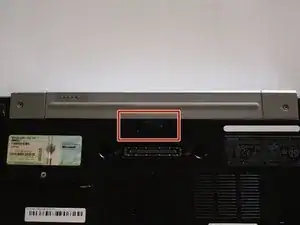
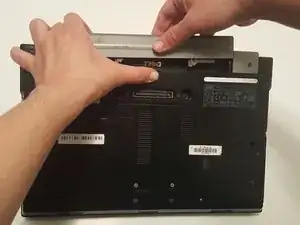
    • Push in the battery release button with your thumb.

    • Pull up on the battery to remove.

  3. NkkOkMffTv4yRhxs
    NkkOkMffTv4yRhxs
    URAE11EM5PGCGvpS
    KKukPsBGlpt2HiRt
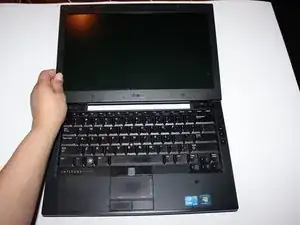
    • Open up the laptop and flatten it down on a workable surface.

    • Turn it around so that the screen is closest to you.

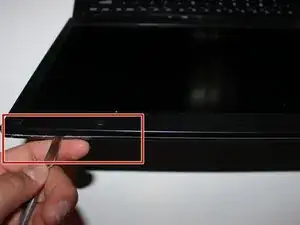
    • Insert the flat end of a spudger, or plastic opening tool, into the groove between the screen bezel and top case.

    • Twist the spudger, or plastic opening tool, until you hear a clicking sound and continue doing this around the entirety of the display.

    • Remove the bezel.

  4. ZeY46GyKLNSj31wr
    ZeY46GyKLNSj31wr
    W6Cyqwi4lWJvE3c5
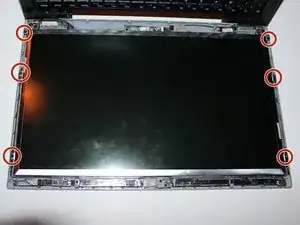
    • Remove the six 0.3mm Phillips #1 screws.

  5. riGM15qJBuf3w6gJ
    riGM15qJBuf3w6gJ
    LaGAmIS2KpYToY6A
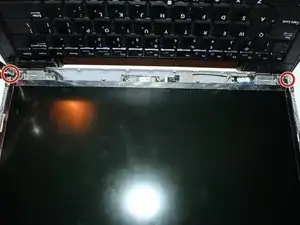
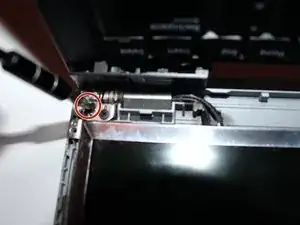
    • Remove the two 0.5mm Phillips #1 screws.

    • There are two screws located at each corner. Only remove the ones closest to the outer edge.

  6. Q12KEvqLPY1cEdII
    Q12KEvqLPY1cEdII
    fsAqOSvhneUOHMSu
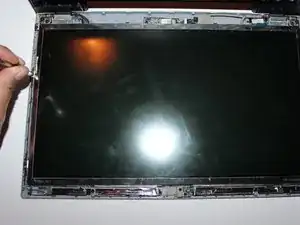
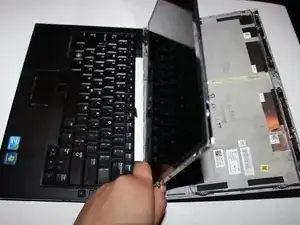
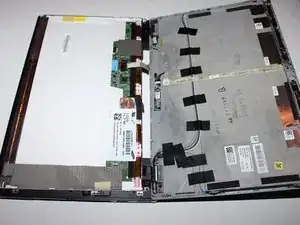
    • Carefully lift the screen up and flip it over onto the keyboard side as if you were turning the page of a book.

  7. TDZhmaltJ2eC5CWW
    TDZhmaltJ2eC5CWW
    WbuFBZkJDjIWVys3
    OxCeg2xUBgFtZlbu
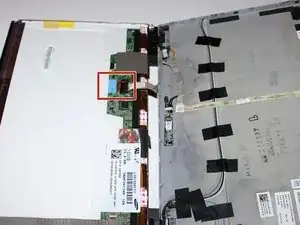
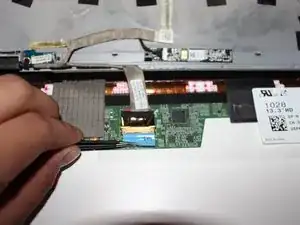
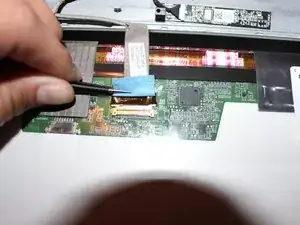
    • Use a pair of tweezers to flip the blue tape 180 degrees.

    • By flipping the tape you disconnect the display connector.

  8. 3lV3BhOENDLVb6B6
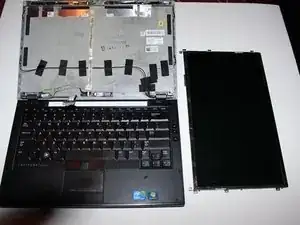
    • Remove the screen from the laptop.

    Pls what part of the cable can affect the system not to show light just black but displaying

    John smith -

Abschluss

To reassemble your device, follow these instructions in reverse order.
Aylin

Mitglied seit: 21/02/18

285 Reputation

0 Kommentare