Einleitung
Werkzeuge
-
-
Before beginning, ground with a grounding strap.
-
The first thing to remove from the laptop is the battery. It is ideal to have an anti-static surface underneath the laptop
-
-
-
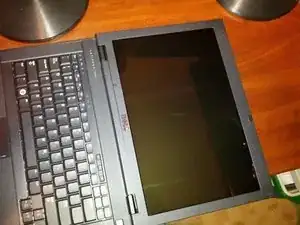
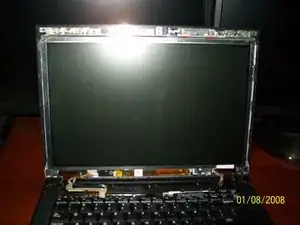
Begin by opening the laptop display and folding back the LCD screen all the way open. It will be laying flat back from the keyboard.
-
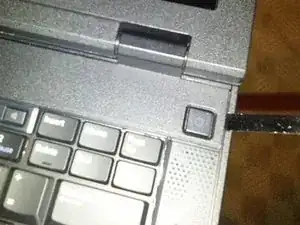
The hinge cover is fragile and can be damaged if extreme force is used. Exercise care when removing the hinge cover.
-
Insert a plastic spudger into the notch of the raised areas of the hinge cover at the back of the computer. Pry upwards to loosen the hinge cover.
-
DO NOT lift the cover up on both sides simultaneously! Instead lift up on the right side notch and slide the cover to the right and then lift up. You should not have to force it.
-
-
-
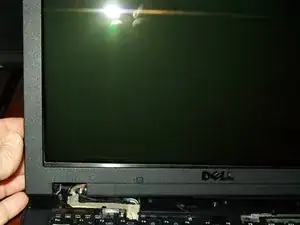
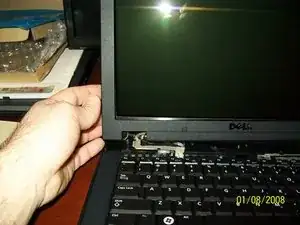
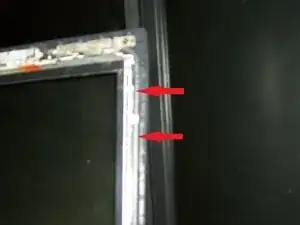
Starting at the middle bottom of the display, separate the bezel from the top cover, then lift the inside edges to separate the remainder of the bezel.
-
After the bezel is removed the screen is ready to come out
-
-
-
Once you have removed the outer bezel you can start on the LCD panel itself.
-
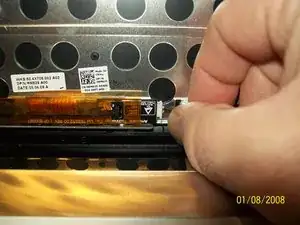
Now is also a good time to replace the LCD Inverter which is located at the bottom of the LCD. There is a single screw that holds it in place. Then there are two cables that plug into the inverter.
-
To remove the LCD screen, remove the screws from the side of the LCD screen. There should be 4 on each side.
-
-
-
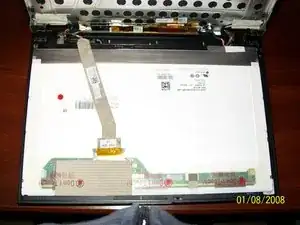
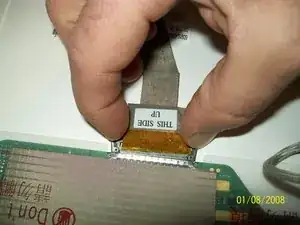
Now that you have removed the screws from the sides of the LCD gently fold the LCD down onto the keyboard so you can expose the back of it and the ribbon connector.
-
Pinch the sides of the connector and gently pull the connector towards the back of the laptop to remove it.
-
Now you have removed the LCD panel and are ready to install the new one.
-
To reassemble your device, follow these instructions in reverse order.
2 Kommentare
this is great thanks
shelton -
Is this laptop screen supposed to lay all the way back? Mine just did an not sure if I broke it, or if I just never noticed it did that. Thanks!

