Einleitung
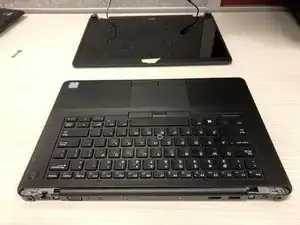
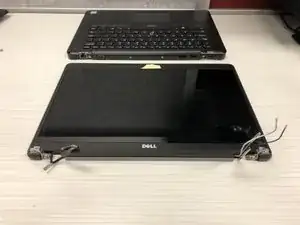
When a problem exists with the display, wifi, camera, or even the laptop lid itself, it is often easier to just replace the whole screen assembly. This guide is a quick simple way to accomplish this task.
Werkzeuge
-
-
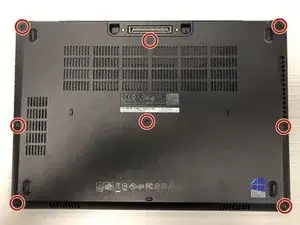
Loosen the 8 Philips screws on the bottom of the laptop. They will not come all the way out but loosen till they spin freely.
-
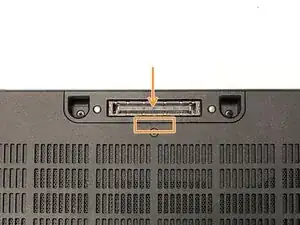
Use a splurger to slowly pry the bottom cover off the laptop. Pull the bottom off in the direction of the arrow.
-
Important Be carefull to not break the snaps as they are delicate.
-
-
-
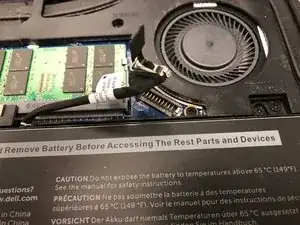
Important Disconnect the battery before any work is done. Failure to do so could result in electric shock and cause harm to you and the laptop.
-
Carefully use the plastic tab to remove the battery cable from the motherboard.
-
-
-
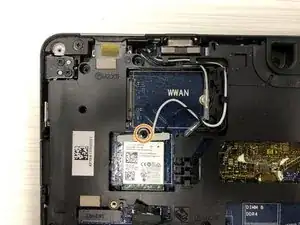
Unscrew the screw holding the card in place.
-
Remove the metal guard holding the connections in place.
-
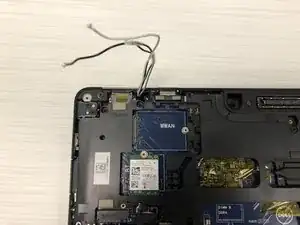
Use the splurger to gently lift the wires from the card.
-
-
-
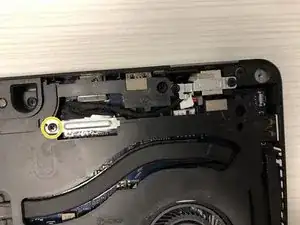
Remove screw holding the metal plate in place.
-
Remove metal plate
-
Carefully pull on the tab to disconnect the display cable from the motherboard.
-
-
-
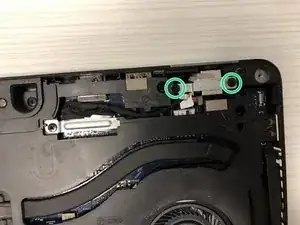
Remove both screws holding the plate in place.
-
Remove plate
-
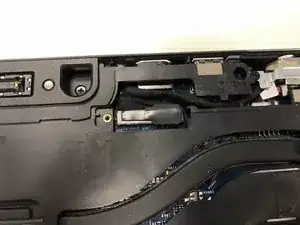
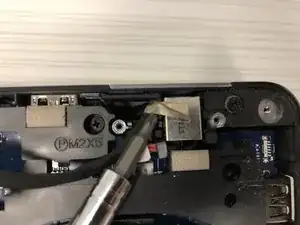
Remove tape holding the display cable to the laptop.
-
Pull the cable free
-
-
-
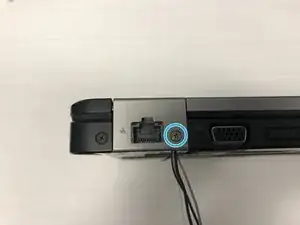
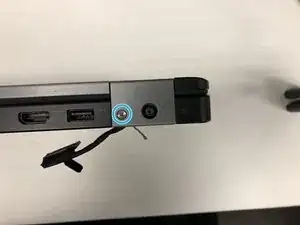
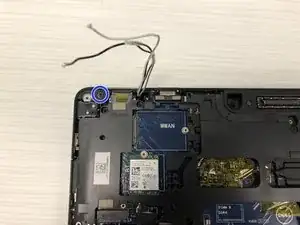
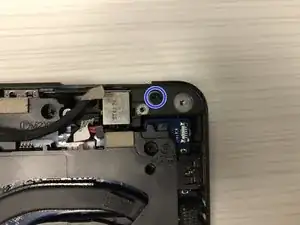
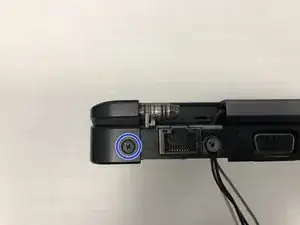
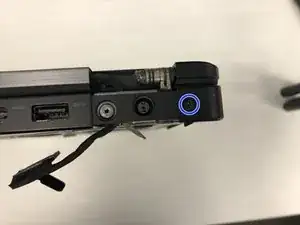
Carefully remove the display from its slots.
-
Be mindful to feed the WiFi and Display cables through the holes.
-
To reassemble your device, follow these instructions in reverse order.
