Einleitung

If the user would like to replace a faulty cooling fan, or one that running too loudly, this guide will give step by step information on how to achieve this.

  1. q1mDUhkQMtYPTVNI
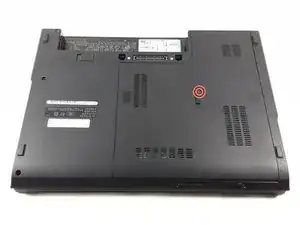
    • Unscrew the single 3.5mm Phillips #1 screw that holds on the bottom plate of the device.

  2. YADfLkRGmO3Xsuy5
    YADfLkRGmO3Xsuy5
    UoPTDrIRPOCbluNR
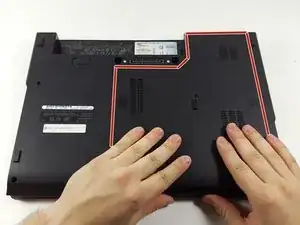
    • Place your hands on the plate and pull it toward yourself.

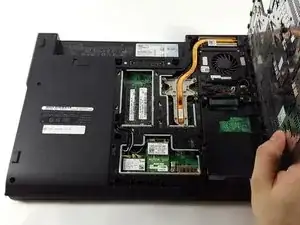
    • The plate will pop out of place and may then be removed.

  3. pIC6sR6mIt5DEFya
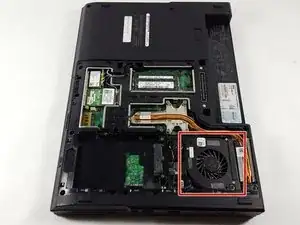
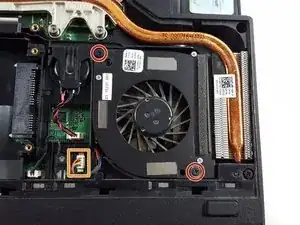
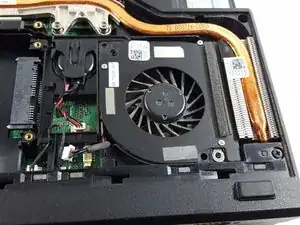
    • The cooling fan is located near the edge of the device, on the side with the vent, and is contained within a plastic shroud.

  4. Qc4LLo12d6xnkbPV
    Qc4LLo12d6xnkbPV
    VLhKddpfwlIV6EGS
    LcotmdcK2eYFow3y
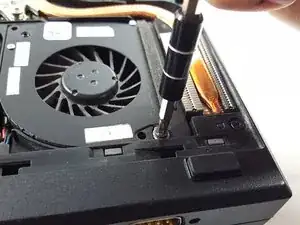
    • Unscrew the two 9mm Phillips #1 screws that secure the fan in place.

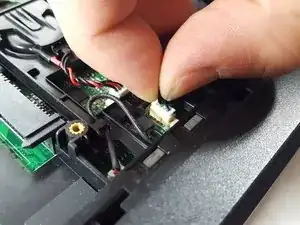
    • Disconnect the fan header from the motherboard of the laptop.

    • The fan header has many small wires sleeved together. To avoid ripping the wires out of the connector, wiggle the connector out of place instead of pulling straight up on it.

  5. gKEbthIGVWOodQRA
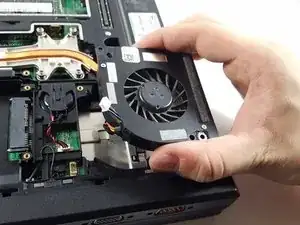
    • Remove the fan from its housing.

    • The fan may be difficult to get out of the housing, as it is surrounded on three sides by the housing itself and the heatsink. It is not glued or taped in, however, so you can gently pull the cord you just disconnected up to remove the fan from the housing without risk of damaging the cord.

Abschluss

To reassemble your device, follow these instructions in reverse order.
Richard Harrison

Mitglied seit: 23/10/16

787 Reputation

0 Kommentare