Einleitung
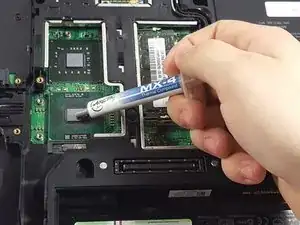
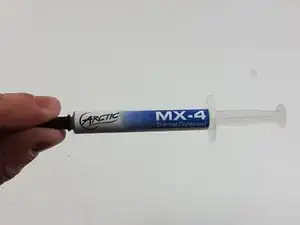
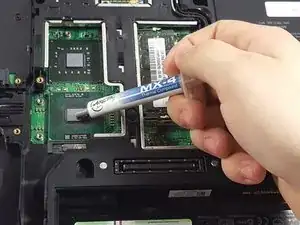
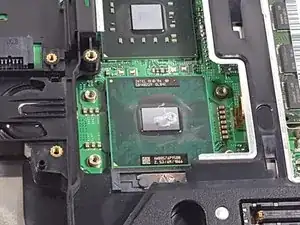
If the user would like to reapply faulty or low quality thermal compound, this guide will give step by step information on how to achieve this.
Werkzeuge
-
-
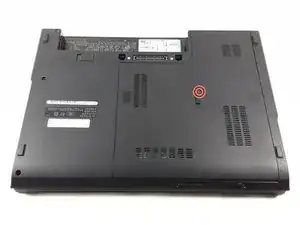
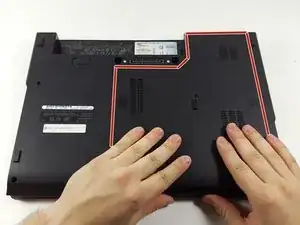
Place your hands on the plate and pull it toward yourself.
-
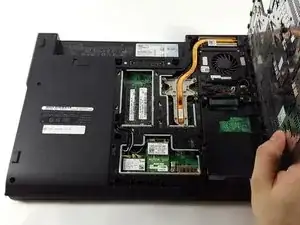
The plate will pop out of place and may then be removed.
-
-
-
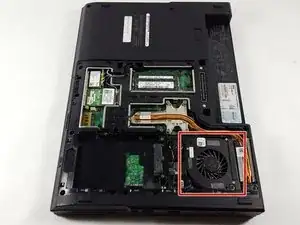
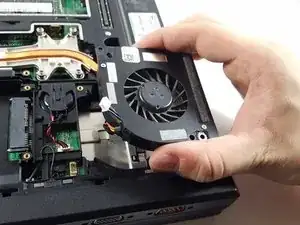
The cooling fan is located near the edge of the device, on the side with the vent, and is contained within a plastic shroud.
-
-
-
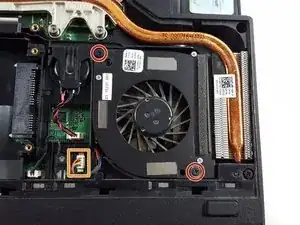
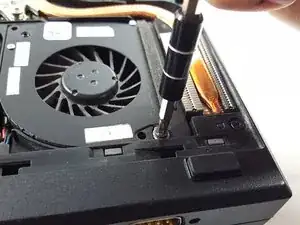
Unscrew the two 9mm Phillips #1 screws that secure the fan in place.
-
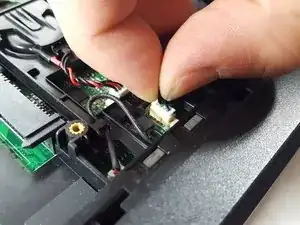
Disconnect the fan header from the motherboard of the laptop.
-
-
-
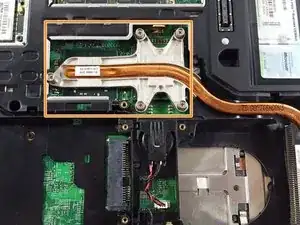
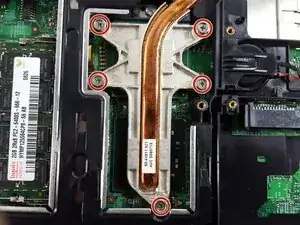
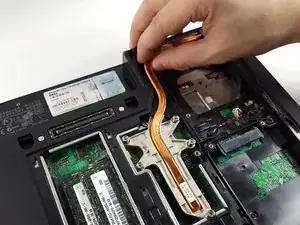
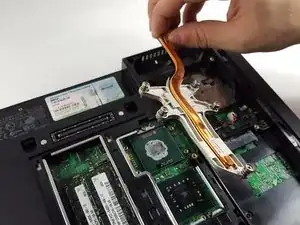
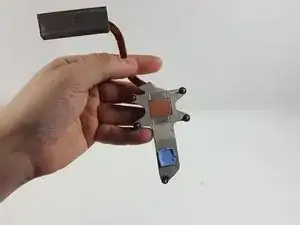
The system's heatsink is the copper pipe and large metal assembly held down by five screws.
-
Remove the five Phillips #1 screws in the order numbered on the metal assembly.
-
-
-
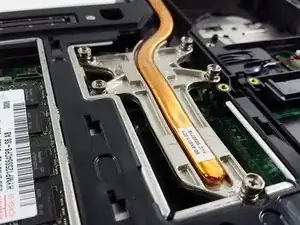
The screws are self-retaining, meaning they will stay connected to the heatsink and will not fall out from the assembly.
-
After all screws have been unscrewed, the heatsink can be removed.
-
-
-
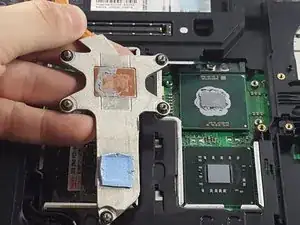
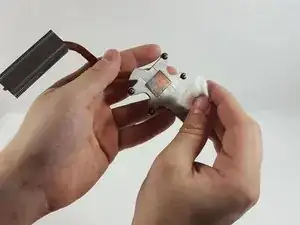
The thermal compound is the gray material that sits on the heatsink and CPU surfaces. In order to apply new compound, the old compound must be removed
-
-
-
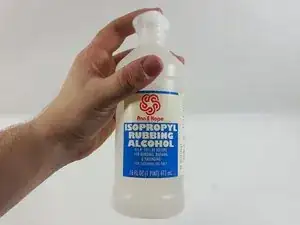
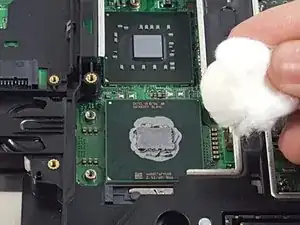
Use a cotton ball or swab and apply rubbing alcohol until it is moist but not dripping.
-
Scrub the heatsink surface with the cotton ball until all thermal compound is removed.
-
-
-
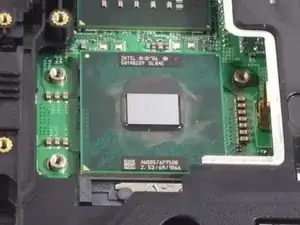
Reapply alcohol to a new cotton ball or cotton swab and repeat Step 9 for the CPU surface.
-
To reassemble your device, follow steps 1-7 in reverse order.
Ein Kommentar
Great post and i followed the mentioned steps. Now, my cpu heat rate low down to 20%. thanks for such a wonderful article. Happy Fathers Day to all of you.
