Einleitung
Werkzeuge
-
-
Disconnect AC power adaptor
-
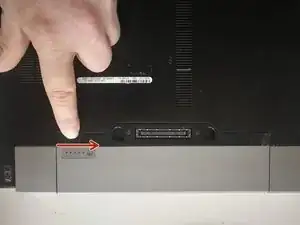
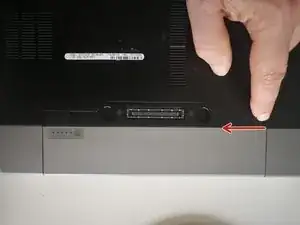
Push battery release tabs inwards.
-
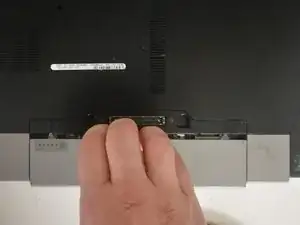
Slide the battery out of the computer.
-
-
-
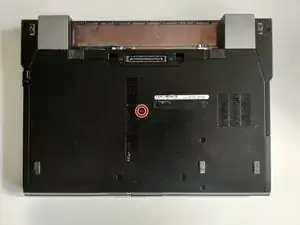
Remove the one 7.5 mm Phillips screw securing the bottom case.
-
Pull the bottom lid towards yourself to remove it.
-
-
-
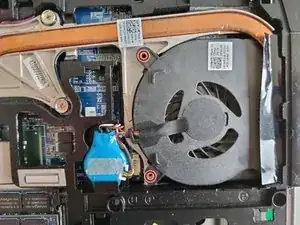
Remove the two 4.8mm Phillips screws securing the fan.
-
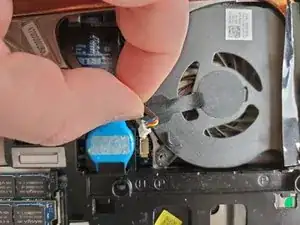
Disconnect the fan by pulling power cable straight up.
-
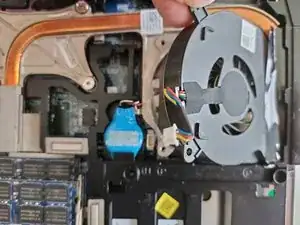
Lift the fan with your finger and slide it out towards the inside of the laptop.
-
-
-
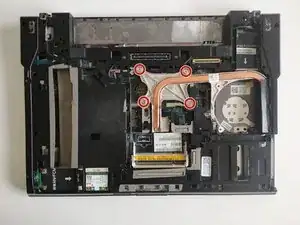
Remove the four Phillips screws securing the heat sink.
-
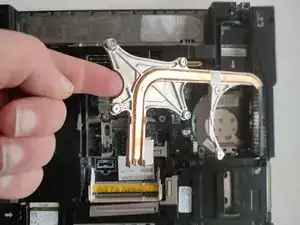
Using your finger gently lift and remove heat sink .
-
-
-
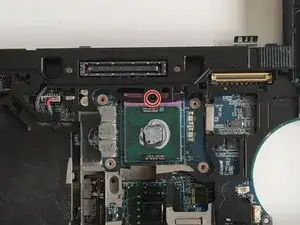
Gently rotate left the locking screw to release CPU from its socket.
-
Lift the CPU straight up of it's socket.
-
Abschluss
To reassemble your device, follow these instructions in reverse order.
