Einleitung

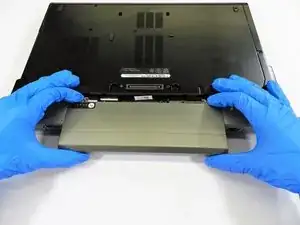
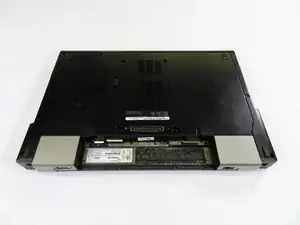
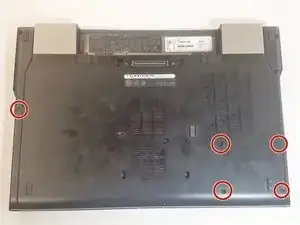
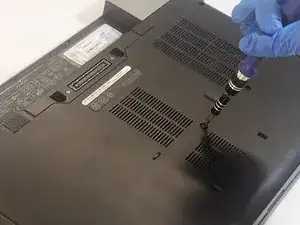
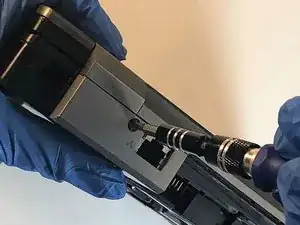
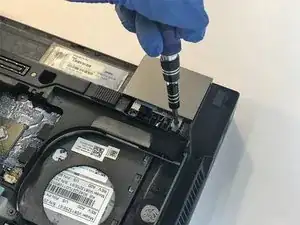
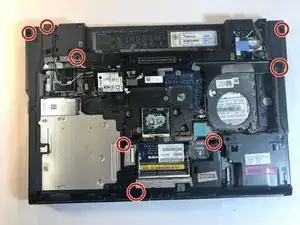
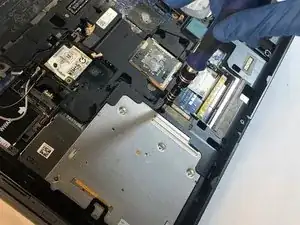
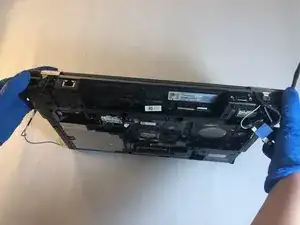
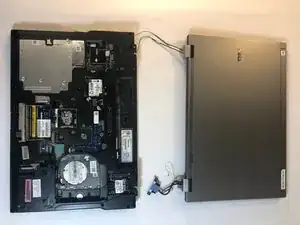
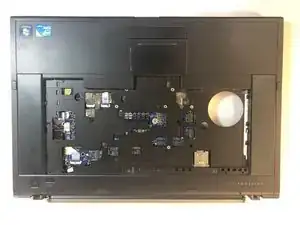
As a quick warning before you dive into replacing your speakers, this will be a long, hard task. By the time you will even see the speakers the laptop will be completely taken apart. Make sure to not lose your screws and ensure you have plenty of time and space before you follow this guide.

  1. IUSqHNDxBZdnSKPr
    IUSqHNDxBZdnSKPr
    1pGtybIGgcmXGYlm
    gMKe31oFPKosMdE2
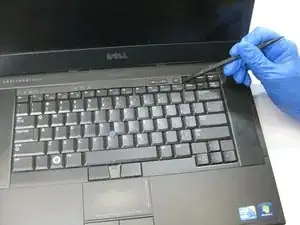
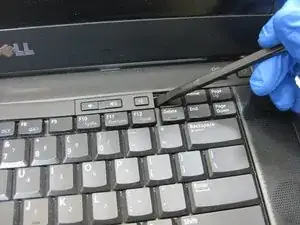
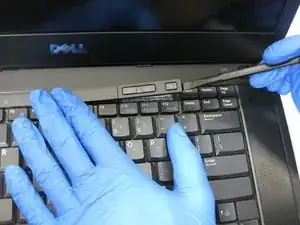
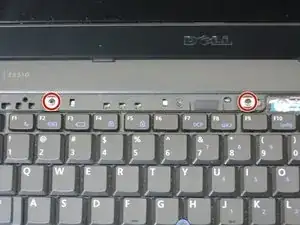
    • Open the laptop and locate the volume panel on the keyboard.

    • Use the spudger to get underneath the righthand side of the panel and gently pry up the side.

  2. 52lbDGvyEUtwrcSN
    52lbDGvyEUtwrcSN
    phjBcAAOINDPNObs
    WbvZqWDqO2QXCtNM
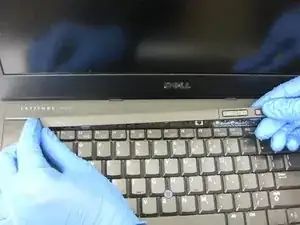
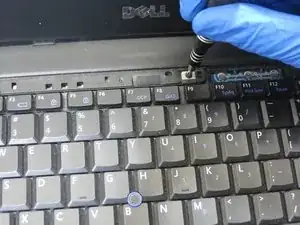
    • Remove the detached volume panel from the keyboard.

    • Locate the two screws holding the keyboard in place. Then Remove these screws with a Philips PH1 head screwdriver.

  3. nuVERtp4qUZubu3T
    nuVERtp4qUZubu3T
    FaXiVvcy1KOAs1mx
    JXABIaCDUBncXavo
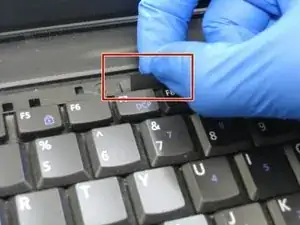
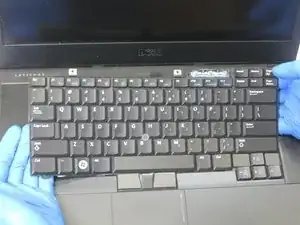
    • Locate the tab near the back of the keyboard.

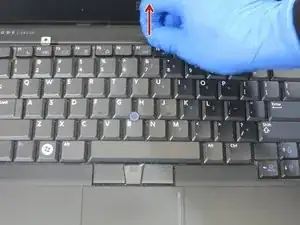
    • Pull upwards on the tab to start removing the keyboard and then using both hands at the sides, pull until the keyboard comes free.

  4. ms4HYWTfU4of1sZO
    • Make sure the device is shutdown

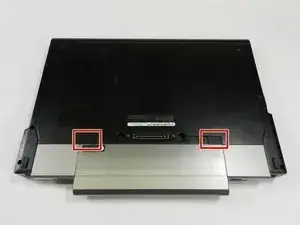
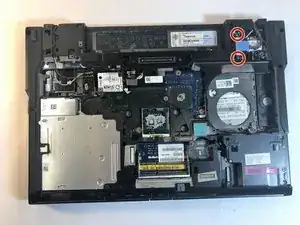
    • Position the laptop upside down with the battery facing towards you.

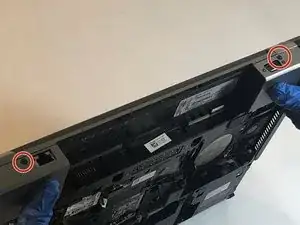
    • Locate the battery latches circled in red.

  5. DmNWMVmN4BSKSBhp
    DmNWMVmN4BSKSBhp
    1TxlEpbqJaMI3NQO
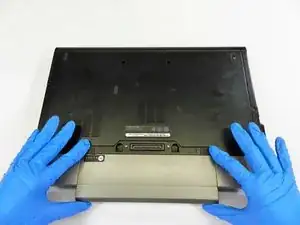
    • Gently slide both latches inward until you hear both latches release.

  6. yX1AkyLEkEvnTKoy
    yX1AkyLEkEvnTKoy
    yOeaDlQNZXqJ4muw
    YrGpPZVDlGTMHdoO
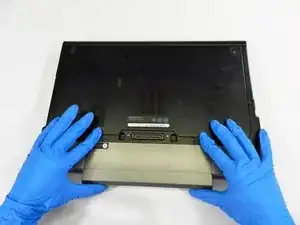
    • Pull the battery towards yourself as shown until completely removed from the computer.

  7. smCvNyUObdkGhOZW
    smCvNyUObdkGhOZW
    JhSYgHMF2JPqAYox
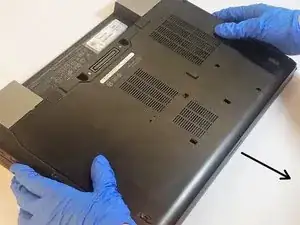
    • Flip over laptop and locate door panel screws.

    • Remove the Screws.

  8. CCYhF1kn1QetIGID
    CCYhF1kn1QetIGID
    fAQVDEPmvYDWJGuV
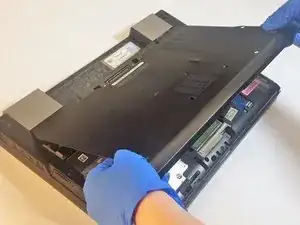
    • Slide and remove the access door.

  9. BUQUtGu5ICiBrZF4
    BUQUtGu5ICiBrZF4
    oUoJLbmcRkYApPoL
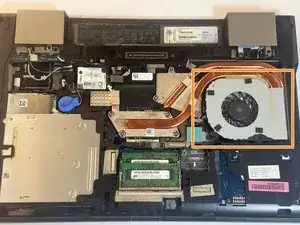
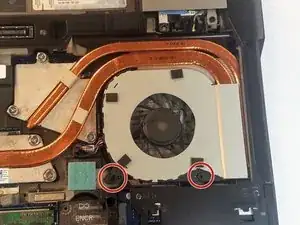
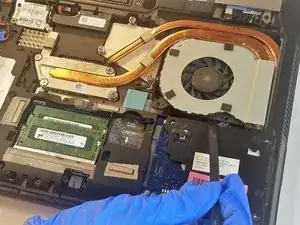
    • Locate the fan and two fan screws.

    • Remove the 2 screws using a PZ0 Phillip head screwdriver.

  10. uSfH64jVPUrUSBAb
    uSfH64jVPUrUSBAb
    5DItEPVl5VlYUCfF
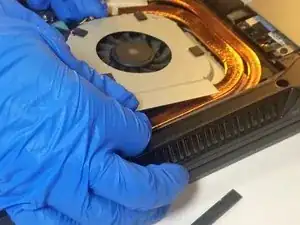
    • Using a plastic spudger, gently pry the fan upwards.

    • Once the fan has been loosened, slowly remove the main fan component.

    • Do not pull too hard as their is still a wire attached.

  11. NeDYjRlWWgOUQTRT
    NeDYjRlWWgOUQTRT
    YeTIESHQCscXCWYn
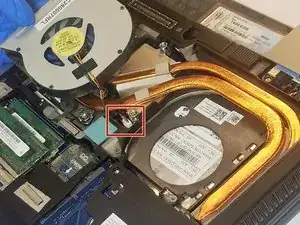
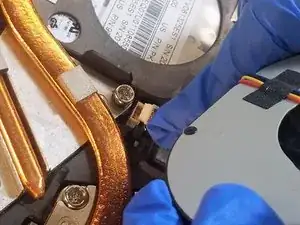
    • Locate the wire holding the fan in place and detach the clip.

  12. ddPBweQLJBRFjkpS
    ddPBweQLJBRFjkpS
    KQIUUUkvQGKwyeL6
    mjoAaSrOwhqUOE5V
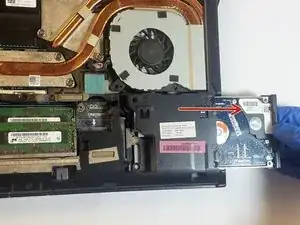
    • Remove the hard drive.

    • Pull the drive right and out of the computer.

  13. KFK22GuWLOx2cnDj
    • Remove the small battery.

    • Undo the blue circle first.

    • Pull out the end of the cord by the plastic part to avoid damage to the wire.

  14. i45R5EBDKQkRmT3Z
    i45R5EBDKQkRmT3Z
    gTUjIddhFQ5kh2WQ
    A26IekUfteEfauUu
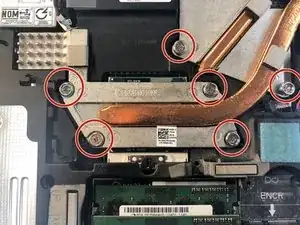
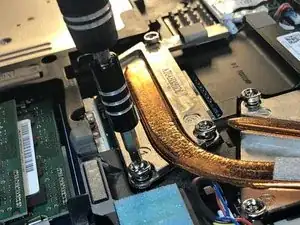
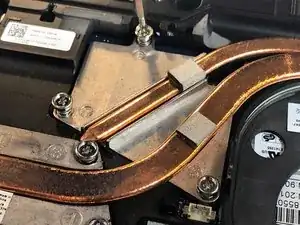
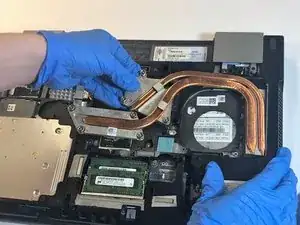
    • Loosen but do not remove the silver screws surrounding the heat sink using a PZ1 screwhead.

    I feel like you missed one screw. Screw no. 6 is not in the image

    Alexander Akinbiyi -

  15. XxDe1viObD4u32yo
    XxDe1viObD4u32yo
    hILM4N35h2TqJ24q
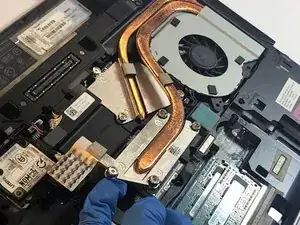
    • Remove the heat sink from the laptop.

  16. mP2cFJ4hGT6rKMJd
    mP2cFJ4hGT6rKMJd
    cPoQwISqSUDC41w5
    WrbkN1tbJ63LLSQB
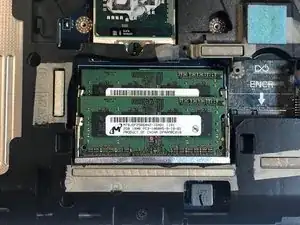
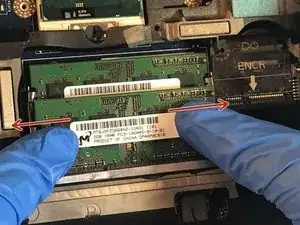
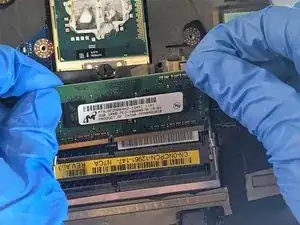
    • Push the silver clips on both sides of the memory cards outwards.

    • Gently pull the cards out one at a time.

  17. XxEHj4K1VfjKWWlW
    XxEHj4K1VfjKWWlW
    gbUDbRBBX1MTtRPw
    Xc1teTtyYWdiQ6RB
    • Unscrew the side panels on both sides and slide them off.

  18. GecyOvnKOEWJWNQX
    GecyOvnKOEWJWNQX
    xssFRvXsVTLq4nVp
    • Remove the screws of the back framework.

  19. kfZQ6uExIZ4pZqOA
    kfZQ6uExIZ4pZqOA
    6paNXGkSZZDHnkHZ
    • Loosen the two highlighted screws, do not remove.

  20. 3IBbUS5FGZHM5bqO
    3IBbUS5FGZHM5bqO
    kLrYG1rPYRqgMqZe
    KcrSN5BBiLmPJHR6
    • Undo the cables until the are not attached to the back half of the keyboard.

    • Pull the cables backwards and to the side of the laptop.

  21. lXaxbXriGGWFRi5C
    lXaxbXriGGWFRi5C
    KdV5WtggXqaNJU6R
    Hf2SQJwGIjRbLX6v
    • Undo the other side also.

    • The cables should only be loose, not removed.

  22. 4oNfKS2IYWoHV22t
    4oNfKS2IYWoHV22t
    2ZkG6XAMLBH4ouuq
    • Partially open the laptop.

    • Side the top half of the laptop backwards towards yourself to undo it from the bottom half.

  23. FP3LbUrVDmW4WbDv
    FP3LbUrVDmW4WbDv
    dTl1wNRhBg6oOSNc
    OcSU64pjpKqafqiP
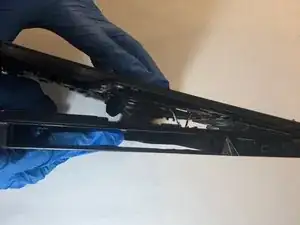
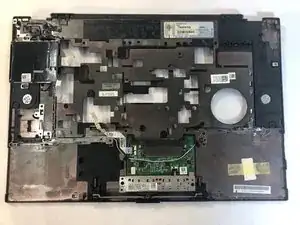
    • Pry the frame work of the laptop off using a plastic splunger.

    • Proceed slowly, any screws that may have been missed can break your laptop if not removed.

    Theres 3 screws to remove before open the frame with the “P” letter there.

    vinimota -

  24. HPYEAKkGDEMwDLsb
    HPYEAKkGDEMwDLsb
    OZDcJScodUMnBdST
    AgNwfvhN13HjYMbM
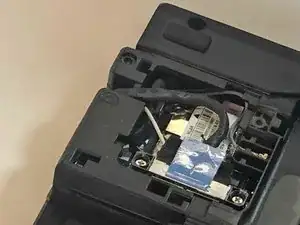
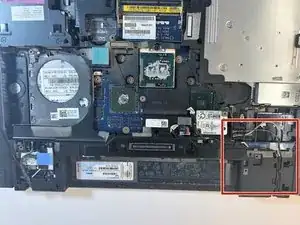
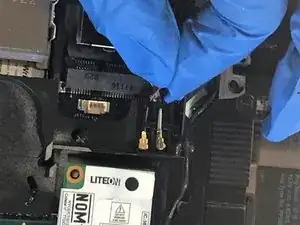
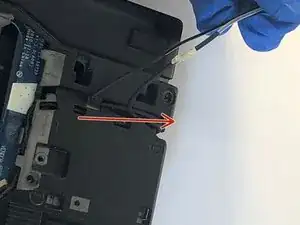
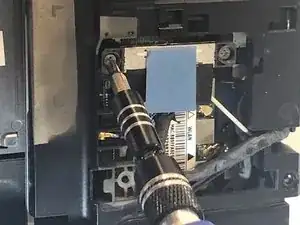
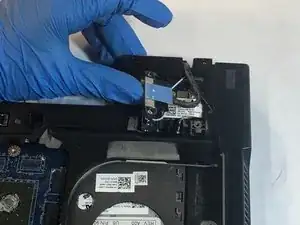
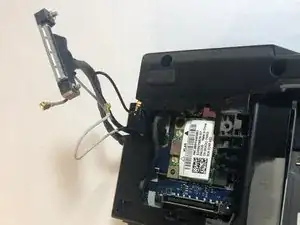
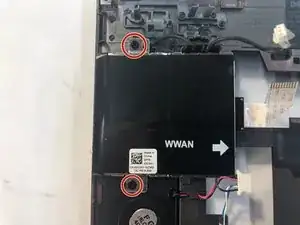
    • Remove the screws from the wireless detector.

    • Remove the detector.

  25. jeLqWfKJaQQxHJiQ
    jeLqWfKJaQQxHJiQ
    k5nfxPWpBkbsJ5xH
    BpJYUEexvYyssqML
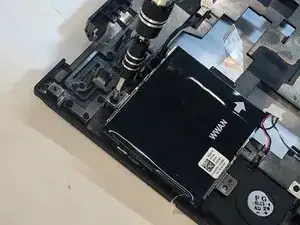
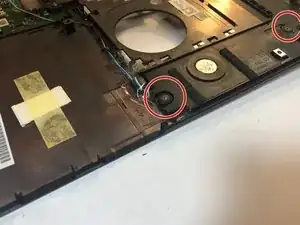
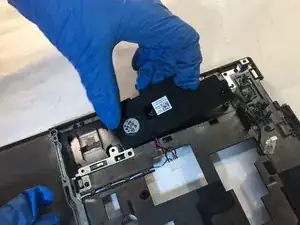
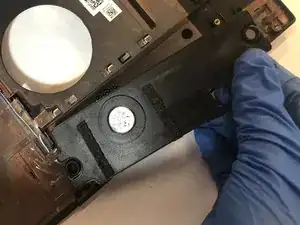
    • Remove the screws from the top and bottom of both speakers.

    • Remove the speakers.

Abschluss

To reassemble your device, follow these instructions in reverse order.
Chris Laurencio Jr.
Mitglied seit: 05/02/19

280 Reputation

0 Kommentare