Einleitung

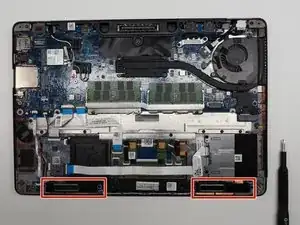
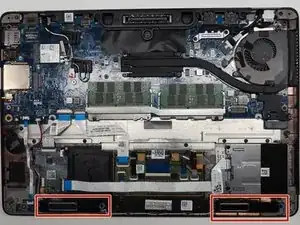
The Dell Latitude E7470 laptop's internal speaker units are responsible for audio output and are paired for stereo sound. If one or both units fail, sound output is compromised. Signs of a failing speaker include decreased volume, distortion, or garbled sound. The left and right speakers are hardwired together and sold as a single unit.

  1. jyZZPZxH5JMsOUCb
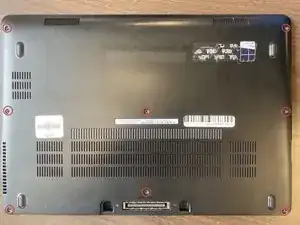
    • Remove the eight 4 mm screws on the back cover using a Phillips #0 screwdriver.

    After unscrewing the 8 screws, they stay on the back cover.

    Victor Ashiedu -

  2. 3yAeDmqHgF3kPNvM
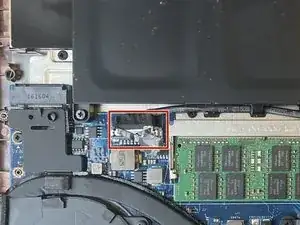
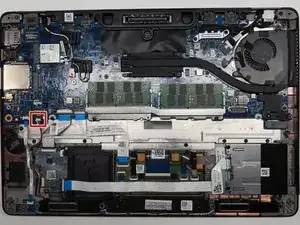
    • Use the pull tab on the battery connector to lift the connector straight up off its socket on the motherboard, disconnecting it.

    Personally, I would remove the battery as the first stage battery should be disconnected before any work is completed.

    Richard Holmes -

  3. NuiTeIZQJXECEFta
    NuiTeIZQJXECEFta
    2i5XNthrPAhNwteE
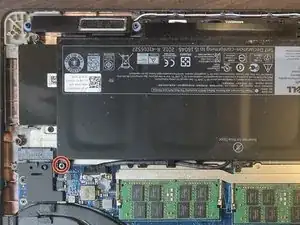
    • Remove the single 4 mm Phillips screw securing the bottom left corner of the battery.

    • If you are removing an extended capacity battery, remove the Phillips screw securing the bottom right corner of the battery.

    My laptop had 2 screws holding the battery. I am not sure why. It may be useful to check whether yours has 2 as well. Unlike the laptop’s back cover, after unscrewing the screws on the battery, you have to remove the screws.

    Victor Ashiedu -

  4. pumoahILSLPQnvYC
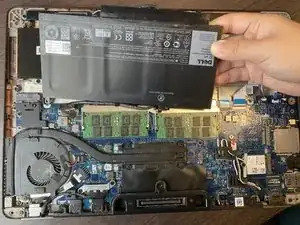
    • Remove the battery from the laptop.

  5. HLsjwYNE41UbS1jP
    HLsjwYNE41UbS1jP
    BEV1ZZXcWJ2a4Bf5
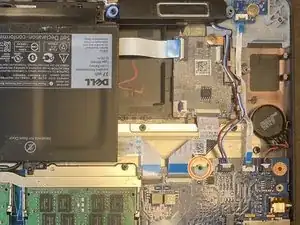
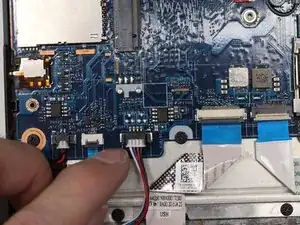
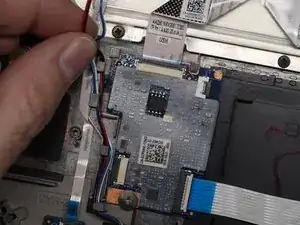
    • Unplug the four pin speaker connector from the motherboard.

  6. PZelIVeIrSDjoMRi
    PZelIVeIrSDjoMRi
    LIEZNcefSDnn4WiH
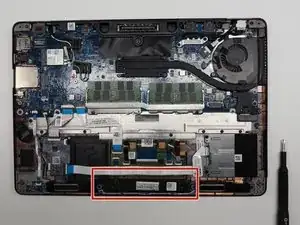
    • De-route the speaker wire harness from the guide rails.

  7. 5GYvAtXEqfhrwI1A
    5GYvAtXEqfhrwI1A
    XMH1ObEAHGnnHOx6
    pikjOGwZcyiBsEPP
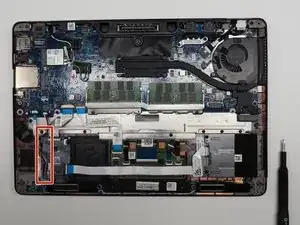
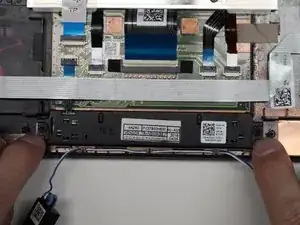
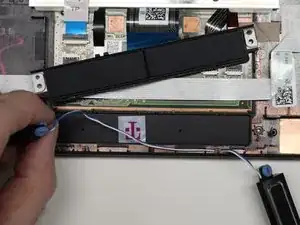
    • Use a Phillips #0 screwdriver to remove the left and right mouse button assembly screws.

    • This allows you to slightly lift the assembly and gain full access to the wire harness that links the left and right speaker units. You do not need to fully remove the button assembly.

  8. SGspWVtSIlgtOmX5
    SGspWVtSIlgtOmX5
    EHkowrj2GrqKb6EV
    WtOKPGe2ALBeo32D
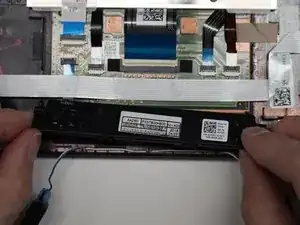
    • Starting with the left speaker (your right), carefully lift the units away and de-route the wire harness linking them.

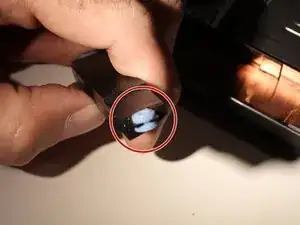
    • Take note of the soft boots that hold each speaker in place. They should lift freely away, but if needed you may wedge them loose by hand or with your spudger.

Abschluss

To reassemble your device, follow these instructions in reverse order.
DCurrent

Mitglied seit: 06/02/22

109 Reputation

0 Kommentare