Einleitung
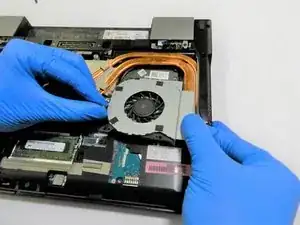
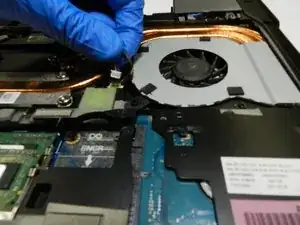
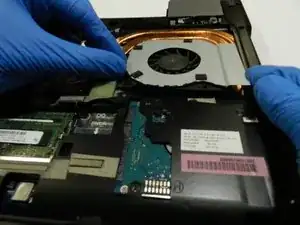
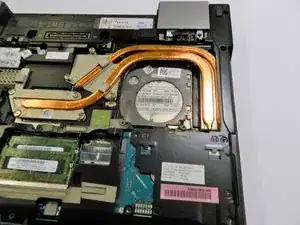
If the laptop tends to overheat, this could be a result of the fan not functioning properly. The following is a step-by-step guide to remove and replace the fan in the Dell Latitude E6510.
-
-
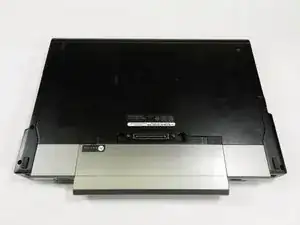
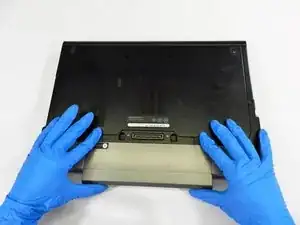
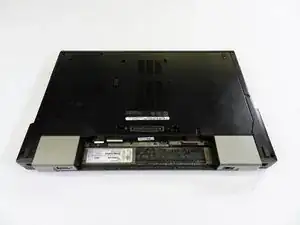
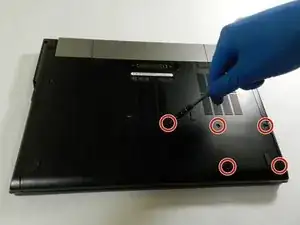
Remove the 5 screws from the back panel of the laptop using a Type 0 Phillips Head screwdriver.
-
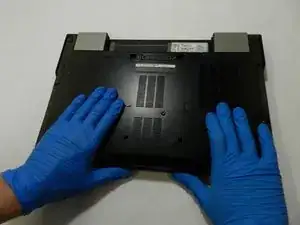
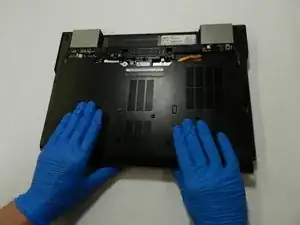
Slide the back panel off of the computer.
-
-
-
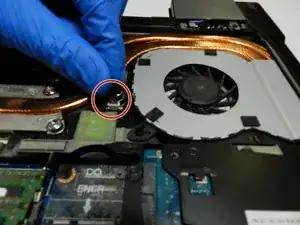
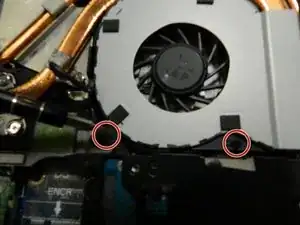
Remove the two screws connecting the fan to the laptop using a type 0 head Phillips screwdriver.
-
Abschluss
To reassemble your device, follow these instructions in reverse order.
