Einleitung

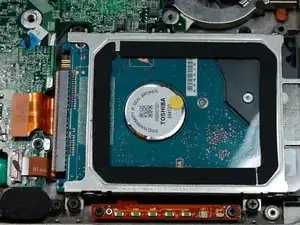
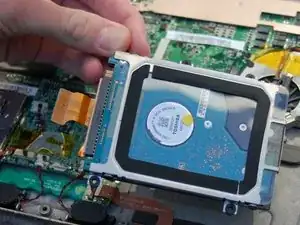
Before removing/replacing the Dell Latitude X300 hard drive, the battery, keyboard, and palm rest/trackpad will need to be removed.

  1. qICCXIaNXGcBEVkS
    • Before removing the battery from the laptop, make sure the power is off.

    • Push both battery locking clips outward at the same time.

  2. YWUnQZarvEKRYGVD
    • Slide the battery out of the laptop.

  3. fWK5E5Pb255TwcPK
    • Remove the four 4 mm Phillips #0 screws from the bottom of the laptop.

  4. nN2aFeYPRoMrkgly
    nN2aFeYPRoMrkgly
    rGpNKObhjS63iZvU
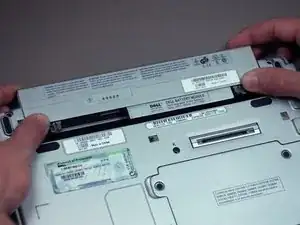
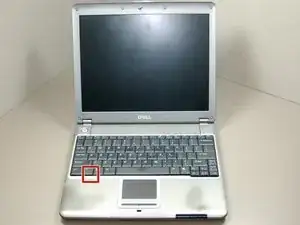
    • Carefully turn the laptop over and open the screen all the way.

    • Locate the slot to remove the keyboard in the lower left hand corner.

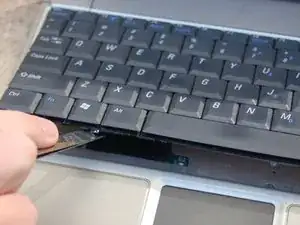
    • Using a spudger as a lever, insert it into the slot and gently pry up.

  5. boEVdtVrJcKA6RxD
    • After the keyboard pops up, pull it away from the screen just enough to release the tabs.

    • Don’t pull the keyboard out forcefully as there is still a ribbon attached to the laptop.

  6. kKhbEEF3gKqIO2Jp
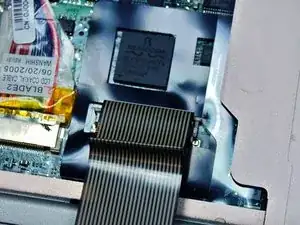
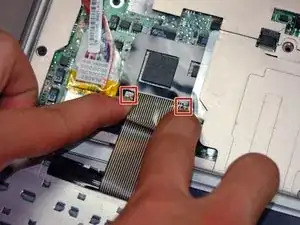
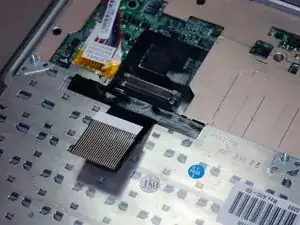
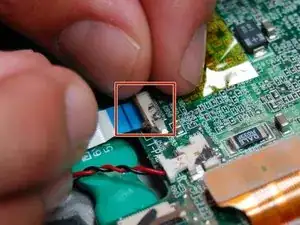
    • Unlock the ZIF connector on the computer by pushing the two outside tabs toward the screen.

  7. kOeXhhLvvOSDPENM
    • Remove the flexible ribbon from the ZIF connector.

    • Do not pull on the ribbon to remove it from the ZIF connector.

  8. h14Ce4Af6oBSelPi
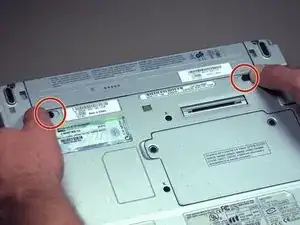
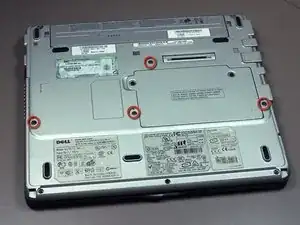
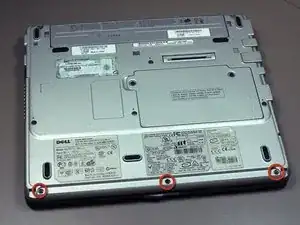
    • Position the laptop so that the bottom is facing upward.

    • Remove the three 4 mm Phillips #0 screws holding the bottom of the palm rest.

  9. cV3S2FAOGUwTKMcv
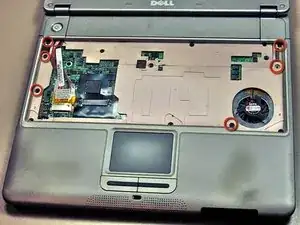
    • Return the laptop to proper position and open the screen.

    • Remove the six 4 mm Phillips #0 screws holding in the palm rest.

  10. cDWFvMIUpCAxDpqV
    • Gently lift the palm rest and rotate it outward so that the bottom is now facing up.

    • The ribbon attached to the track is short and extremely delicate. Use care when moving the palm rest.

  11. h1mijPFDFao6jdDq
    • Lift up on the small ZIF connector and remove the ribbon.

    • If the ribbon seems stuck, gently wiggle it to remove. Do not pull the ribbon with great force.

  12. nZxQ4NeDerkFn6X5
    • Remove the 4 #00 5 mm screws holding the hard drive to the case.

  13. XasLGBruNhBNCa2C
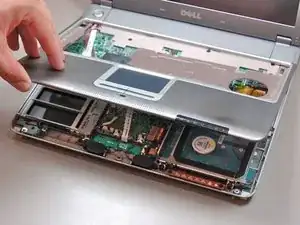
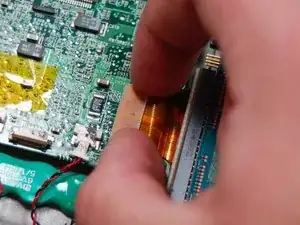
    • Carefully pull up on the hard molded plastic portion of the ribbon to detach it from the computer.

  14. PtSTZfR4bJKuNIZa
    • Remove the hard drive from the laptop.

Abschluss

To reassemble your device, follow these instructions in reverse order.

Taylor Bateman

Mitglied seit: 20/01/12

93 Reputation

Ein Kommentar

I have to know cause its long time ago i was using this pc,

and i really forgot my HD password and dont know where to find it,sorry

Bernard Vandenberghe -