Einleitung
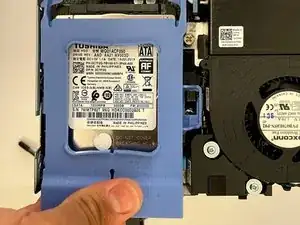
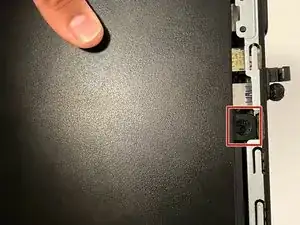
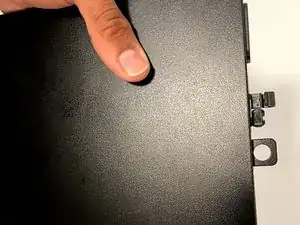
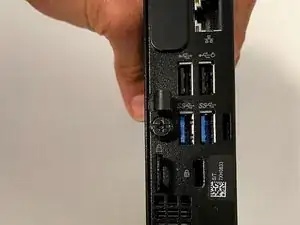
This guide will help you to replace your internal hard drive for Dell OptiPlex 3070 Micro PC.
Scenarios where you need to replace the hard drive:
- If the hard-drive is corrupted and your PC no longer boots
- If you need to more space and wants to upgrade for more GB
- If your PC is running slow - replacing from HDD to latest compatible SSD will improve performance
Follow the step-by-step procedure to replace the hard drive.
Werkzeuge
Ersatzteile
-
-
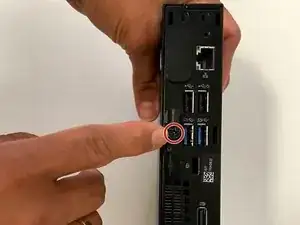
Use the Phillips #00 screwdriver to remove the single screw securing the case.
-
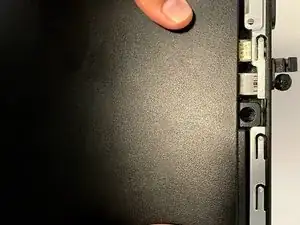
Slide the case horizontally away from the screw.
-
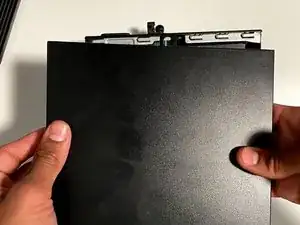
Remove the back case.
-
-
-
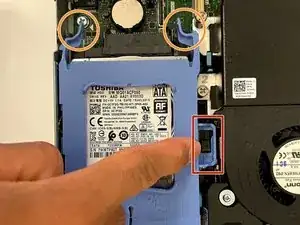
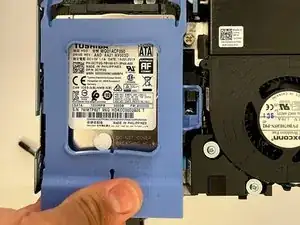
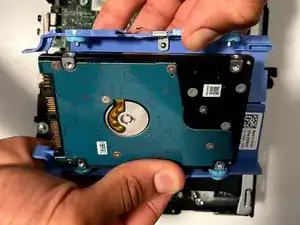
Unlock and remove the hard drive from the connector.
-
Push the two tabs on the hard drive caddy and slide it away from the connector.
-
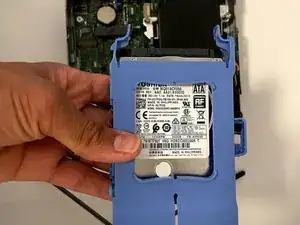
Once unlocked, remove the hard drive from the main board.
-
-
-
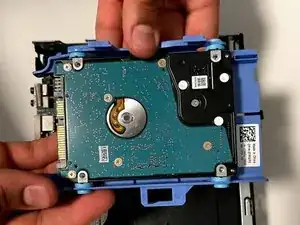
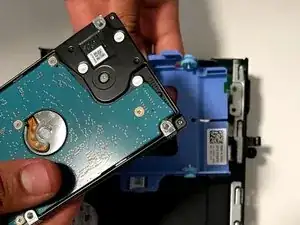
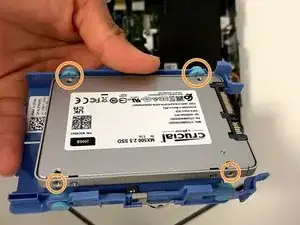
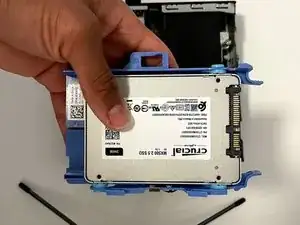
Pull the case away from the four screws at each corner of the old hard drive to remove it from the case.
-
-
-
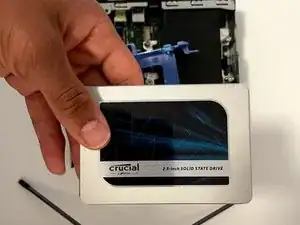
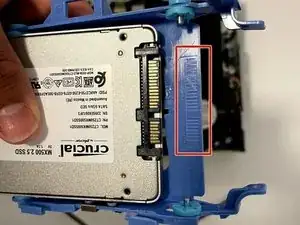
Put your new hard drive in the case but match the SATA connection to the lines in the hard drive case so you know it is placed correctly.
-
Lock the four screws from case into the new hard drive.
-
-
-
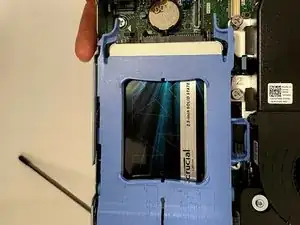
Flip the hard drive upside down.
-
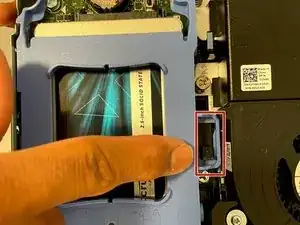
Insert the hard drive into the connector.
-
Push the hard drive to lock it in.
-
-
-
Put the cover back on and slide it with the steel tab towards the screw.
-
Make sure it is securely locked in. Check all the sides for any gaps.
-
I hope the guide helped you to replace the hard-drive and you will now enjoy more space and faster PC. Thank you.
Ein Kommentar
I love the simplicity yet concise feel of your guide. There are just enough steps to keep the reader motivated to go through with the repair, too many steps and your average reader would back off.
Your instructions were very clear and straight to the point and I appreciate the fact that you did not use any complex words to describe the steps so as to cater to an audience with little technical knowledge.
The photos were awesome as most of them had both your hands in them which gave a first person view perspective. On top of that, they were clear; without any motion blur . The pictures were also organized in a flip book style which further gives a sense of orientation to the reader. Nice use of markups on the pictures too!
Great work and well done.
