Einleitung
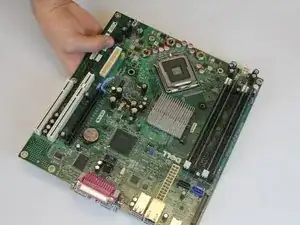
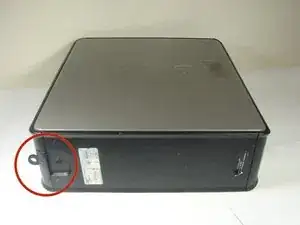
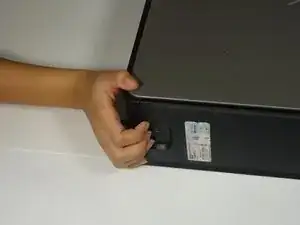
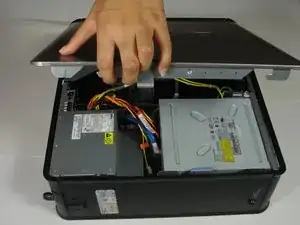
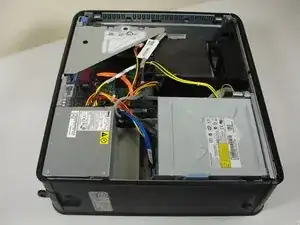
In this guide, we will be removing parts of the computer from the motherboard to be able to take the board itself out.
Werkzeuge
-
-
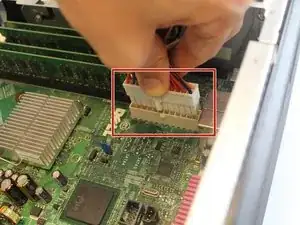
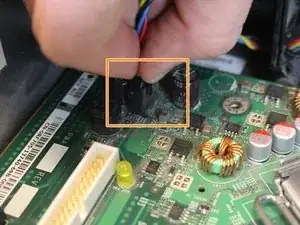
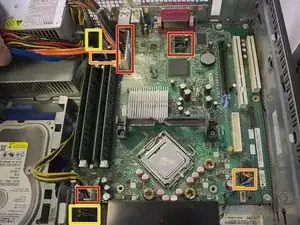
Disconnect all of the cords that are connected to the motherboard.
-
Press in the lever on the side of the male end, and then pull out.
-
Pull cord straight out.
-
Disconnect the front plate (USB and audio output) from the motherboard.
-
-
-
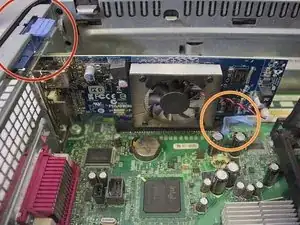
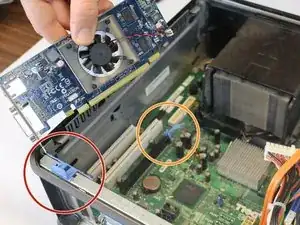
Remove the graphics card.
-
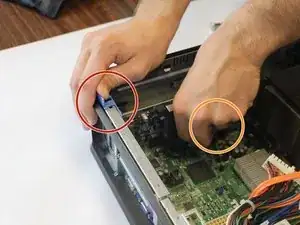
Lift the blue latch on the fat end of the graphics card.
-
Pull the blue lever on the skinny end of the graphics card toward the power supply.
-
Pull out one end of the card at a time.
-
-
-
Remove the heat sink.
-
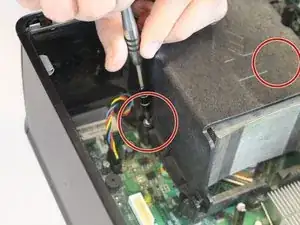
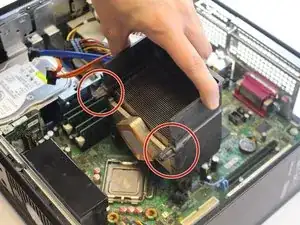
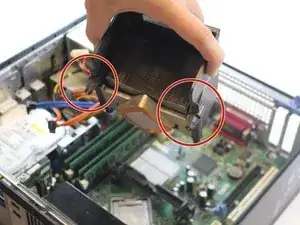
Unscrew the (2) two screws using a Phillips #2 screwdriver and lift out the heat sink.
-
-
-
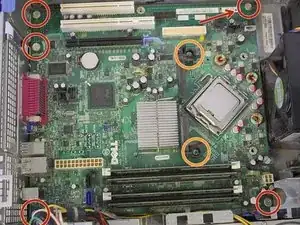
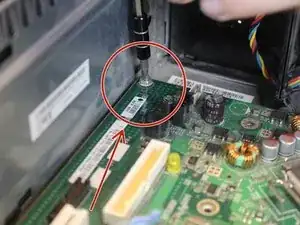
Remove the (5) five 6mm Phillips #2 screws from the motherboard.
-
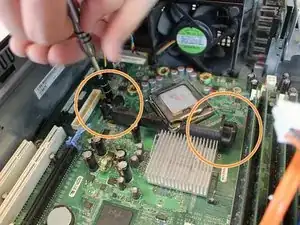
Remove the (2) two 17mm Phillips #2 screws from the mount for the heat sink.
-
-
-
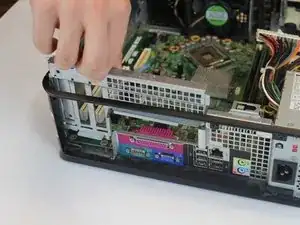
Remove the back plate by lifting straight out by the blue latch that secures the graphics card.
-
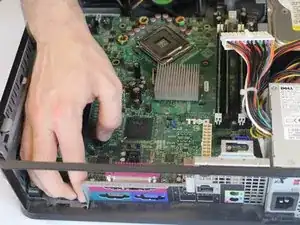
Pull the end of the motherboard closest to the back of the computer away from the static back plate.
-
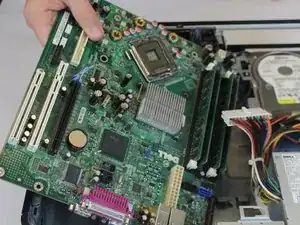
Lift this end away and out of the case.
-
To reassemble your device, follow these instructions in reverse order.
