Einleitung

The GX620 has a 3.5 inch floppy disk drive. The back end of the traditional floppy drive contains a port for a standard cable that connects to the motherboard. Also here is a connection for power from the power supply.

  1. VYWSKnFhgV5RDis2
    VYWSKnFhgV5RDis2
    jC1F1otMKgy5BQdH
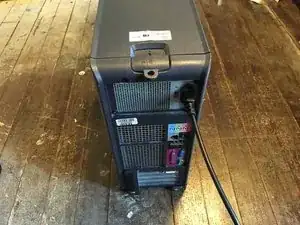
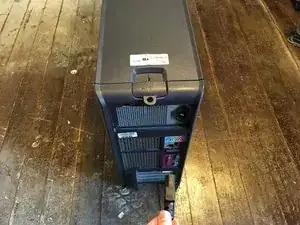
    • Power down your PC and remove the power cord from the back.

  2. VeQVnIMoHCXqrHq1
    VeQVnIMoHCXqrHq1
    aOhZOR45dwjQSLXE
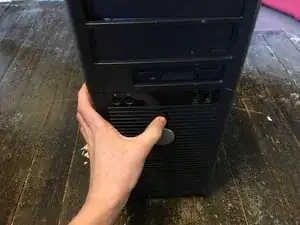
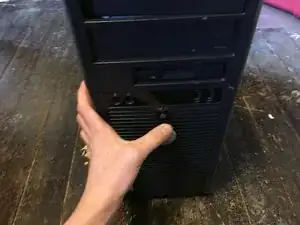
    • Press and hold the power button for about 10 seconds, then release.

    • This helps drain any remaining power stored in the capacitors, so that you can safely work on the internal components.

  3. 5gIdgpg3xnsVtHRH
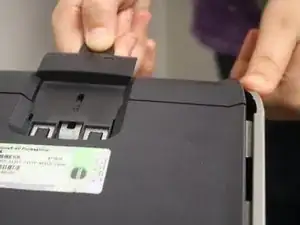
    • With the computer standing upright, firmly pull on the tab at the back of the computer.

    • When the side panel pops free, gently pull the panel away from the computer.

    • If you have trouble freeing the side panel from the case, you may need to pull the tab a bit harder.

  4. EK5dhSwfrssmMekD
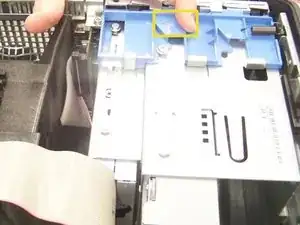
    • Slide the blue latch downward until the panel can be removed from it's hinges.

  5. NtJ5ImyRKT4aC2ML
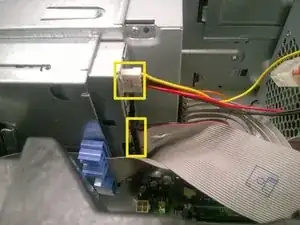
    • Gently remove the floppy-drive and power cables from the back of the floppy drive.

  6. MgUKTd4bkGIuVvED
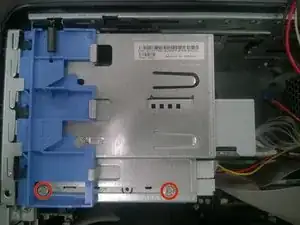
    • With a Phillips #1 screwdriver, remove the screws connecting the floppy drive to the drive bay. Set the screws aside in a location where you may use them at a later time.

  7. N56wnuuF4blKYMTv
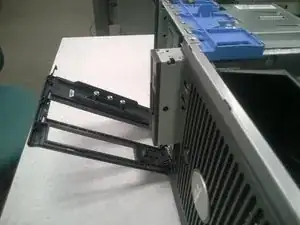
    • To remove the unconnected floppy drive from the drive bay, slide the drive towards the front of the computer.

Abschluss

To reassemble your device, follow these instructions in reverse order.

Kristina

Mitglied seit: 04/09/14

195 Reputation

0 Kommentare