Einleitung
Overtime, every electronic device is going to experience some wear and tear. In some cases, if the volume is too high, the speakers of your device may become faulty. If the Dell Precision M3800 speakers are giving little to no audio or audio that is scratchy or distorted, use this guide to replace the faulty speakers.
Before beginning, be sure to power down the laptop, and unplug from the external power source(s).
Werkzeuge
-
-
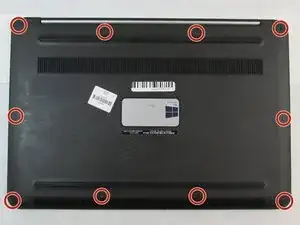
Use a T5 Torx screwdriver to unscrew the ten 3mm screws on the laptop back cover.
-
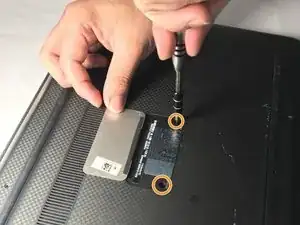
Lift up the silver cover from the back panel to reveal two screws.
-
Use a Phillips screwdriver to remove the two screws underneath the silver cover.
-
-
-
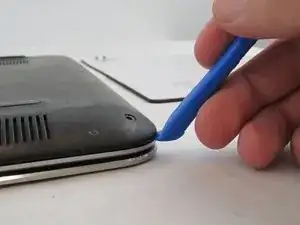
Use an opening tool to pry around the edges of the back panel to loosen the panel.
-
Remove the back panel.
-
-
-
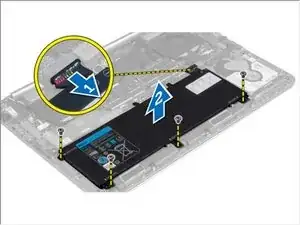
Disconnect the battery cable from the system board [1].
-
Use a Phillips screwdriver to remove the four screws securing the battery to the laptop.
-
Lift the battery off the computer [2].
-
-
-
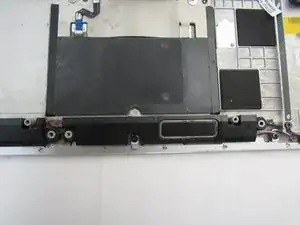
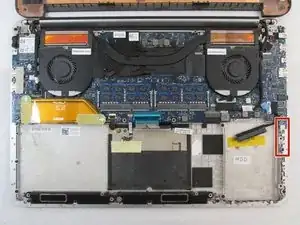
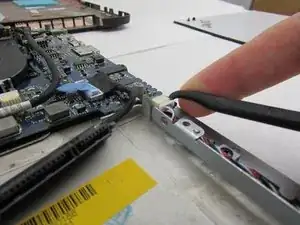
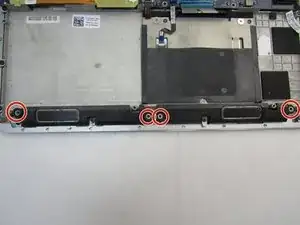
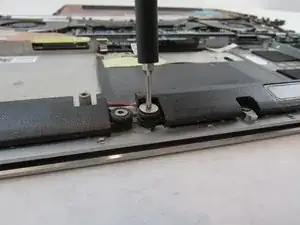
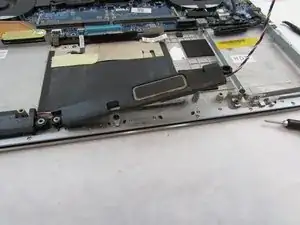
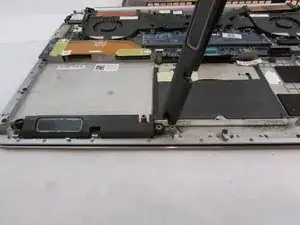
Remove the speakers by gently pulling up on the main unit on the left hand side. Make sure to not lose the rubber bushings that are attached to the sides of the speakers.
-
To reassemble your device, follow these instructions in reverse order.

there are 2 additional screws under the metal plate
Andrew Gaquin -
That's right, at first time I tried carefully remove the back plate , with no success, {nly few minutes later I realized it were these 2 screws holding it all together and fighting against my intrusive dids
Alexander Fediushyn -
Thanks for the tip! I corrected the step to include this.
Arthur Shi -