Einleitung
Werkzeuge
-
-
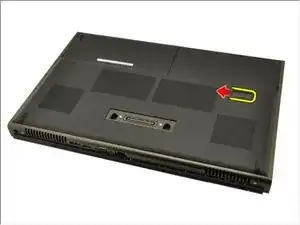
Slide the battery release latch into the unlock position.
-
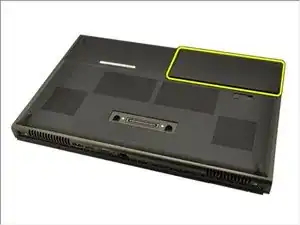
Remove the battery from the system.
-
-
-
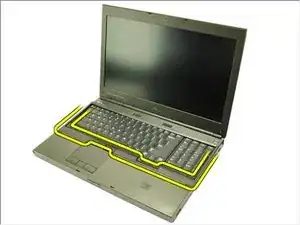
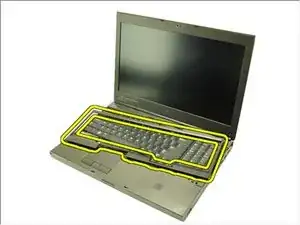
Using a plastic scribe, pry under the keyboard trim to release it from the computer.
-
Work your way around the sides and bottom edge of the keyboard trim.
-
Lift up to remove the keyboard trim from the unit.
-
-
-
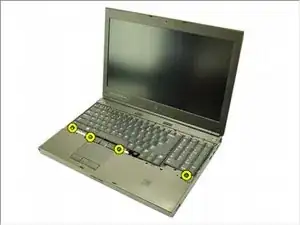
Remove the screws securing the keyboard in place.
-
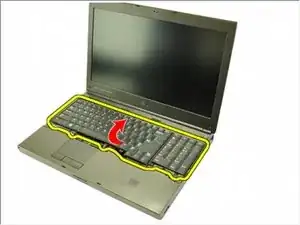
Starting from the bottom of the keyboard, separate the keyboard from the system and turn the keyboard over.
-
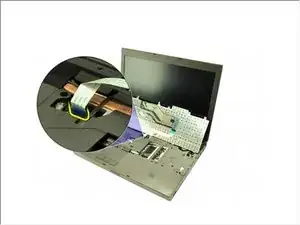
Disconnect the keyboard data cable from the system board.
-
-
-
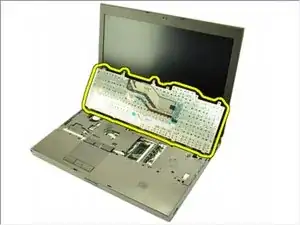
Remove the keyboard.
-
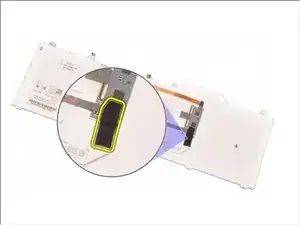
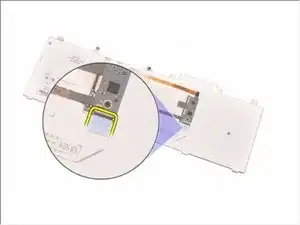
Peel back the adhesive tape securing the keyboard data cable to the back of the keyboard.
-
Disconnect the keyboard data cable from the back of the keyboard.
-
To reassemble your device, follow these instructions in reverse order.
